- Prompt
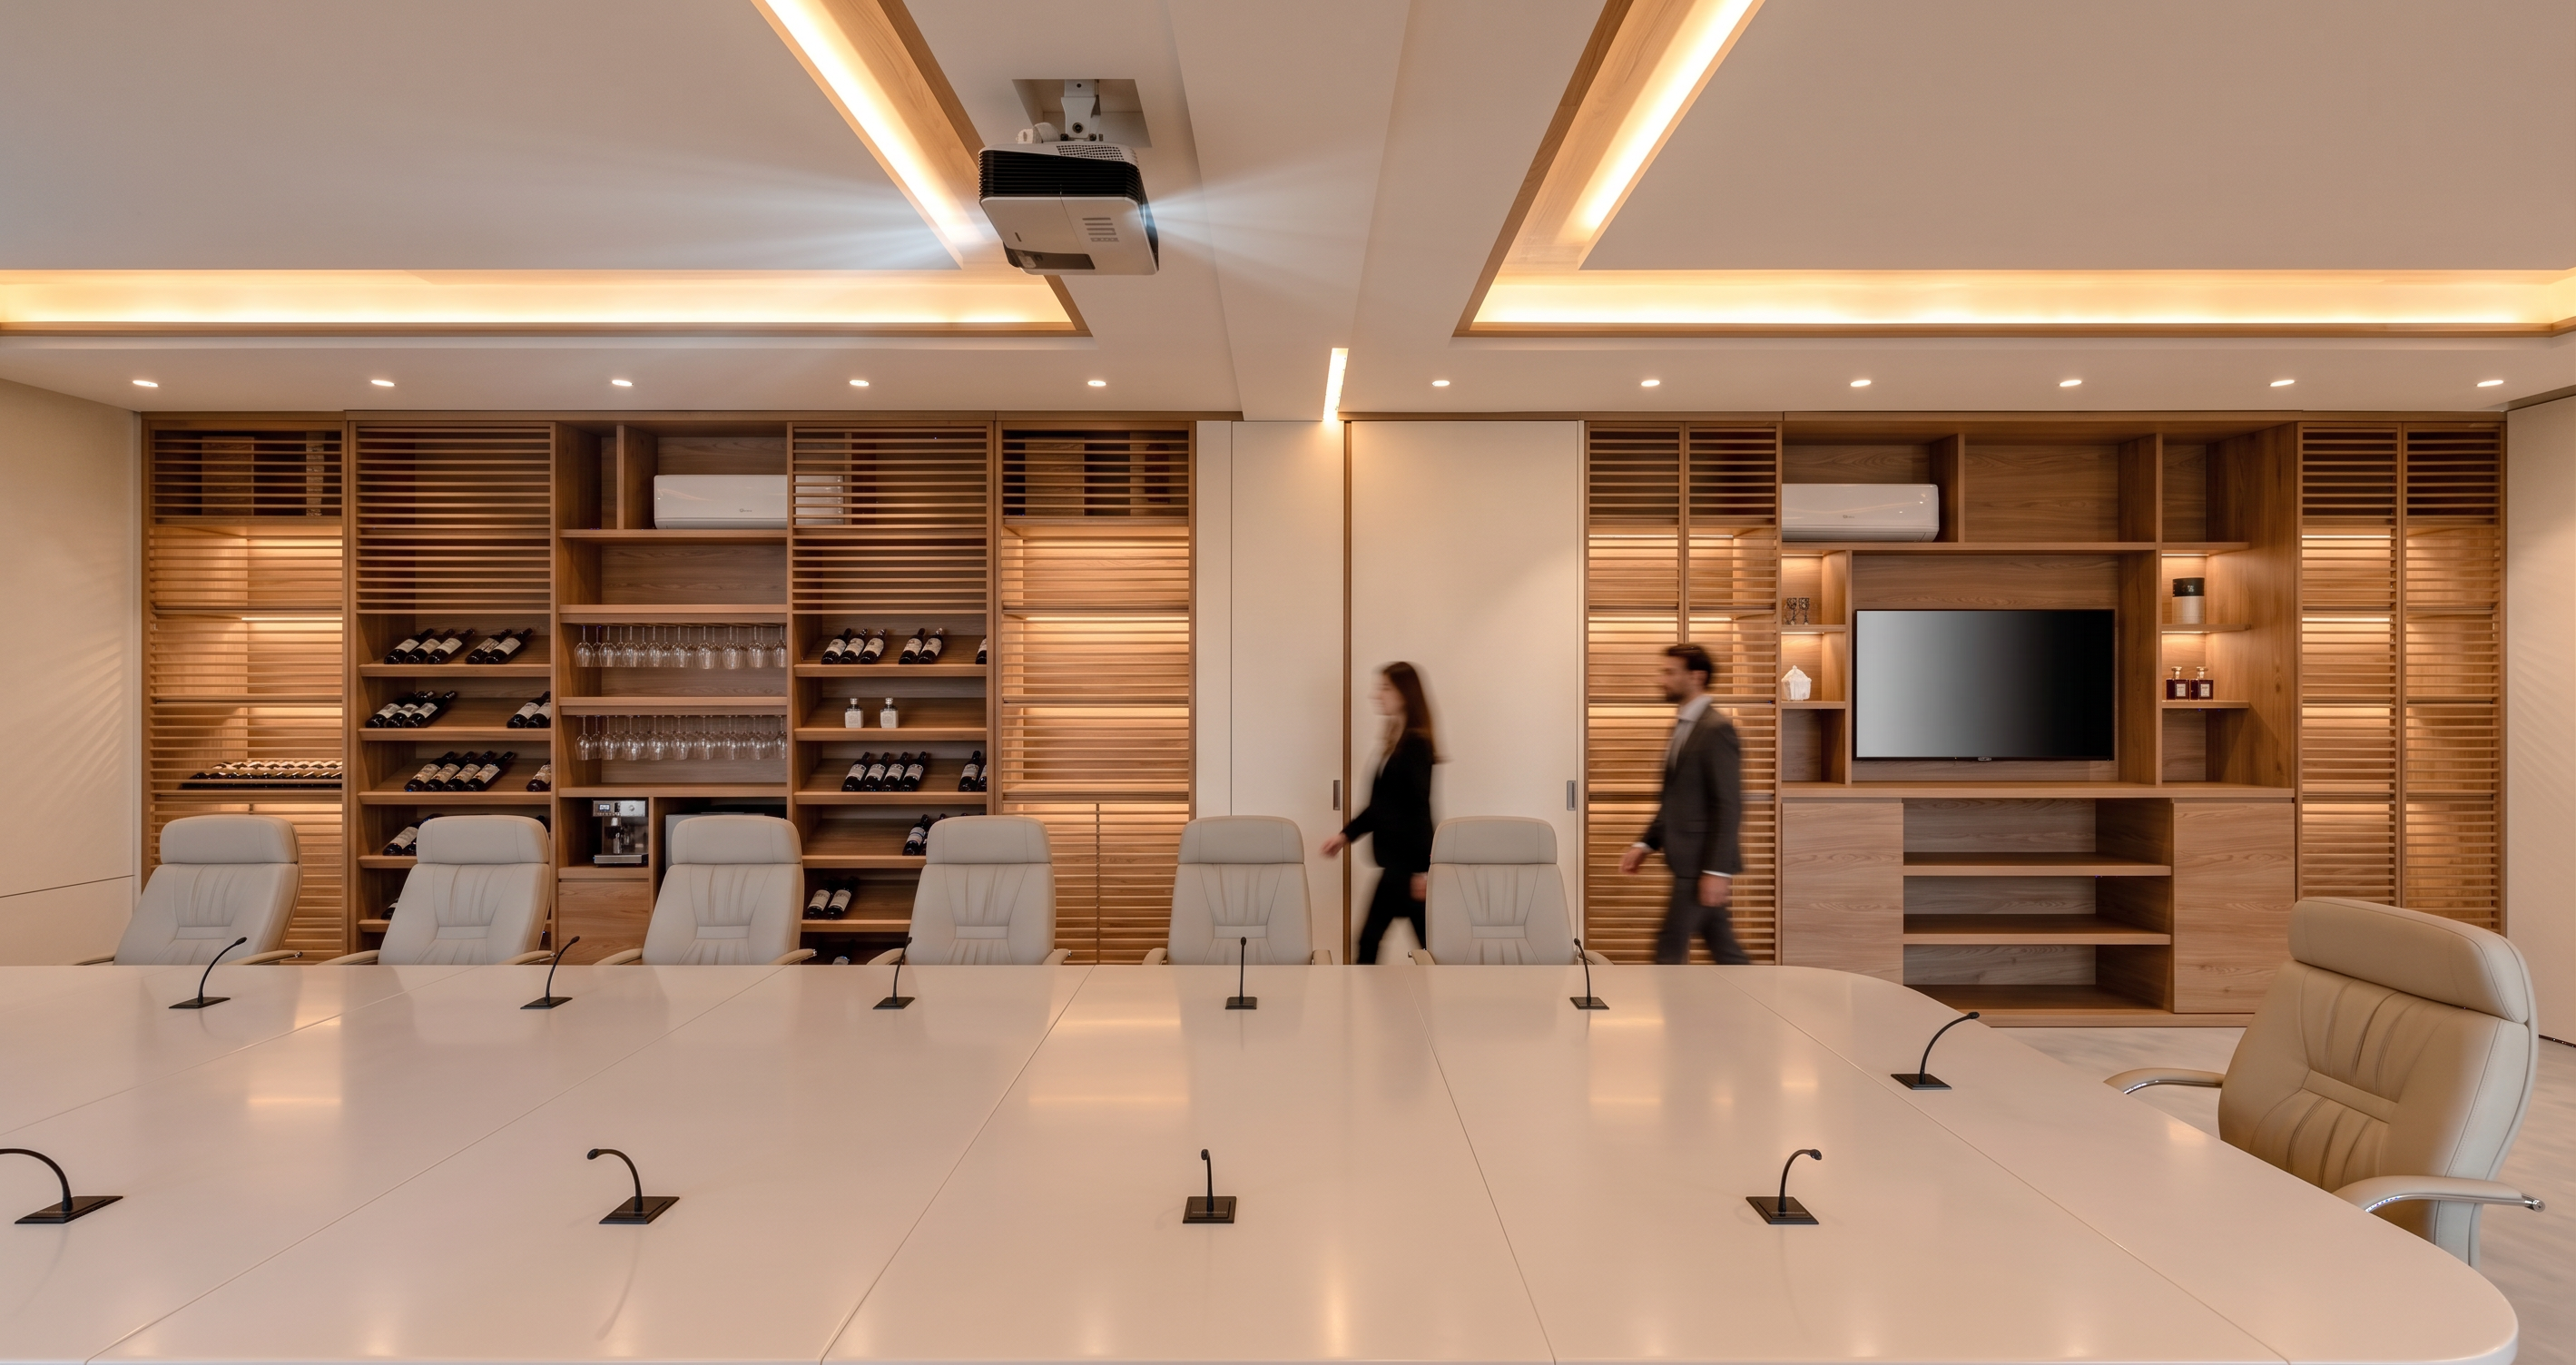
- Create an ultra-photorealistic architectural interior render using the FIRST IMAGE strictly as the base image, preserving 100% of its existing architecture, geometry, dimensions, proportions, camera position, perspective, composition, ceiling configuration, recessed ceiling details, central ceiling beam, projector and its exact mounting position, linear lighting locations, downlight locations, wall configuration, central white retractable/sliding partition panels, doors/openings, custom cabinetry, shelving, horizontal timber slats, air-conditioning units, television and its location, conference table including its exact shape and segmented tabletop design, microphones and their exact positions, office chairs, furniture arrangement, built-in elements, and every other visible object and architectural detail. Do not redesign, relocate, resize, add, remove, simplify, reinterpret, or alter anything from the first/base image. The SECOND IMAGE must be used ONLY as a reference for materials, finishes, textures, lighting quality, and overall level of realism, and must NOT influence the layout, geometry, furniture arrangement, ceiling design, wall configuration, or architectural composition of the base image. Apply the reference image’s sophisticated contemporary executive-office material palette: warm natural medium-tone wood veneer with realistic grain and subtle variation to the existing timber cabinetry, shelving, slatted panels and wood-designated surfaces; smooth warm off-white/ivory finishes to appropriate existing wall and partition surfaces; refined neutral gray finishes where already indicated; and realistic premium upholstery to the existing conference chairs. Give the existing conference tabletop a refined smooth light warm-white/off-white semi-gloss finish with physically accurate soft reflections while strictly retaining its original shape, seams, proportions, and microphone positions. Render the ceiling in a clean warm off-white finish, retaining every existing recessed profile, beam, trim, opening, and lighting position exactly as modeled, with warm concealed LED illumination integrated only where lighting is already represented in the base design and realistic recessed downlights. Maintain the existing projector exactly as shown and render it as a realistic ceiling-mounted projector. Add physically accurate material properties including subtle wood grain depth, realistic roughness, fine surface imperfections, soft fabric texture, brushed or satin metal details, realistic glass and screen reflections, natural shadow transitions, ambient occlusion, global illumination, ray-traced reflections, and accurate contact shadows. Use warm-neutral professional interior lighting around 3000K–3500K, balanced exposure, soft indirect illumination, subtle cinematic contrast, realistic light bounce, and natural highlights similar to the second image, while avoiding excessive yellow/orange tones. The final result should resemble a high-end professionally photographed executive conference room, with realistic PBR materials, crisp architectural details, natural depth, accurate scale, high dynamic range, subtle photographic depth, and 8K-quality photorealism, while ensuring that the FIRST IMAGE remains completely unchanged in design and composition—the transformation must be material, finish, lighting, texture, and realism enhancement only.
- Created
- August 13, 2026