Skip to content
Render tools
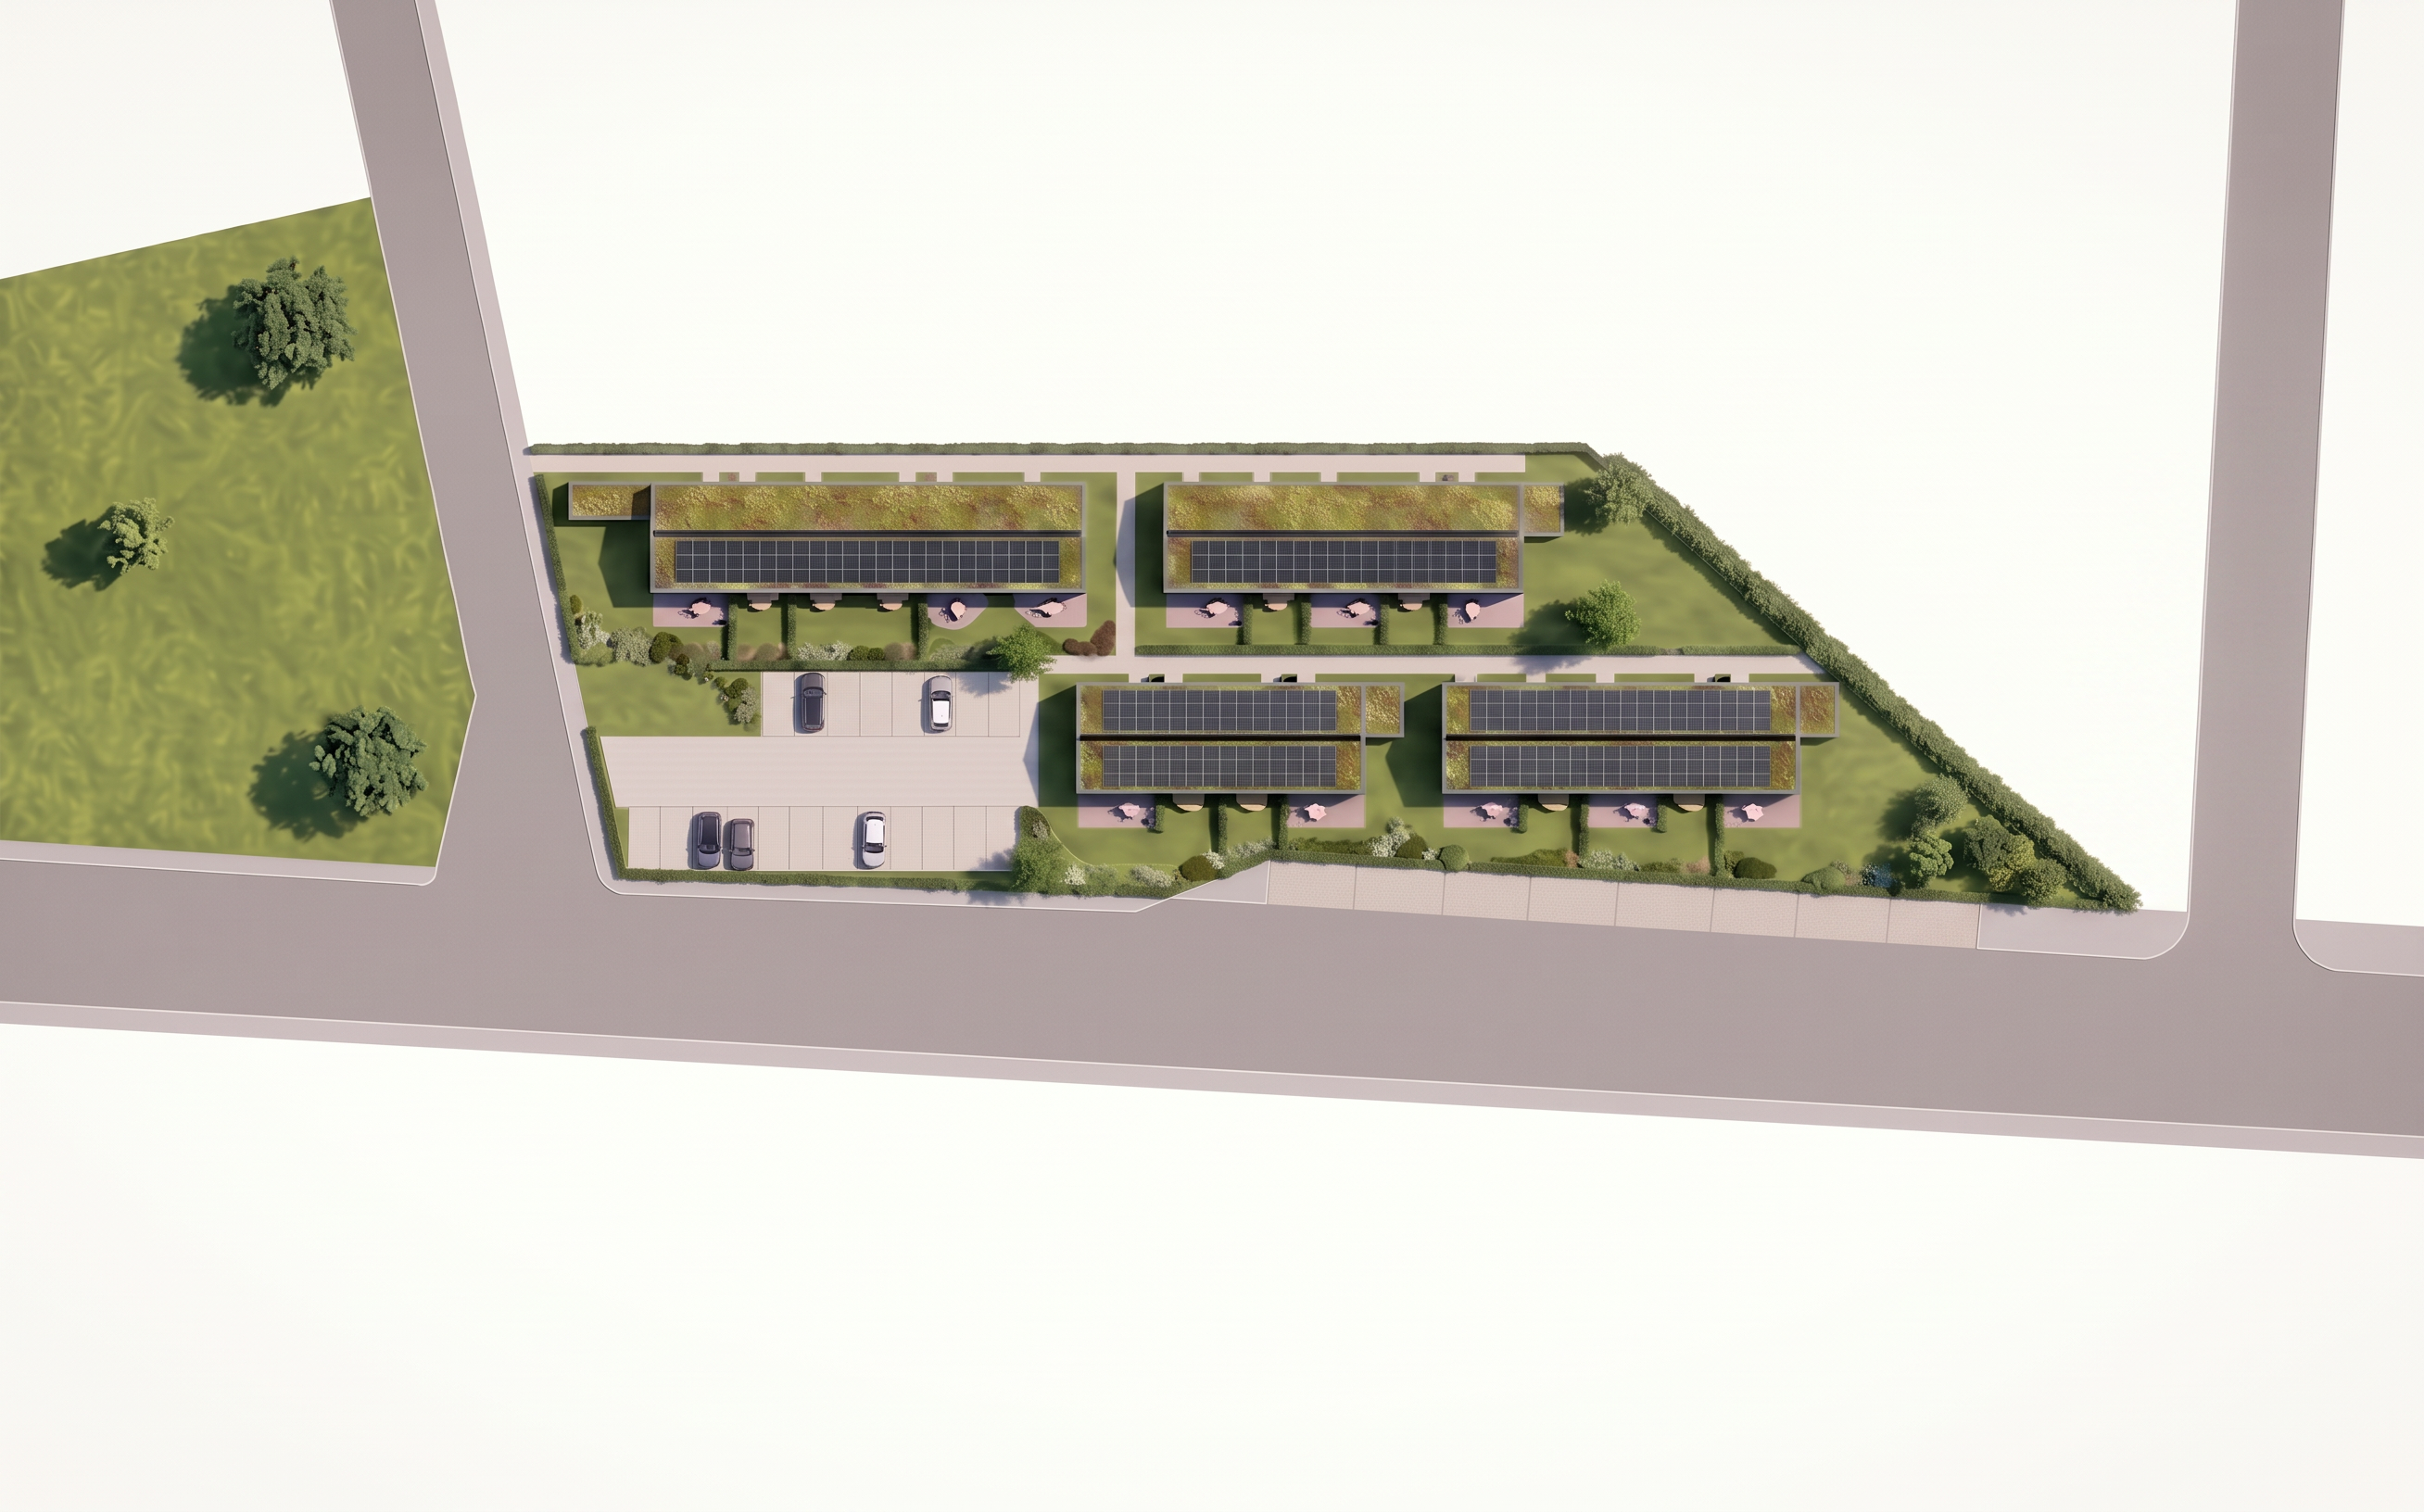
Apply the following precise corrections to the uploaded site rendering. Preserve the existing composition and site geometry.

ROOFS — apply consistently to ALL FOUR main buildings: upper-left, upper-right, lower-left and lower-right.

Each roof must have two clearly distinguishable slopes separated by a straight longitudinal ridge:

UPPER side of the ridge in the image: entirely green sedum roofing, NO photovoltaic panels.
LOWER side of the ridge in the image, facing the private terraces: photovoltaic panels covering the whole slope, starting immediately below the ridge and ending just short of the lower eave. Cover the full roof length with narrow edge margins.
Correct the reversed materials on BOTH LOWER buildings: PV must be BELOW the ridge, never above it.
Render the ridge of EVERY main roof as a thin, continuous BLACK ridge cap, clearly visible between the green slope and PV slope. Do not make it a wide black band. Preserve roof outlines, building footprints and small annex roofs.
SITE CORRECTIONS:

Replace the small narrow paved path connecting the left public street to the left end of the upper-left building, immediately above the parking entrance, with matching natural grass. Preserve the vehicle entrance.
Keep the diagonal right property-boundary hedge continuous, closing its small gap.
Remove the newly added landscaped strip OUTSIDE the diagonal right property boundary. Restore the plain white background there. Preserve the original tapered plot shape and public streets.
Remove the four cars along the bottom public street if present. Keep all cars within the internal parking lot on the left.
Preserve all other buildings, paths, parking bays, terraces, gardens, trees, lighting, sharp textures and camera framing. No new elements or redesign.

Create renders like this

Turn any photo, sketch, or floor plan into a photoreal render in seconds.