- Prompt
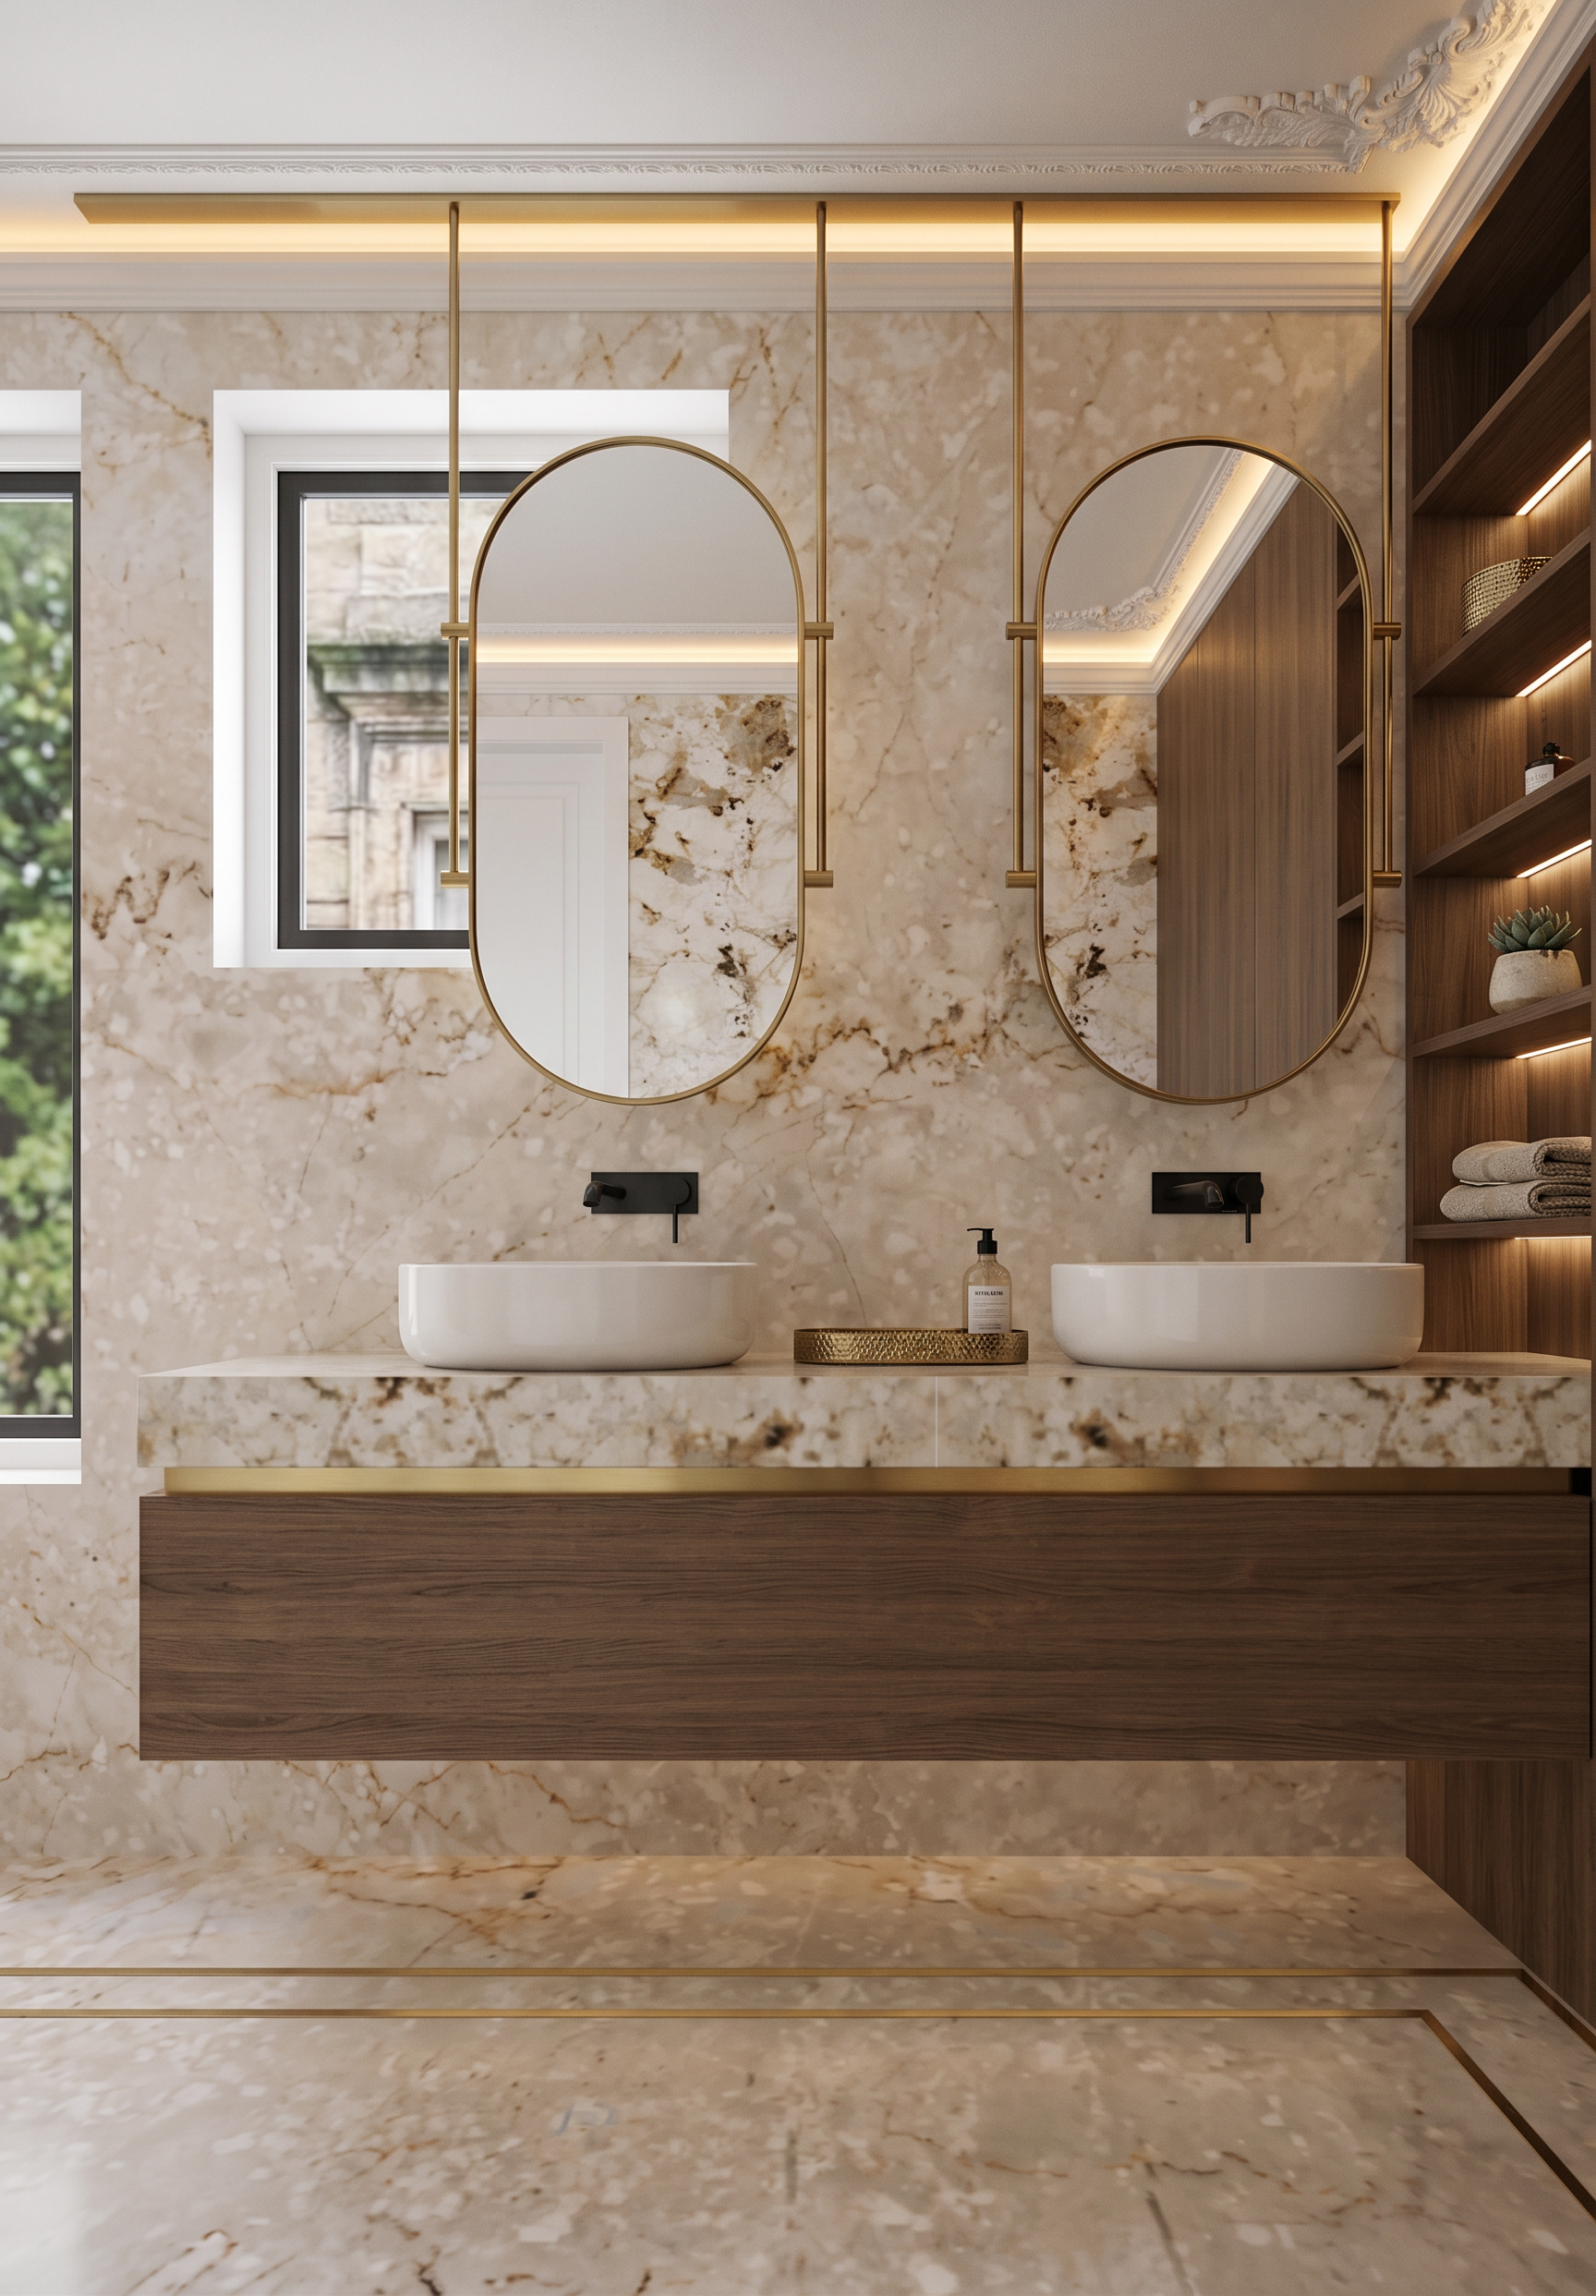
- Create a highly photorealistic, premium interior visualization of this bathroom based strictly on the provided 3D model.
IMPORTANT: Do not change the image dimensions, aspect ratio, camera angle, camera position, perspective, composition, geometry, proportions, architectural design, furniture placement, or any existing elements of the 3D model. Preserve the original scene exactly as provided. Do not add, remove, move, replace, or redesign any architectural or furniture elements.
Use the same color palette, materials, mood, and overall atmosphere as Reference Image 1, as it represents the same bathroom viewed from a different angle. The final rendering should feel visually consistent with Reference Image 1.
The floor should match Reference Image 1 exactly in terms of marble appearance, color palette, and overall material impression. Preserve the existing black strips in the floor design, rendering them as elegant brass profiles/inlays.
The walls should also be finished with marble consistent with the floor and with the marble appearance shown in Reference Image 1.
The ceiling must remain white. The ceiling cornice should be slightly dropped below the main ceiling, creating a recessed gap behind it with concealed warm LED lighting. Carefully preserve and clearly render all decorative plaster moldings on the ceiling exactly as shown in the original 3D model.
The two vessel sinks should remain in their original positions and proportions. They are placed on a marble countertop/slab. Use the marble texture and material appearance from Reference Image 2 for the countertop.
Below the marble countertop, include the existing brass accent strip/profile, followed by the floating console vanity in darkened oak wood. Choose a sophisticated, slightly darkened oak tone that harmonizes naturally with the marble, brass details, and the warm, elegant atmosphere of the bathroom.
The shelves on the right side should be made from the same darkened oak wood as the vanity. Preserve their exact geometry, position, orientation, and proportions from the 3D model. Add subtle integrated warm LED lighting to the shelves and style them with elegant, minimal, high-end bathroom decor that complements the overall interior without overcrowding the composition.
Above the sinks, preserve the oval mirrors exactly as designed. The mirrors should have refined brass frames and be suspended on brass rods attached to a brass ceiling-mounted rail. The construction should clearly suggest that the mirrors are designed to slide along the brass rail.
The visible area behind the left mirror represents a window. Preserve its exact position and dimensions and render it realistically with a clean white window frame.
The dark rectangle on the left side is also a window. Preserve its exact position and proportions and render it with a clean white window frame. Both windows should remain exactly where they are in the original 3D model.
The wall-mounted faucets above the sinks should be finished in refined brass, matching all other brass details in the interior.
Create realistic, high-end architectural visualization with natural material textures, realistic marble veining, refined brass reflections, subtle wood grain, soft warm LED illumination, realistic shadows, natural reflections, and carefully balanced lighting.
The final image should look like a professionally photographed luxury bathroom interior, fully photorealistic and consistent in color, atmosphere, materials, and visual quality with Reference Image 1.
STRICTLY PRESERVE the original 3D model, image proportions, aspect ratio, camera settings, perspective, composition, geometry, furniture, and design. The task is to create a photorealistic rendering of the existing design, not to redesign or reinterpret it.
- Created
- August 28, 2026