- Prompt
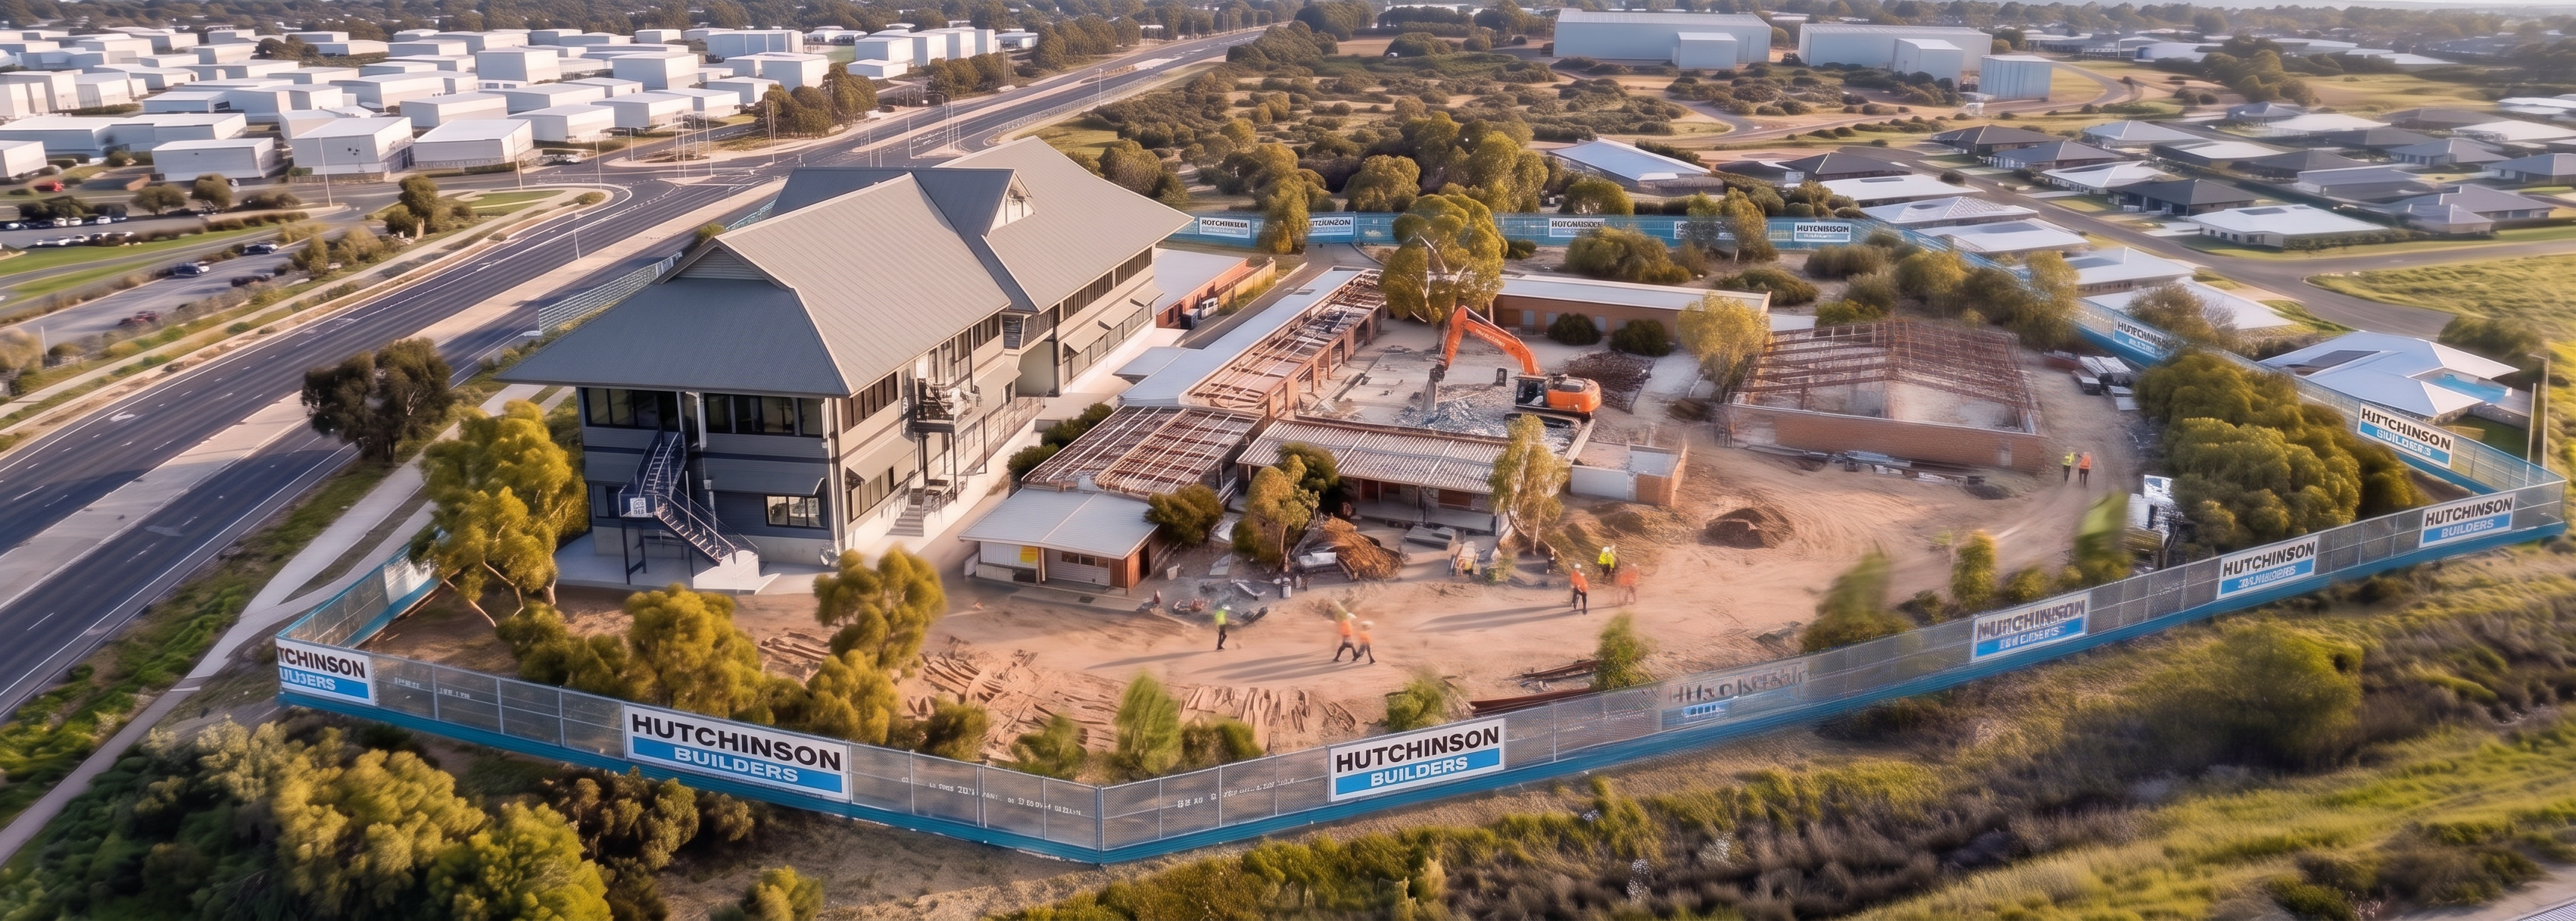
- Use the demolition aerial image as the primary reference and preserve it exactly as shown. Lock the camera position, aerial angle, perspective, site boundaries, roads, surrounding buildings, vegetation, lighting conditions, shadows, fencing, site sheds, demolition works, earthworks, stockpiles, machinery and all existing site elements. Do not alter, move, remove or replace any existing object in the demolition image.
Add only the new building located on the left-hand side of the concrete slab reference image. Position this building in the exact same location, footprint, orientation, scale and setback shown in the concrete slab render. Match the architectural form, roof shape, façade colours, materials, glazing and external stair arrangement exactly as shown in the reference.
Integrate the building naturally into the demolition scene while retaining all demolition activities and structures elsewhere on the site. The remainder of the site must remain unchanged and continue to show demolition and clearing works in progress.
Maintain identical camera height, lens, perspective, horizon line and composition as the demolition image. Preserve the same late-afternoon lighting, sun direction, shadow lengths and colour grading.
Do not introduce any additional buildings, slabs, roads, landscaping, pavements, vehicles, construction equipment, temporary works or site modifications other than the single building from the concrete slab reference.
Produce a photorealistic construction progress image that appears as the next stage after demolition, with only the left-hand building constructed and the remainder of the site unchanged from the demolition reference image.
Critical requirements: keep the demolition image geometry 100% unchanged, keep the original viewpoint 100% unchanged, add only the left-hand building from the slab render, no other modifications whatsoever.
- Created
- August 23, 2026