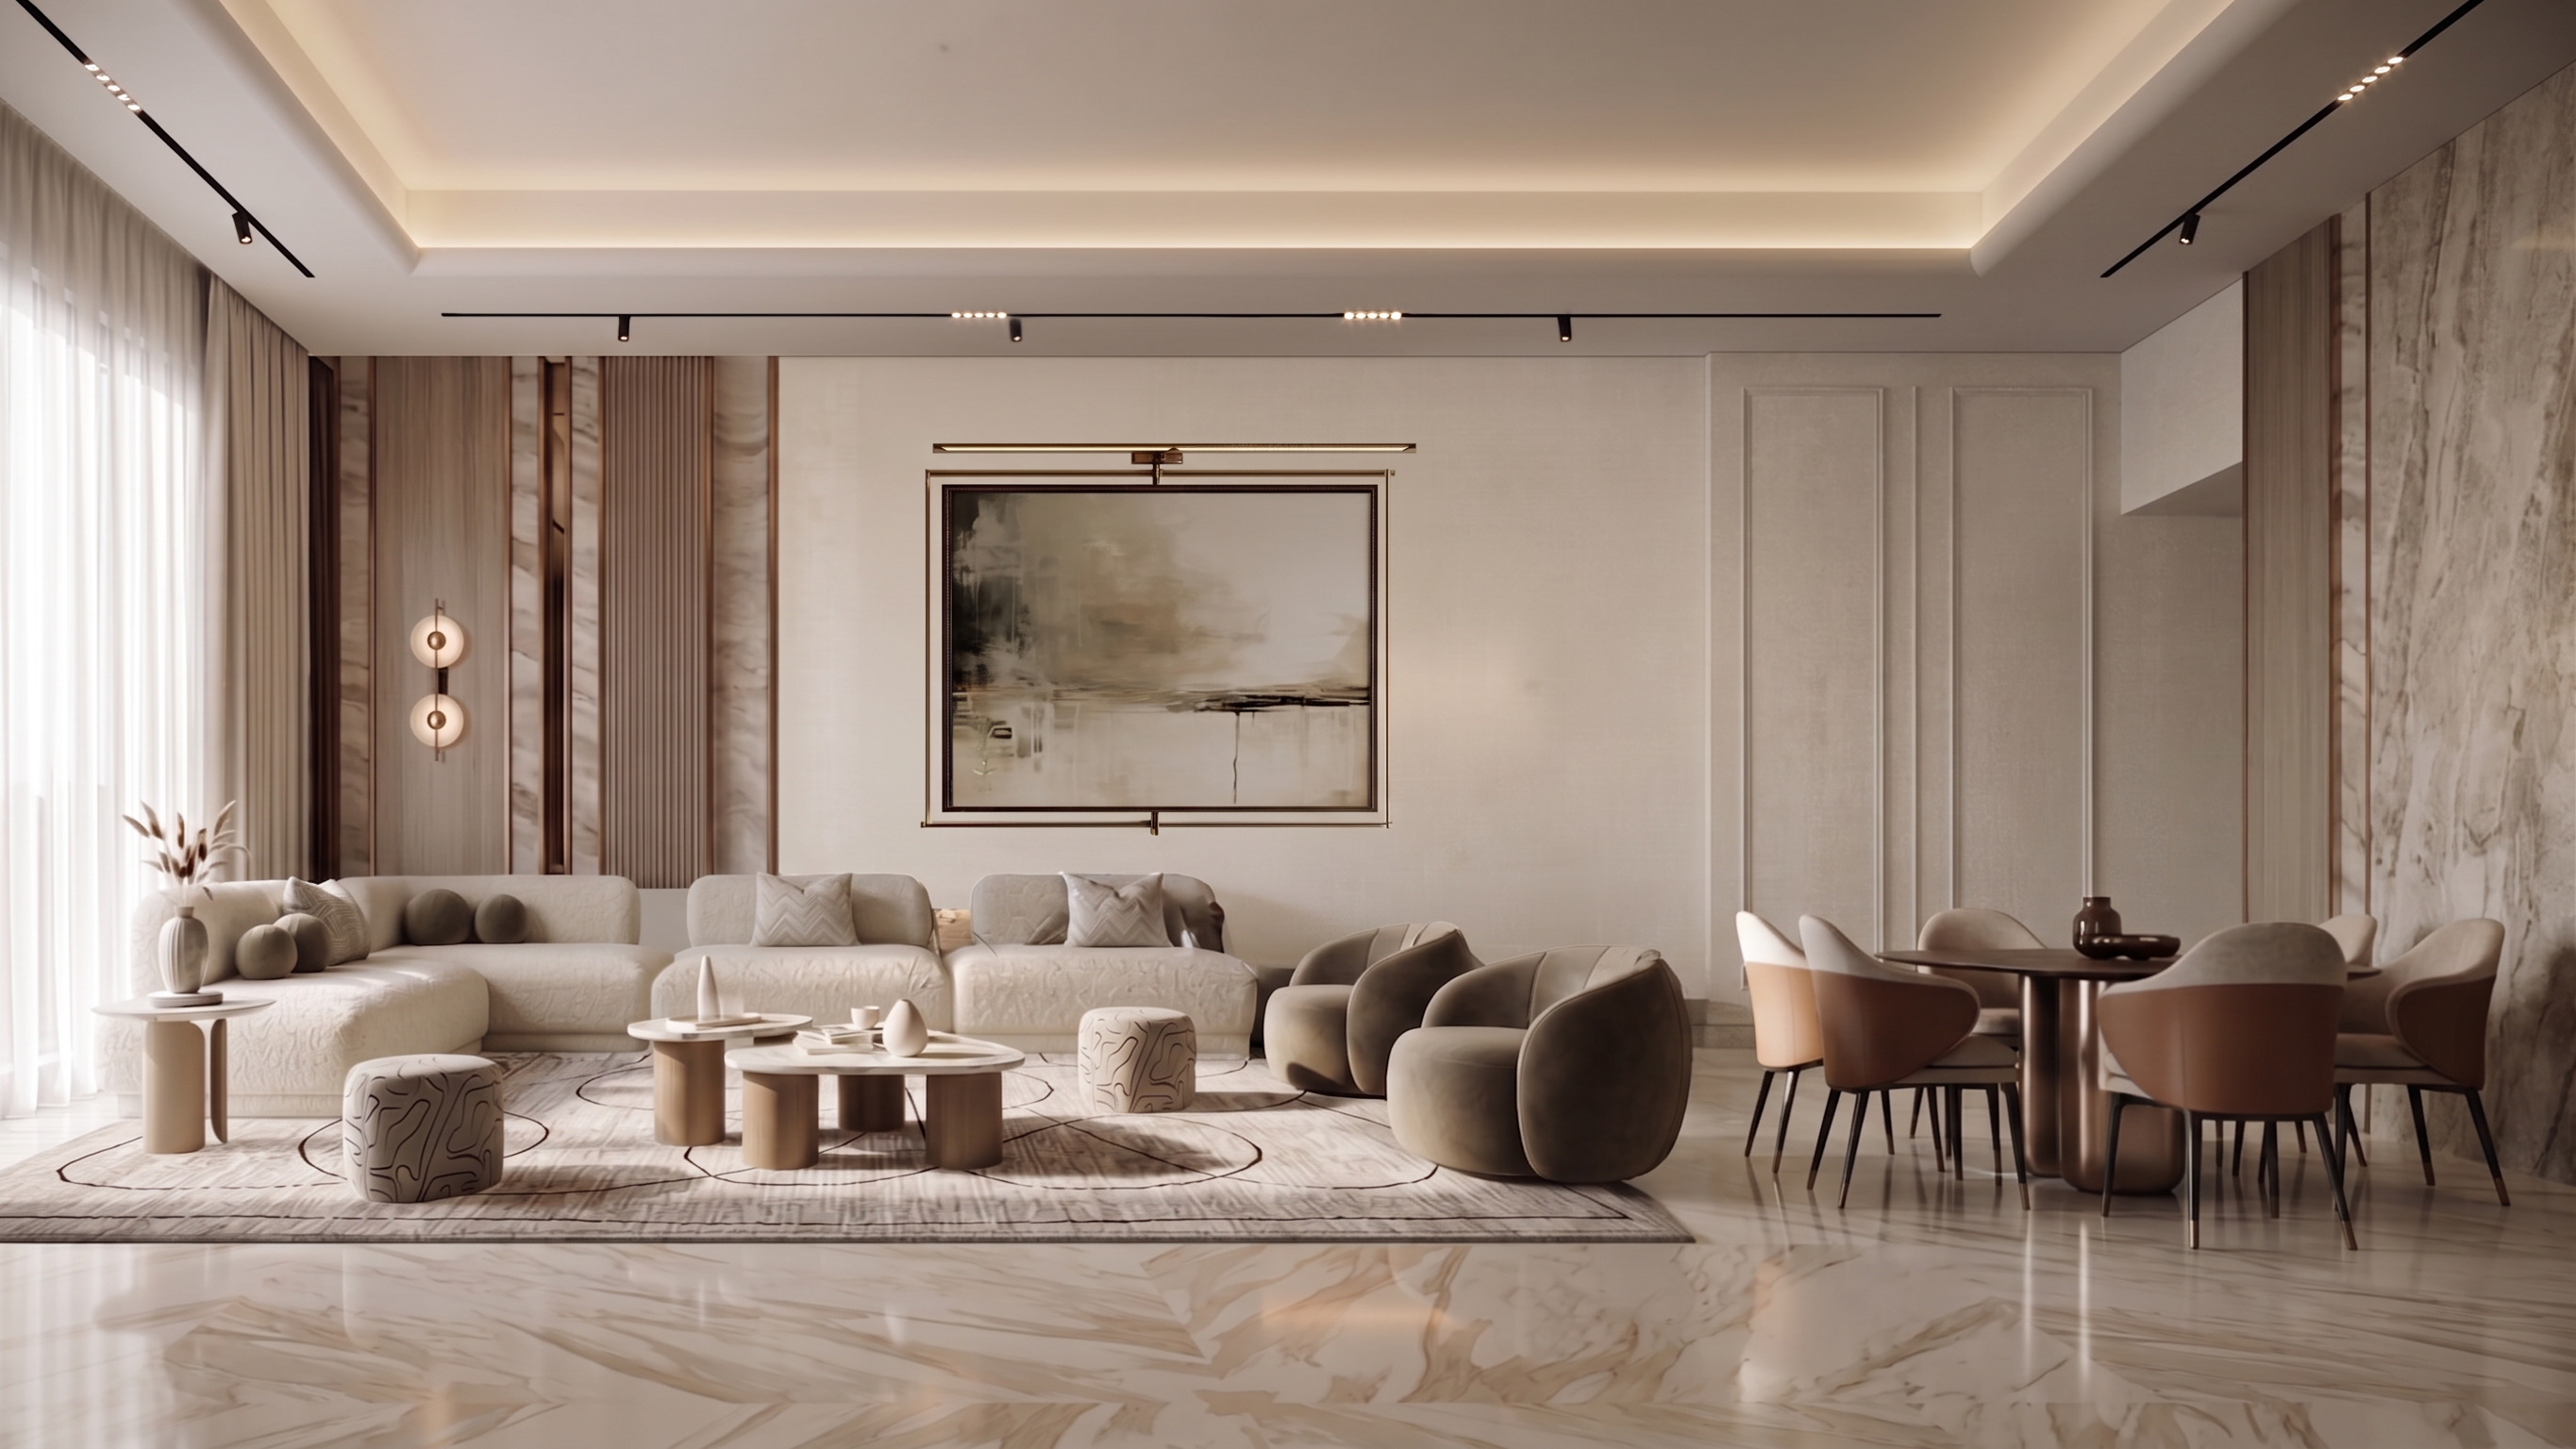
- Prompt
- Use the uploaded image as the base render and treat it as the approved design. Use the attached layout plan only to determine the correct position, orientation, scale, and perspective of the dining area. Your task is not to redesign the space. Your task is to professionally complete this render as if it were finished by a senior architectural 3D visualizer. Requirements Add the dining table and chairs according to the approved layout. Position, rotate, and scale the dining furniture so it perfectly matches the camera angle, perspective, and depth of the existing render. Integrate the dining area naturally with the living room so it appears to belong to the original 3D scene. Add the missing right-side wall according to the layout and continue the existing architectural language. Continue the ceiling, cove lighting, wall finish, skirting, and floor reflections naturally into the new area. Match all materials, lighting, shadows, reflections, ambient occlusion, and global illumination with the existing render. Refine every material to premium photorealistic quality while maintaining the same neutral luxury palette. Correct perspective, contact shadows, scale, proportions, and lighting interaction so there are no visible compositing artifacts. Preserve the existing living room exactly as it is. Improve only realism and material quality without changing the approved design. Keep the image bright with soft natural daylight and elegant luxury ambience. Maintain the same render quality, realism, and visual standard across the entire image. Final Goal The final result should look as if the dining area, walls, furniture, lighting, and materials were originally modeled and rendered together in one complete 3D scene. No part of the image should appear edited, composited, or added later. The transition between the existing render and the newly completed dining area must be completely seamless.
- Created
- July 20, 2026
- Seed
- 0