- Prompt
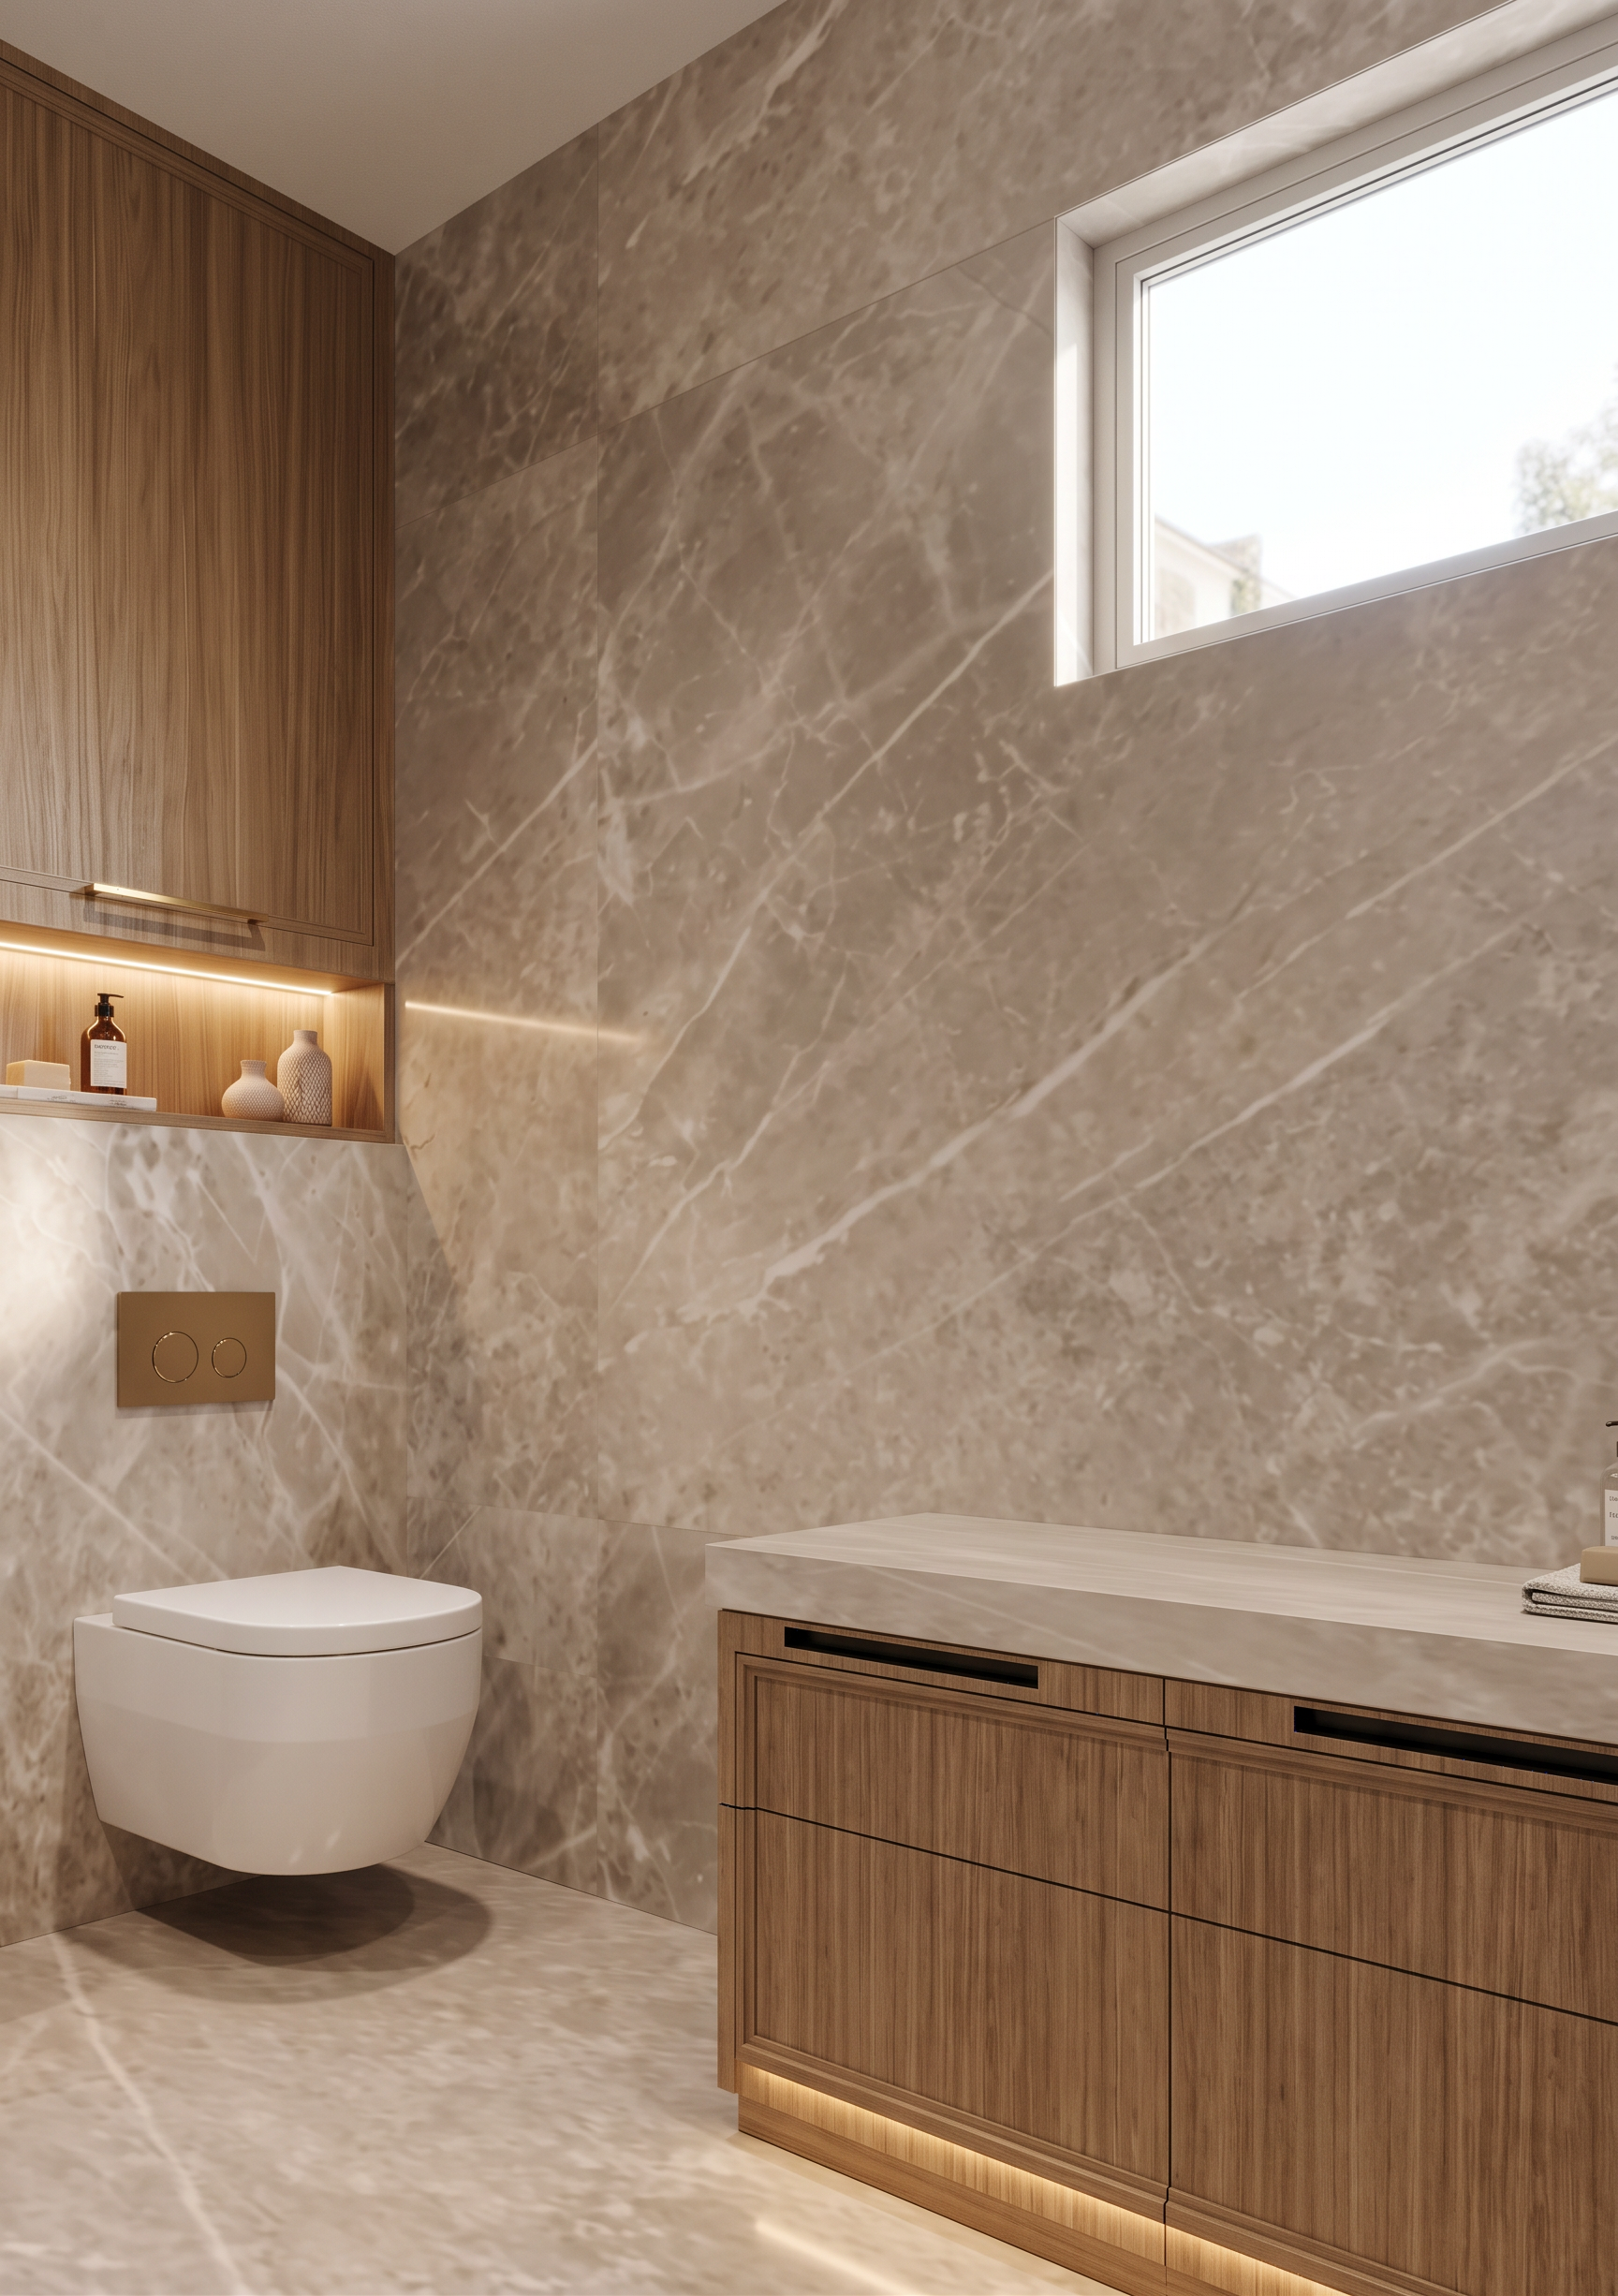
- Create a photorealistic render of the bathroom shown in the provided image.
IMPORTANT: Do NOT change the image dimensions, aspect ratio, camera position, camera angle, perspective, composition, geometry, proportions, layout, or architectural design. Preserve the existing 3D model exactly as it is. The reference image shows the SAME bathroom from a different camera angle, so use Reference 1 strictly as a material, color, furniture, and design reference for the same space.
Preserve the exact wood color and finish shown in Reference 1.
Preserve the exact marble color, tone, veining, and overall appearance of the marble used on the walls, wall cladding, floor, and other marble surfaces, matching Reference 1 as closely as possible.
Above the toilet, preserve the exact composition from Reference 1:
• the wall-mounted cabinet;
• the open shelf;
• the decorative objects on the shelf;
• their proportions, positioning, and overall visual appearance.
Do not redesign or reinterpret this composition.
The vanity/cabinet on the right side must have the SAME design, proportions, style, and wood color as the console vanity shown in Reference 1. However, in this bathroom it must extend all the way down to the floor, exactly as shown in the existing 3D model. Keep its current position and geometry.
The top surface of this cabinet should have a 5 cm thick marble top. Use exactly the same marble color, tone, and finish as the marble on the floor and walls.
Add tasteful, realistic, understated bathroom accessories and decor where appropriate, keeping the overall interior elegant and cohesive. The decor must look natural and premium and must not alter the existing design or composition.
The blue rectangle at the top of the wall is a WINDOW. Do not interpret it as a blue wall or decorative element. Render it as a real window with a simple, neutral WHITE window frame. Keep its exact existing position, size, proportions, and geometry.
Lighting should be realistic, soft, and natural, with accurate material reflections and shadows. The final result should look like a high-end professional architectural photograph of a real finished bathroom.
ABSOLUTELY DO NOT:
• change the camera;
• change the camera angle or perspective;
• crop or resize the image;
• change the aspect ratio;
• modify the room geometry;
• move walls, doors, windows, sanitary fixtures, furniture, or architectural elements;
• redesign the bathroom;
• change the composition;
• change the wood color;
• change the marble color or pattern;
• add unnecessary architectural elements;
• reinterpret the blue window area as anything other than a window.
Only improve the realism, materials, lighting, textures, furniture finish, and appropriate decorative details while strictly preserving the original design and geometry.
- Created
- October 12, 2026