- Prompt
- Create a high-end photorealistic interior render of the bathroom, using the provided image as the exact base.
CRITICAL — DO NOT CHANGE:
• Do not change the image dimensions or aspect ratio.
• Do not change the camera position, camera angle, perspective, or framing.
• Do not change the geometry, proportions, dimensions, or spatial layout.
• Do not redesign, move, add, or remove any architectural or furniture elements.
• Preserve the exact composition and all existing shapes indicated in the original image.
• Only apply realistic materials, lighting, reflections, and detailing according to the instructions below.
MATERIALS AND DESIGN
Walls:
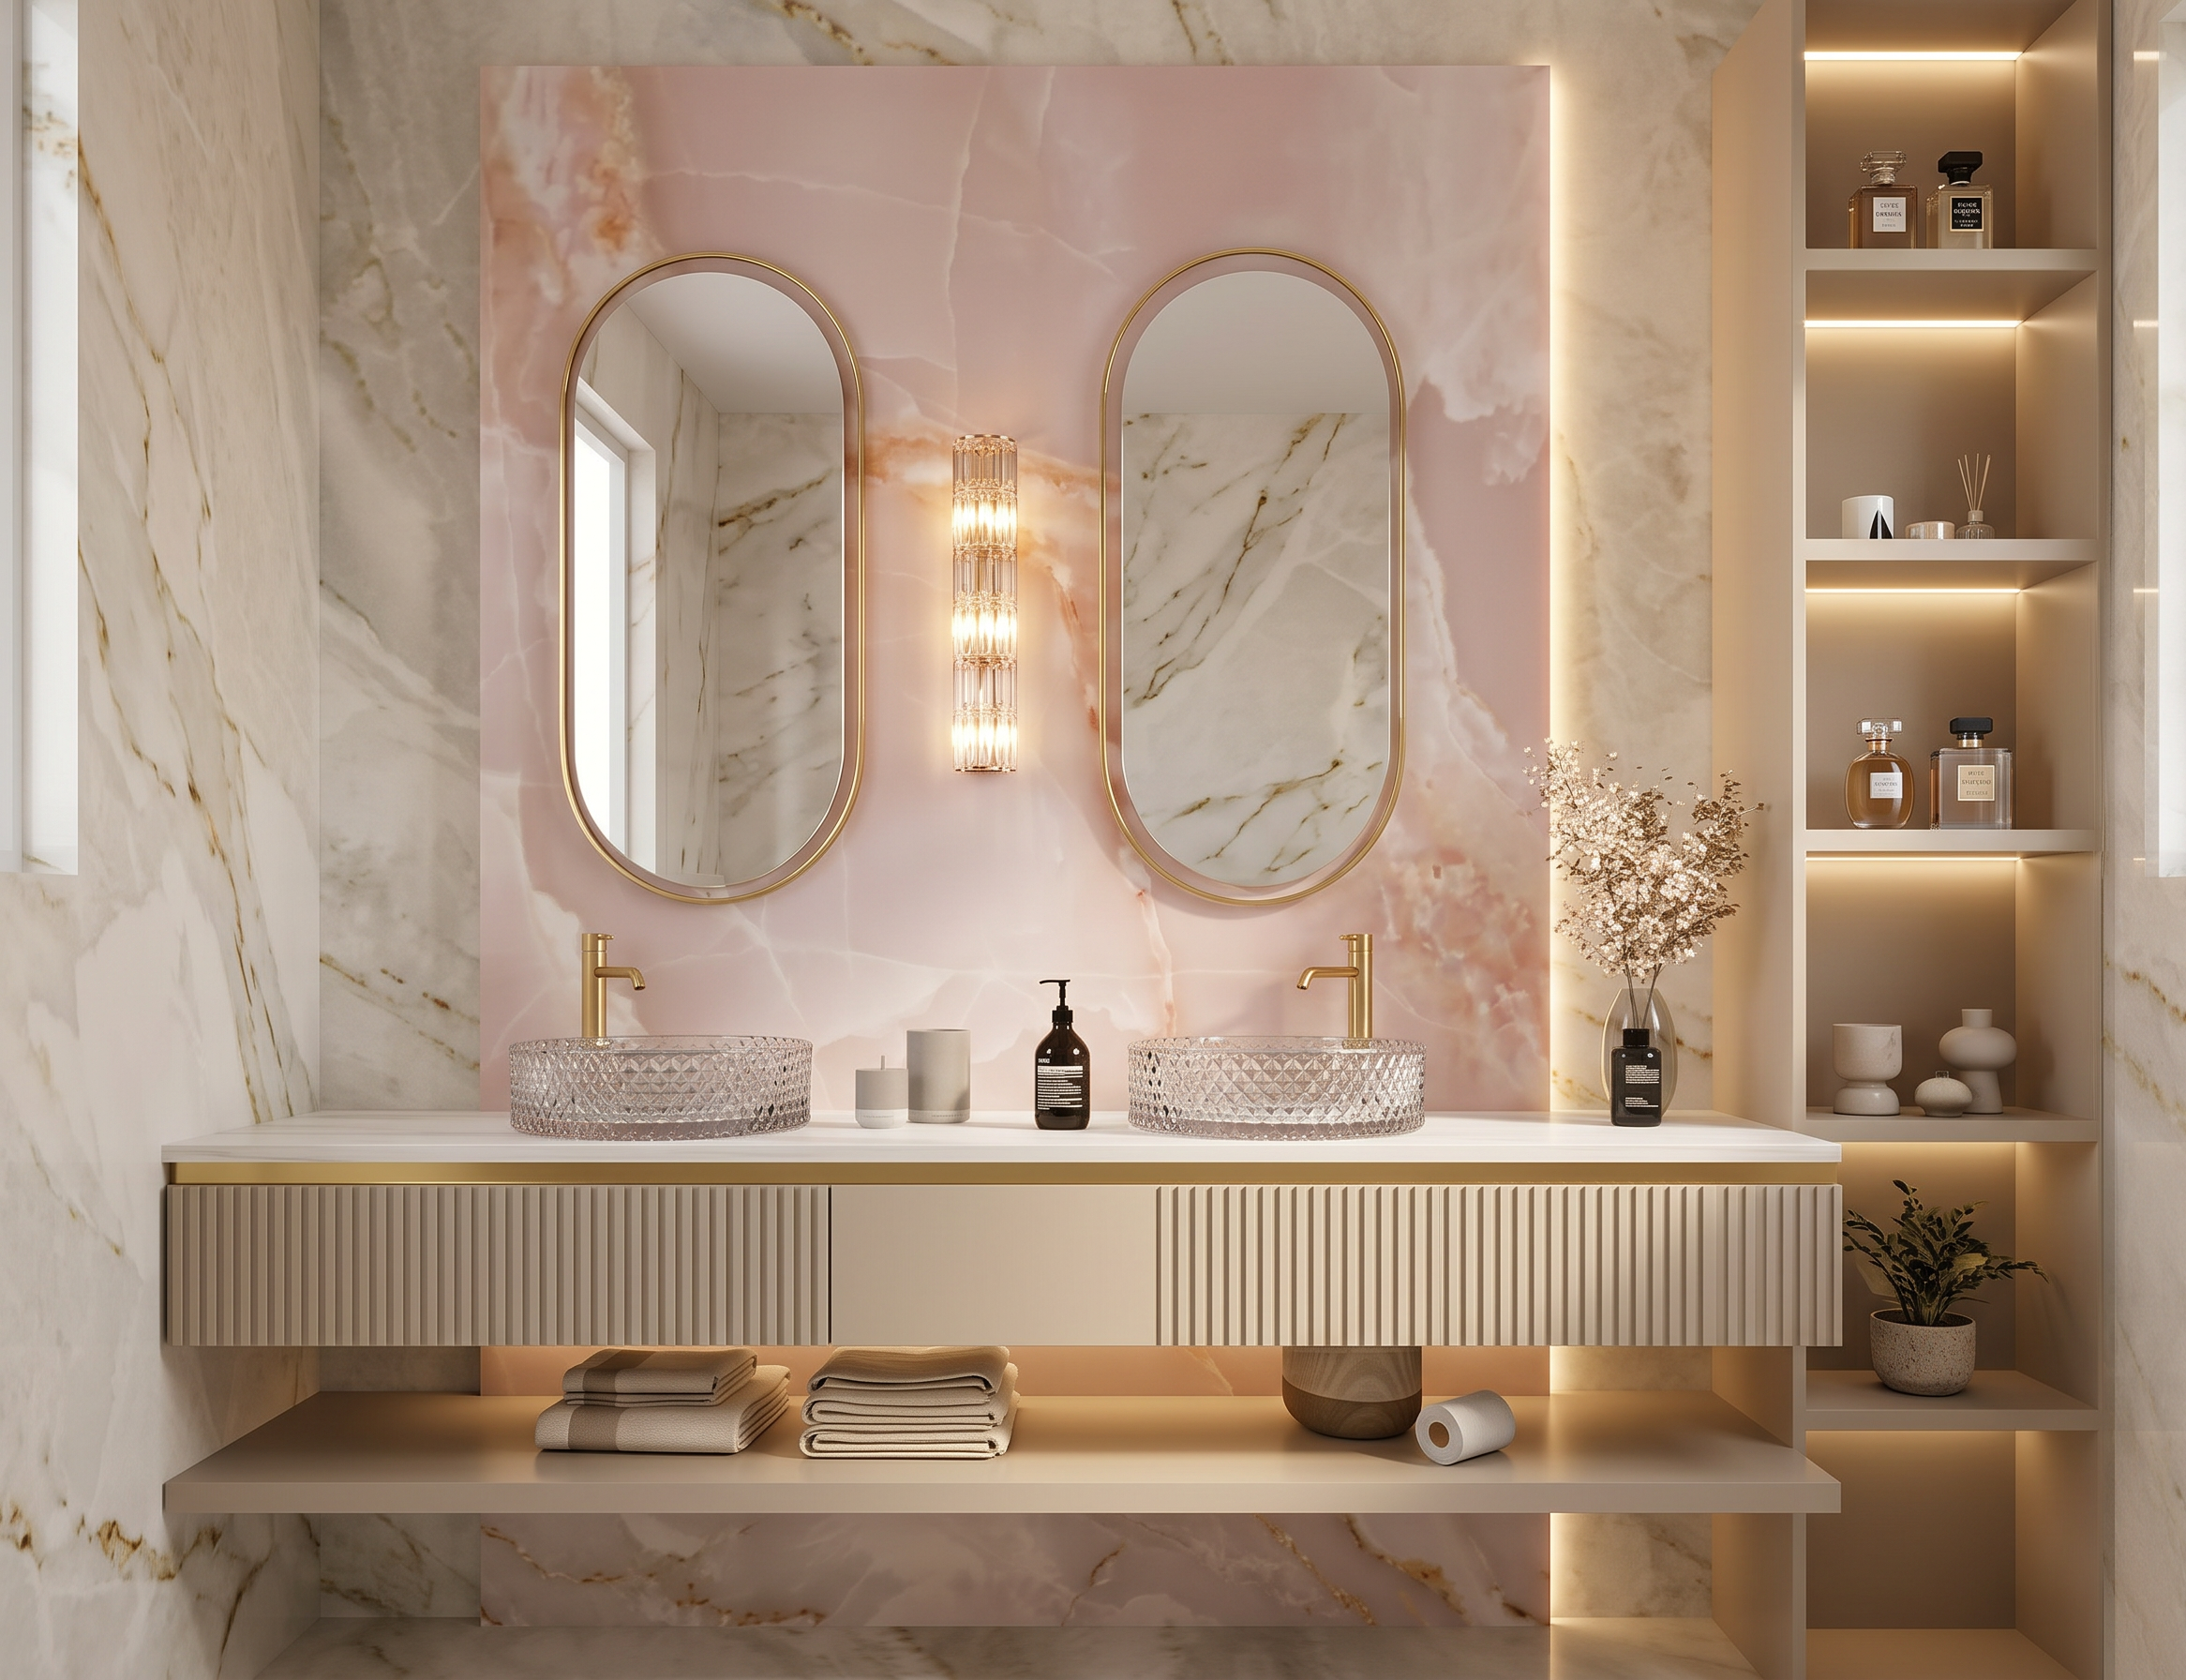
• The main wall surfaces are finished in a light beige marble, matching the material and appearance shown in Reference 1.
• The large wall panel behind the sinks is finished in pink onyx, matching Reference 1.
• The pink onyx panel projects slightly forward from the main beige marble wall.
• Add a subtle, elegant concealed LED backlight behind the right edge of the pink onyx panel, creating a soft glow between the panel and the beige marble wall.
Mirrors:
• The elements marked in black represent oval mirrors.
• Make them elegant oval mirrors with very thin gold metal frames.
• Keep their exact size, shape, position, and proportions from the base image.
Wall sconces:
• The element marked with the pink rectangle represents a wall-mounted decorative light fixture.
• Recreate the fixture according to Reference 2.
• Keep its exact position and dimensions from the base image.
• Use warm, sophisticated lighting appropriate for a luxury bathroom.
Faucets:
• The elements marked in black around the sinks represent the faucets.
• Make all faucets gold-colored, with a refined high-end finish.
• Keep their exact positions and proportions.
Sinks:
• The elements marked in grey represent the washbasins.
• Make them transparent crystal/glass washbasins, matching the appearance and character of Reference 3.
• They should be realistically transparent with physically accurate glass refraction, reflections, thickness, and subtle highlights.
• Keep their exact shape, size, and position from the original image.
VANITY
• The main vanity cabinet should be warm beige.
• The cabinet fronts have a vertical fluted/ribbed texture.
• The horizontal strip marked in black should be finished in gold, matching the gold of the mirrors and faucets.
• Keep the exact cabinet geometry, dimensions, and position.
Lower shelf:
• Directly underneath the vanity there is an additional open shelf for folded towels.
• Add neatly arranged high-quality beige/cream towels.
• The entire lower shelf should have integrated concealed LED lighting, producing a soft warm glow.
RIGHT-SIDE OPEN SHELVING
• The beige rectangular element on the right represents open shelves oriented toward the washbasins.
• Keep the exact geometry, dimensions, and position.
• Make the shelves the same refined beige material as the vanity.
• Add integrated warm LED strips to the shelves.
• Add tasteful luxury bathroom décor: elegant perfume bottles, small decorative objects, minimal ceramic pieces, and subtle greenery.
• Keep the styling sophisticated, minimal, and uncluttered.
LIGHTING AND REALISM
Create a luxury residential bathroom atmosphere with:
• warm neutral architectural lighting;
• realistic indirect LED illumination;
• physically accurate marble and onyx textures;
• realistic translucent pink onyx with natural veining and subtle light transmission;
• realistic transparent crystal/glass sinks;
• realistic gold metal reflections;
• natural mirror reflections;
• soft shadows and realistic ambient occlusion;
• high-quality global illumination;
• subtle material imperfections and micro-textures;
• realistic reflections and refractions.
The final result must look like a real professionally photographed luxury bathroom, not a CGI-looking image.
- Created
- October 5, 2026