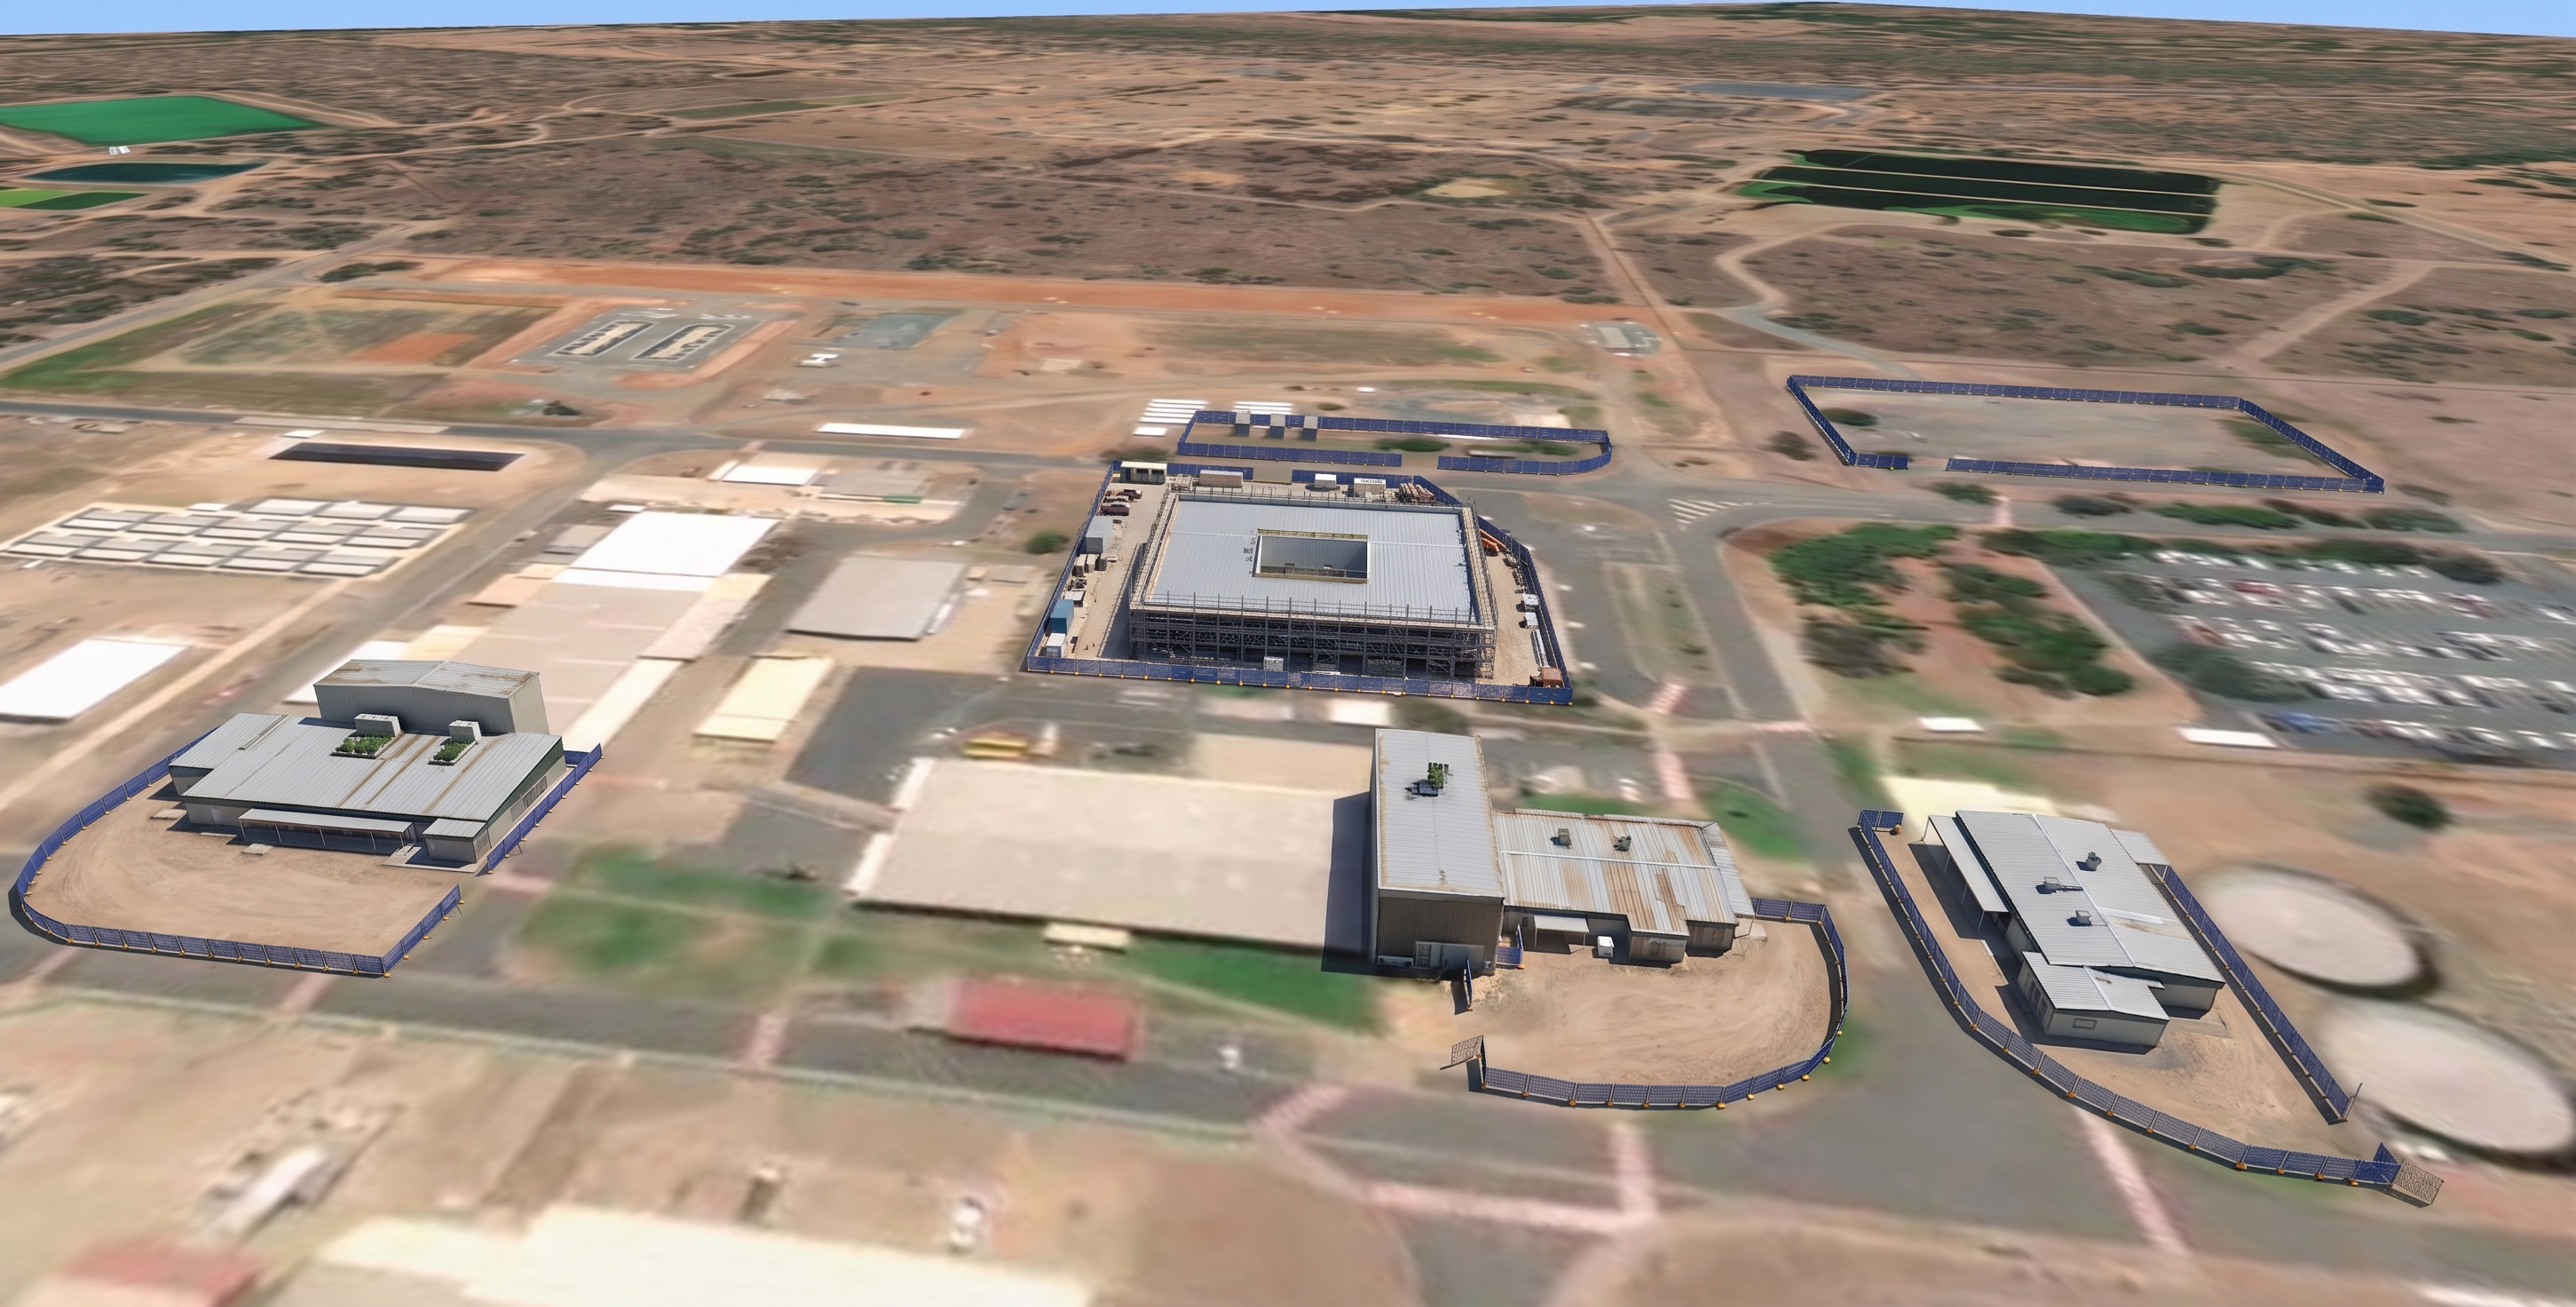
- Prompt
- Create a high-quality photorealistic aerial render of this construction site based strictly on the provided base image. CRITICAL: - Maintain the exact site layout, geometry, building footprints, fencing, roads, and terrain. - Do NOT add, remove, or reposition any buildings or site features. - Preserve all existing fencing exactly as shown (alignment, extents, and boundaries). 3D vs 2D REQUIREMENT (VERY IMPORTANT): - Only the four defined site work zones are to be rendered in full 3D and photorealistic detail. - All surrounding buildings and background structures must remain flattened and image-based (2D), blending seamlessly with the aerial imagery. - Remove any semi-3D or inconsistent model appearance in the background. - Ensure a clear visual hierarchy: focus areas = 3D, all other areas = 2D photo context. SITE AREAS: - Clearly define the four (4) fenced work zones: 1. Three (3) refurbishment zones within existing buildings: - Keep buildings structurally unchanged. - Apply subtle refurbishment cues only (minor façade clean-up, roof improvement). - Maintain realistic but restrained detail. 2. One (1) active construction zone: - Show building under construction with full perimeter scaffolding. - Include realistic scaffolding, edge protection, and partially complete external finishes. - Keep it organised and professional (not cluttered). BUILDINGS (FOCUS ZONES ONLY): - Ensure all buildings within the four site areas are fully 3D and realistic. - Apply consistent materials: - Metal cladding, concrete panels, roofing sheets - Add subtle roof elements (plant, vents) but keep minimal. FENCING: - Retain all fencing exactly as shown. - Upgrade to realistic construction fencing (mesh panels, posts, slight shadowing). - Ensure fencing clearly defines each of the four work zones. ENVIRONMENT: - Maintain the existing rural / industrial setting (dry grass, dirt, sparse vegetation). - Enhance ground textures within the 3D zones only (compacted dirt, gravel, worn pavement). - Keep background terrain consistent with the original aerial image (no added landscaping). LIGHTING & CAMERA: - Maintain the exact aerial perspective and angle. - Use natural daylight (midday lighting, soft realistic shadows). - Match lighting across 3D and 2D areas so the scene reads as one cohesive image. DETAILING: - Add realism only within the 3D work zones: - Light weathering - Soft shadows and contact points - Material texture variation - Keep background areas visually soft and photo-based (not overworked). STYLE: - Ultra-realistic, clean, and suitable for a construction staging/tender visual. - No cinematic effects, no stylisation. RESTRICTIONS: - Do NOT generate additional buildings, site elements, or scenery. - Do NOT convert the entire image into 3D—background must remain 2D. - Do NOT alter fence positions or create new work zones. - Do NOT introduce cranes, vehicles, or people unless already visible. OUTPUT: - A crisp photorealistic aerial render with clear distinction between: - 3D active work zones (refurbishment + construction with scaffolding) - 2D surrounding context (existing site and background)
- Created
- June 18, 2026