- Prompt
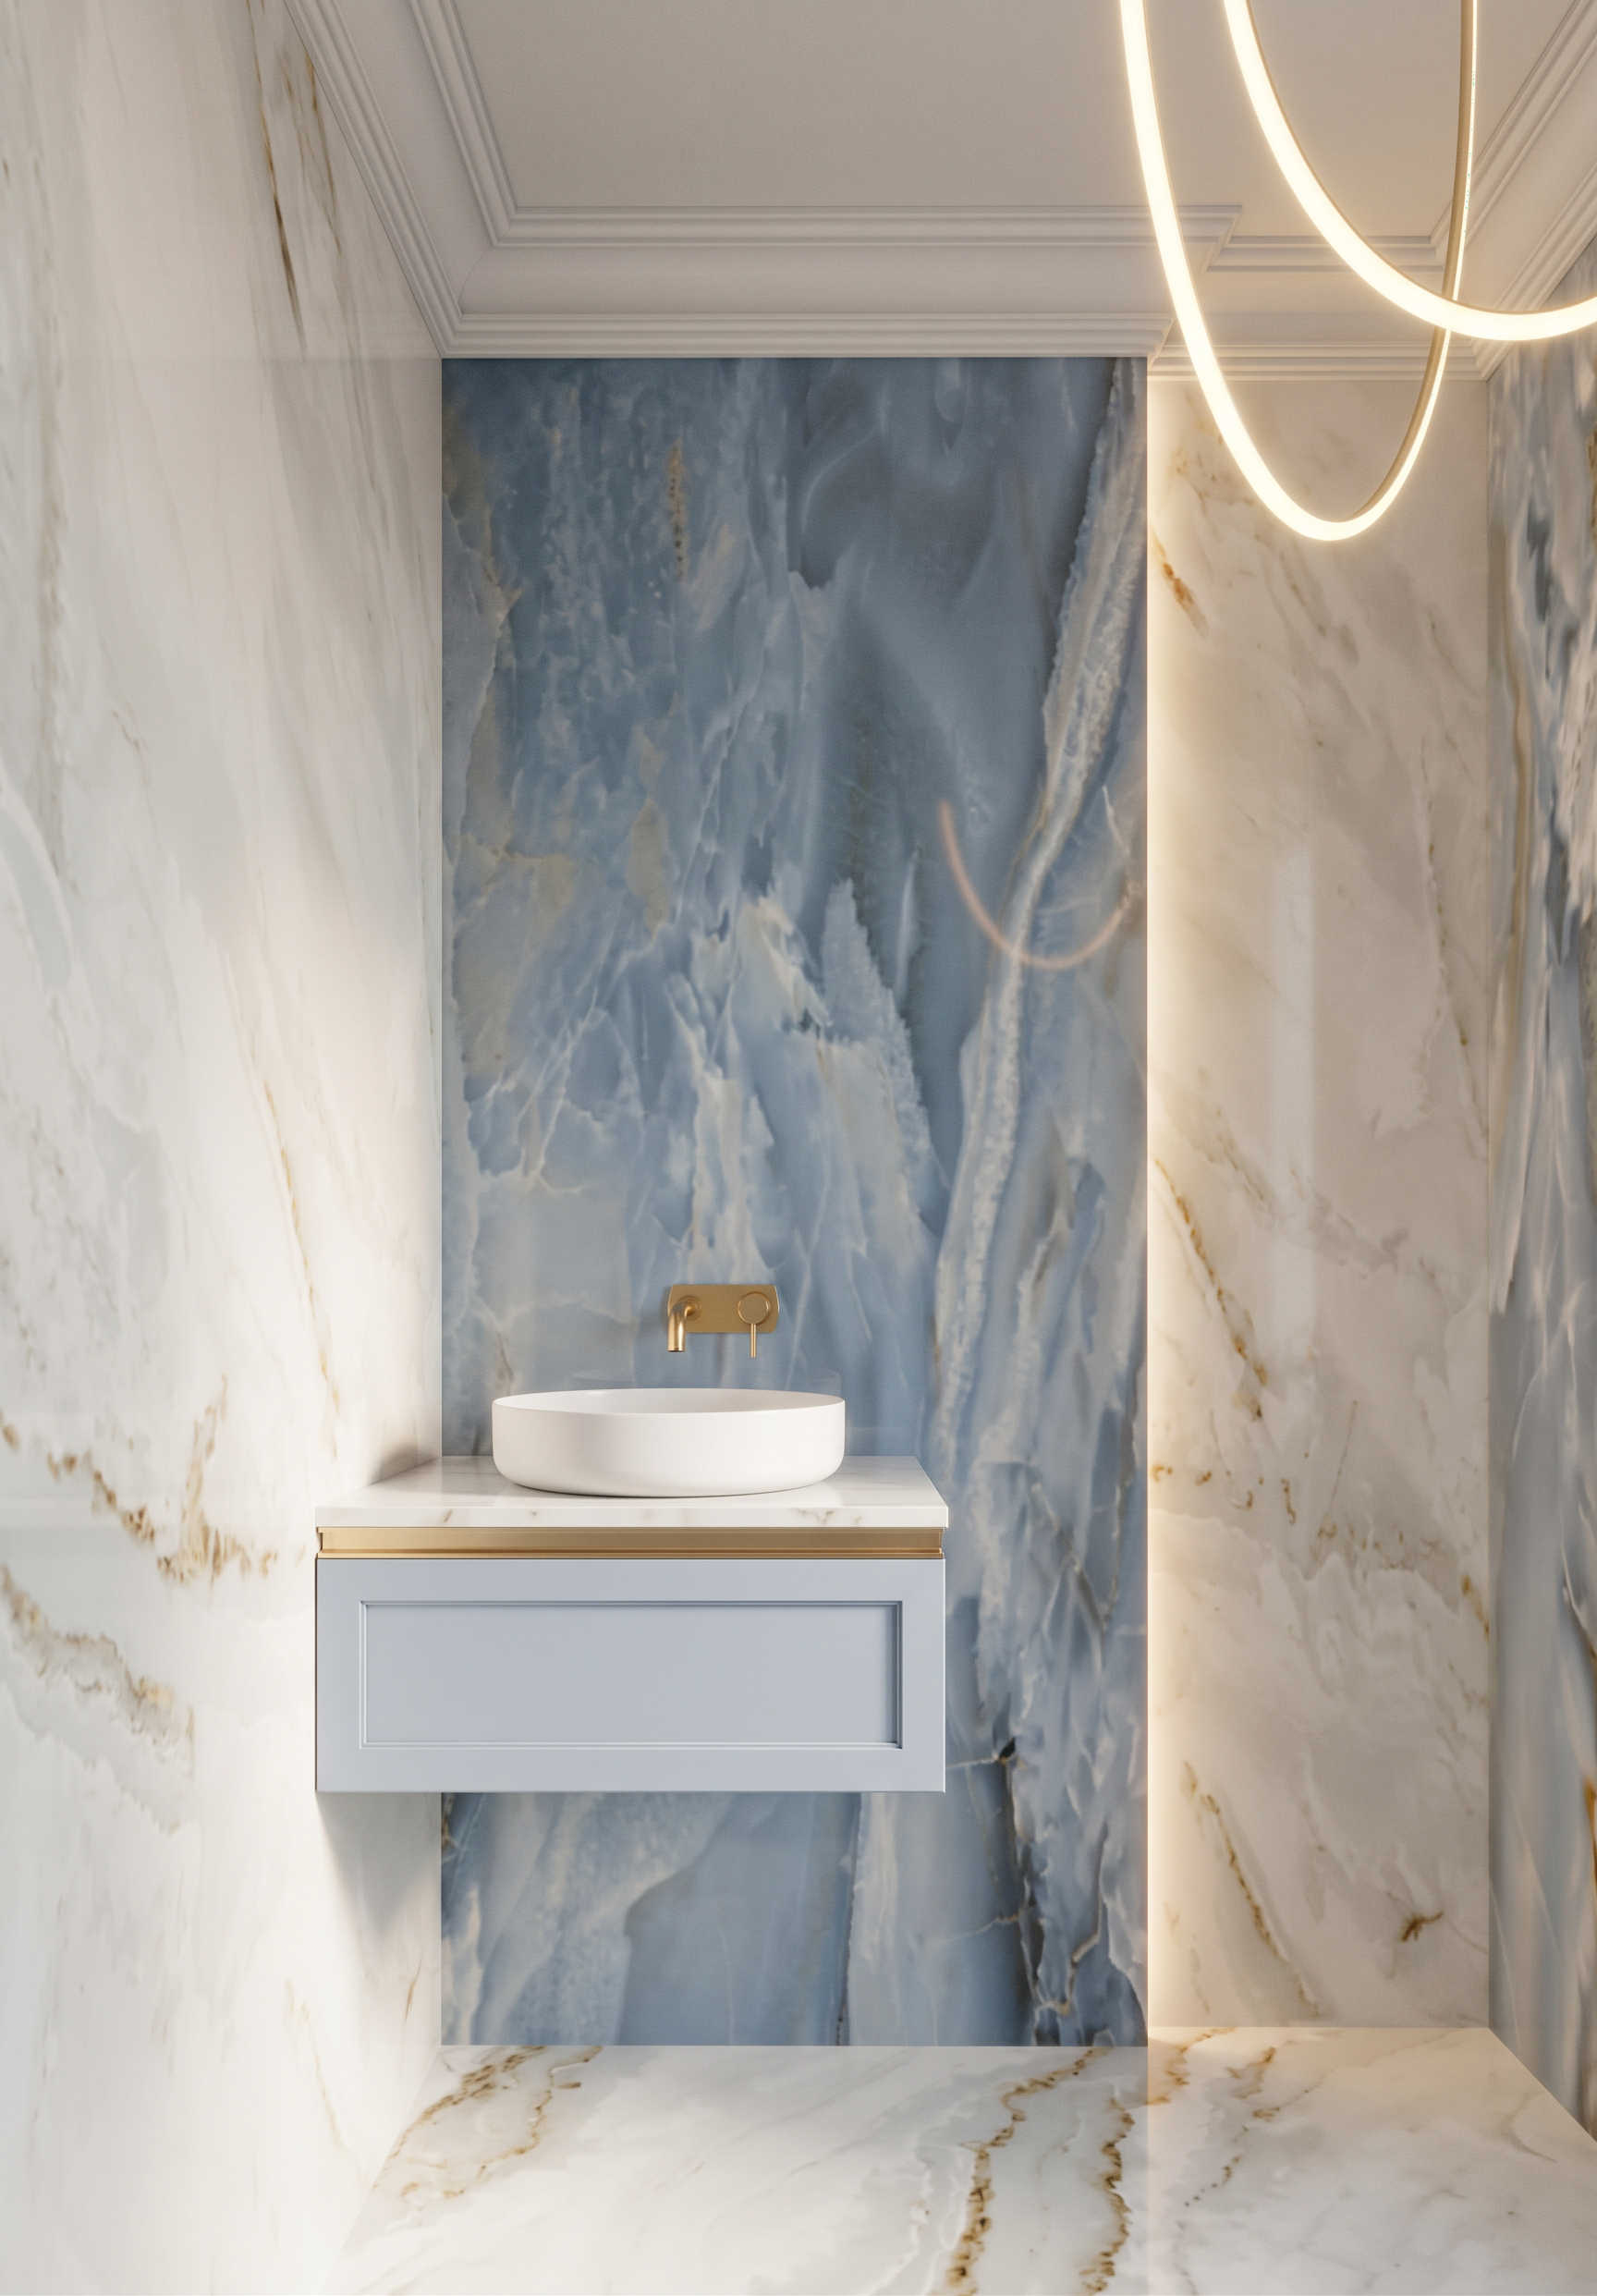
- Create a highly photorealistic, high-end architectural render of the bathroom based strictly on the provided image and references.
CRITICAL — PRESERVE THE ORIGINAL IMAGE:
Do not change the image dimensions, aspect ratio, camera angle, camera position, perspective, framing, geometry, proportions, architectural elements, layout, or furniture design. Do not move, resize, remove, or redesign any existing elements. The image shows the same bathroom as Reference 1, viewed from a different camera angle, so all materials, colors, and design details must correspond exactly to Reference 1.
Materials and overall design
Use Reference 1 as the exact material and color reference, because it represents the same bathroom from another angle.
• Use the same natural marble from Reference 1 on all visible floors and walls.
• Preserve the exact marble color, veining, scale, texture, and finish from Reference 1.
• Recreate the decorative ceiling cornice/moulding exactly as shown in Reference 1.
• The bathroom furniture should have the same soft light blue / slightly bluish tone as the furniture in Reference 1.
• Maintain the same elegant, sophisticated, high-end classic aesthetic.
Vanity and sink area
Preserve the exact position, proportions, and geometry of the vanity.
The sink cabinet should be white, with a white countertop.
The black rectangular element visible above the sink in the original image is not a black element — it represents a gold wall-mounted basin mixer/faucet. Render it as a realistic, refined gold fixture.
The thin black horizontal strip on the vanity front is also not black — render it as a gold decorative strip.
Below the gold strip, the main cabinet front should be light blue, matching the furniture color from Reference 1.
Redesign the visible blue cabinet front only in terms of detailing so that it matches the same framed-panel design as the cabinet door/front shown in Reference 2 Preserve its exact existing dimensions, position, and proportions.
Blue onyx feature panel
Behind the blue furniture element, preserve the existing blue onyx feature panel.
The onyx panel should project slightly forward from the surrounding wall, exactly as indicated by the existing geometry.
Add a subtle, elegant warm LED backlight along the right side of the projecting onyx panel, creating a soft gl
ow between the onyx and the adjacent wall.
Ceiling lighting
Keep the two pendant light cords hanging from the ceiling.as in the reference 1
- Created
- October 12, 2026