Skip to content
Render tools
IMPORTANT: Do not redesign the plan. This is an EDIT of the existing architectural floor plan.

Use the RED ARROWS as exact construction instructions.

1. DELETE ALL areas that I marked with pink/red hatching. Remove these areas completely. Do NOT leave walls, rooms, furniture, or structures in the deleted areas.
2. EXTEND THE EXISTING WALLS EXACTLY IN THE DIRECTION OF THE RED ARROWS.

For every wall marked with a red arrow:

* Continue the existing wall from its current endpoint.
* Follow the exact direction of the red arrow.
* Keep the same wall thickness and alignment as the existing wall.
* Extend the wall continuously until it reaches the boundary wall indicated by the arrow.
* The extended wall MUST physically connect to the boundary wall.
* DO NOT stop the wall before reaching the boundary.
* DO NOT leave a gap.
* DO NOT change the direction of the wall.
* DO NOT create a new wall somewhere else.

The red arrows are NOT decorative markings. They show the EXACT PATH and END POINT of the walls that must be extended.

3. Preserve the existing building exactly where it is. Only extend the specific walls indicated by the red arrows.
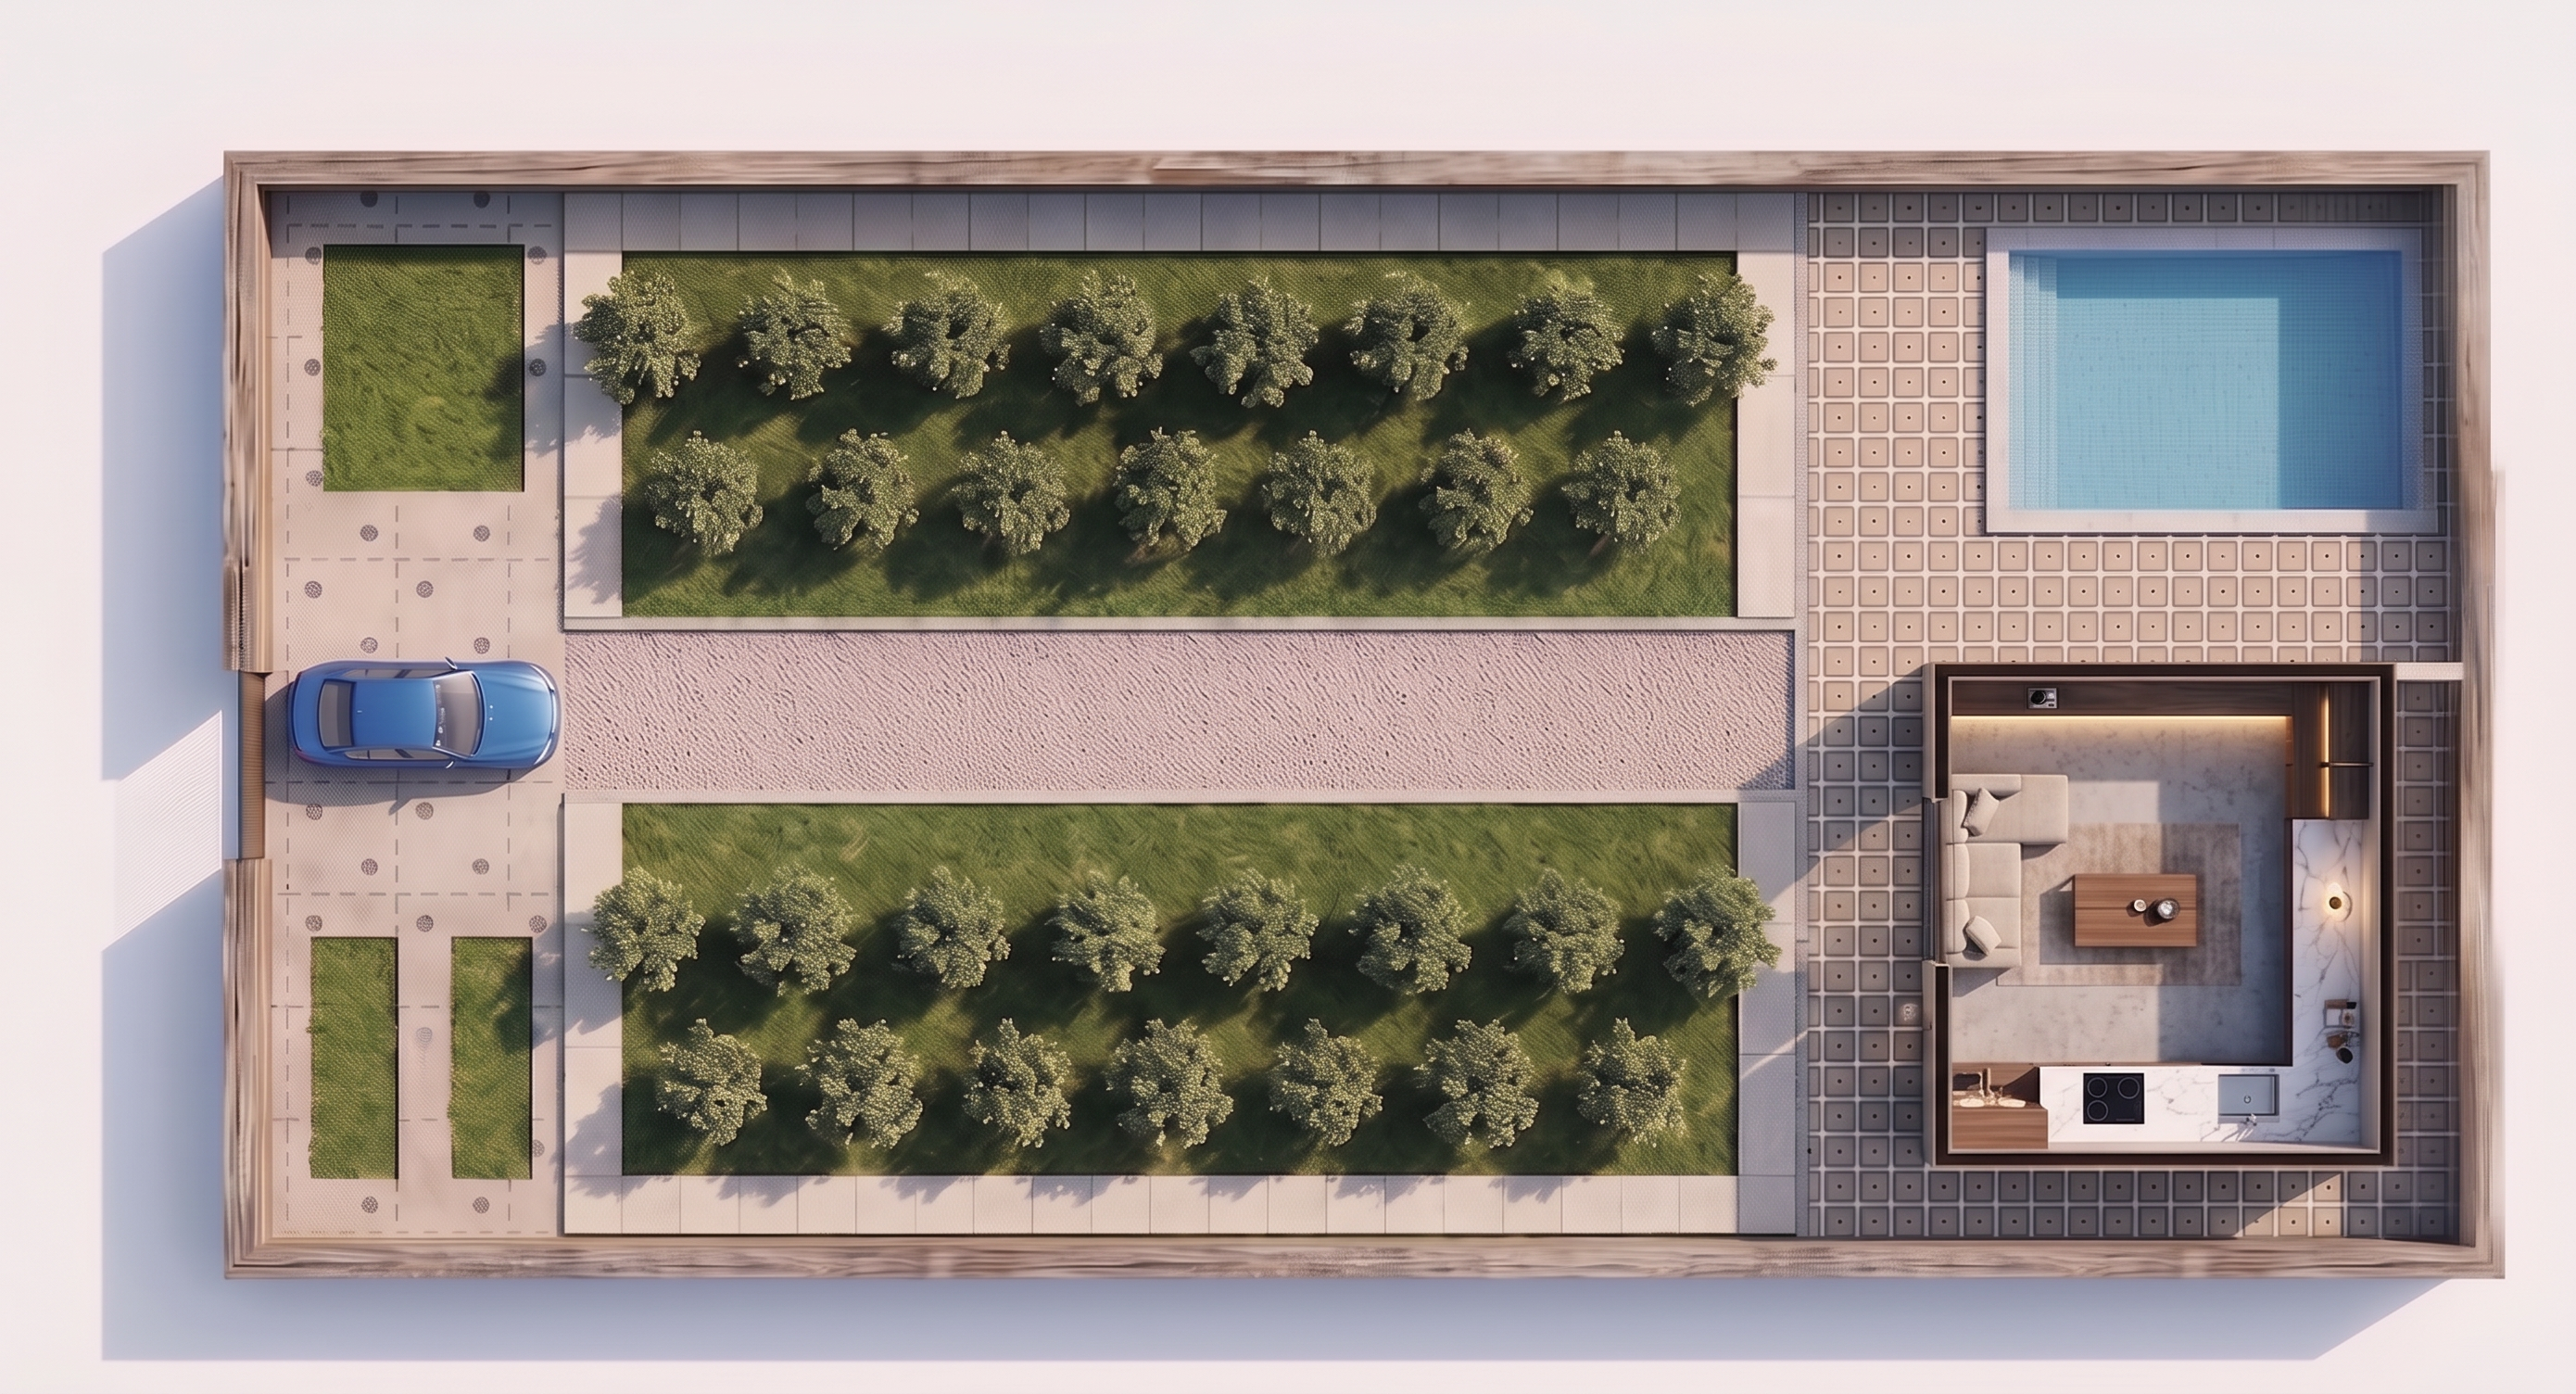
4. Inside the resulting building area, arrange:

* one comfortable sofa seating area
* a compact kitchen along the wall
* one sink
* one cooktop/stove
* countertop and lower cabinets
* practical circulation between the kitchen and living area.

5. Do NOT add any new rooms or structures.
6. Do NOT move the existing building, pool, entrance, or site boundaries.
7. The final image must remain a clean architectural TOP-VIEW FLOOR PLAN.

MOST IMPORTANT:
Follow the red arrows literally. The walls must be physically extended from their existing endpoints and continue along the exact red-arrow lines until they meet the indicated boundary walls. Do not merely show or copy the red arrows; CONVERT THEIR PATH INTO ACTUAL ARCHITECTURAL WALLS.

Create renders like this

Turn any photo, sketch, or floor plan into a photoreal render in seconds.