- Prompt
- Do not change anything else in the image. Preserve the exact image dimensions, aspect ratio, camera angle, perspective, geometry, architecture, materials, colors, lighting, existing furniture, and overall design exactly as they are.
Make only the following modifications:
1. Bar counter on the left:
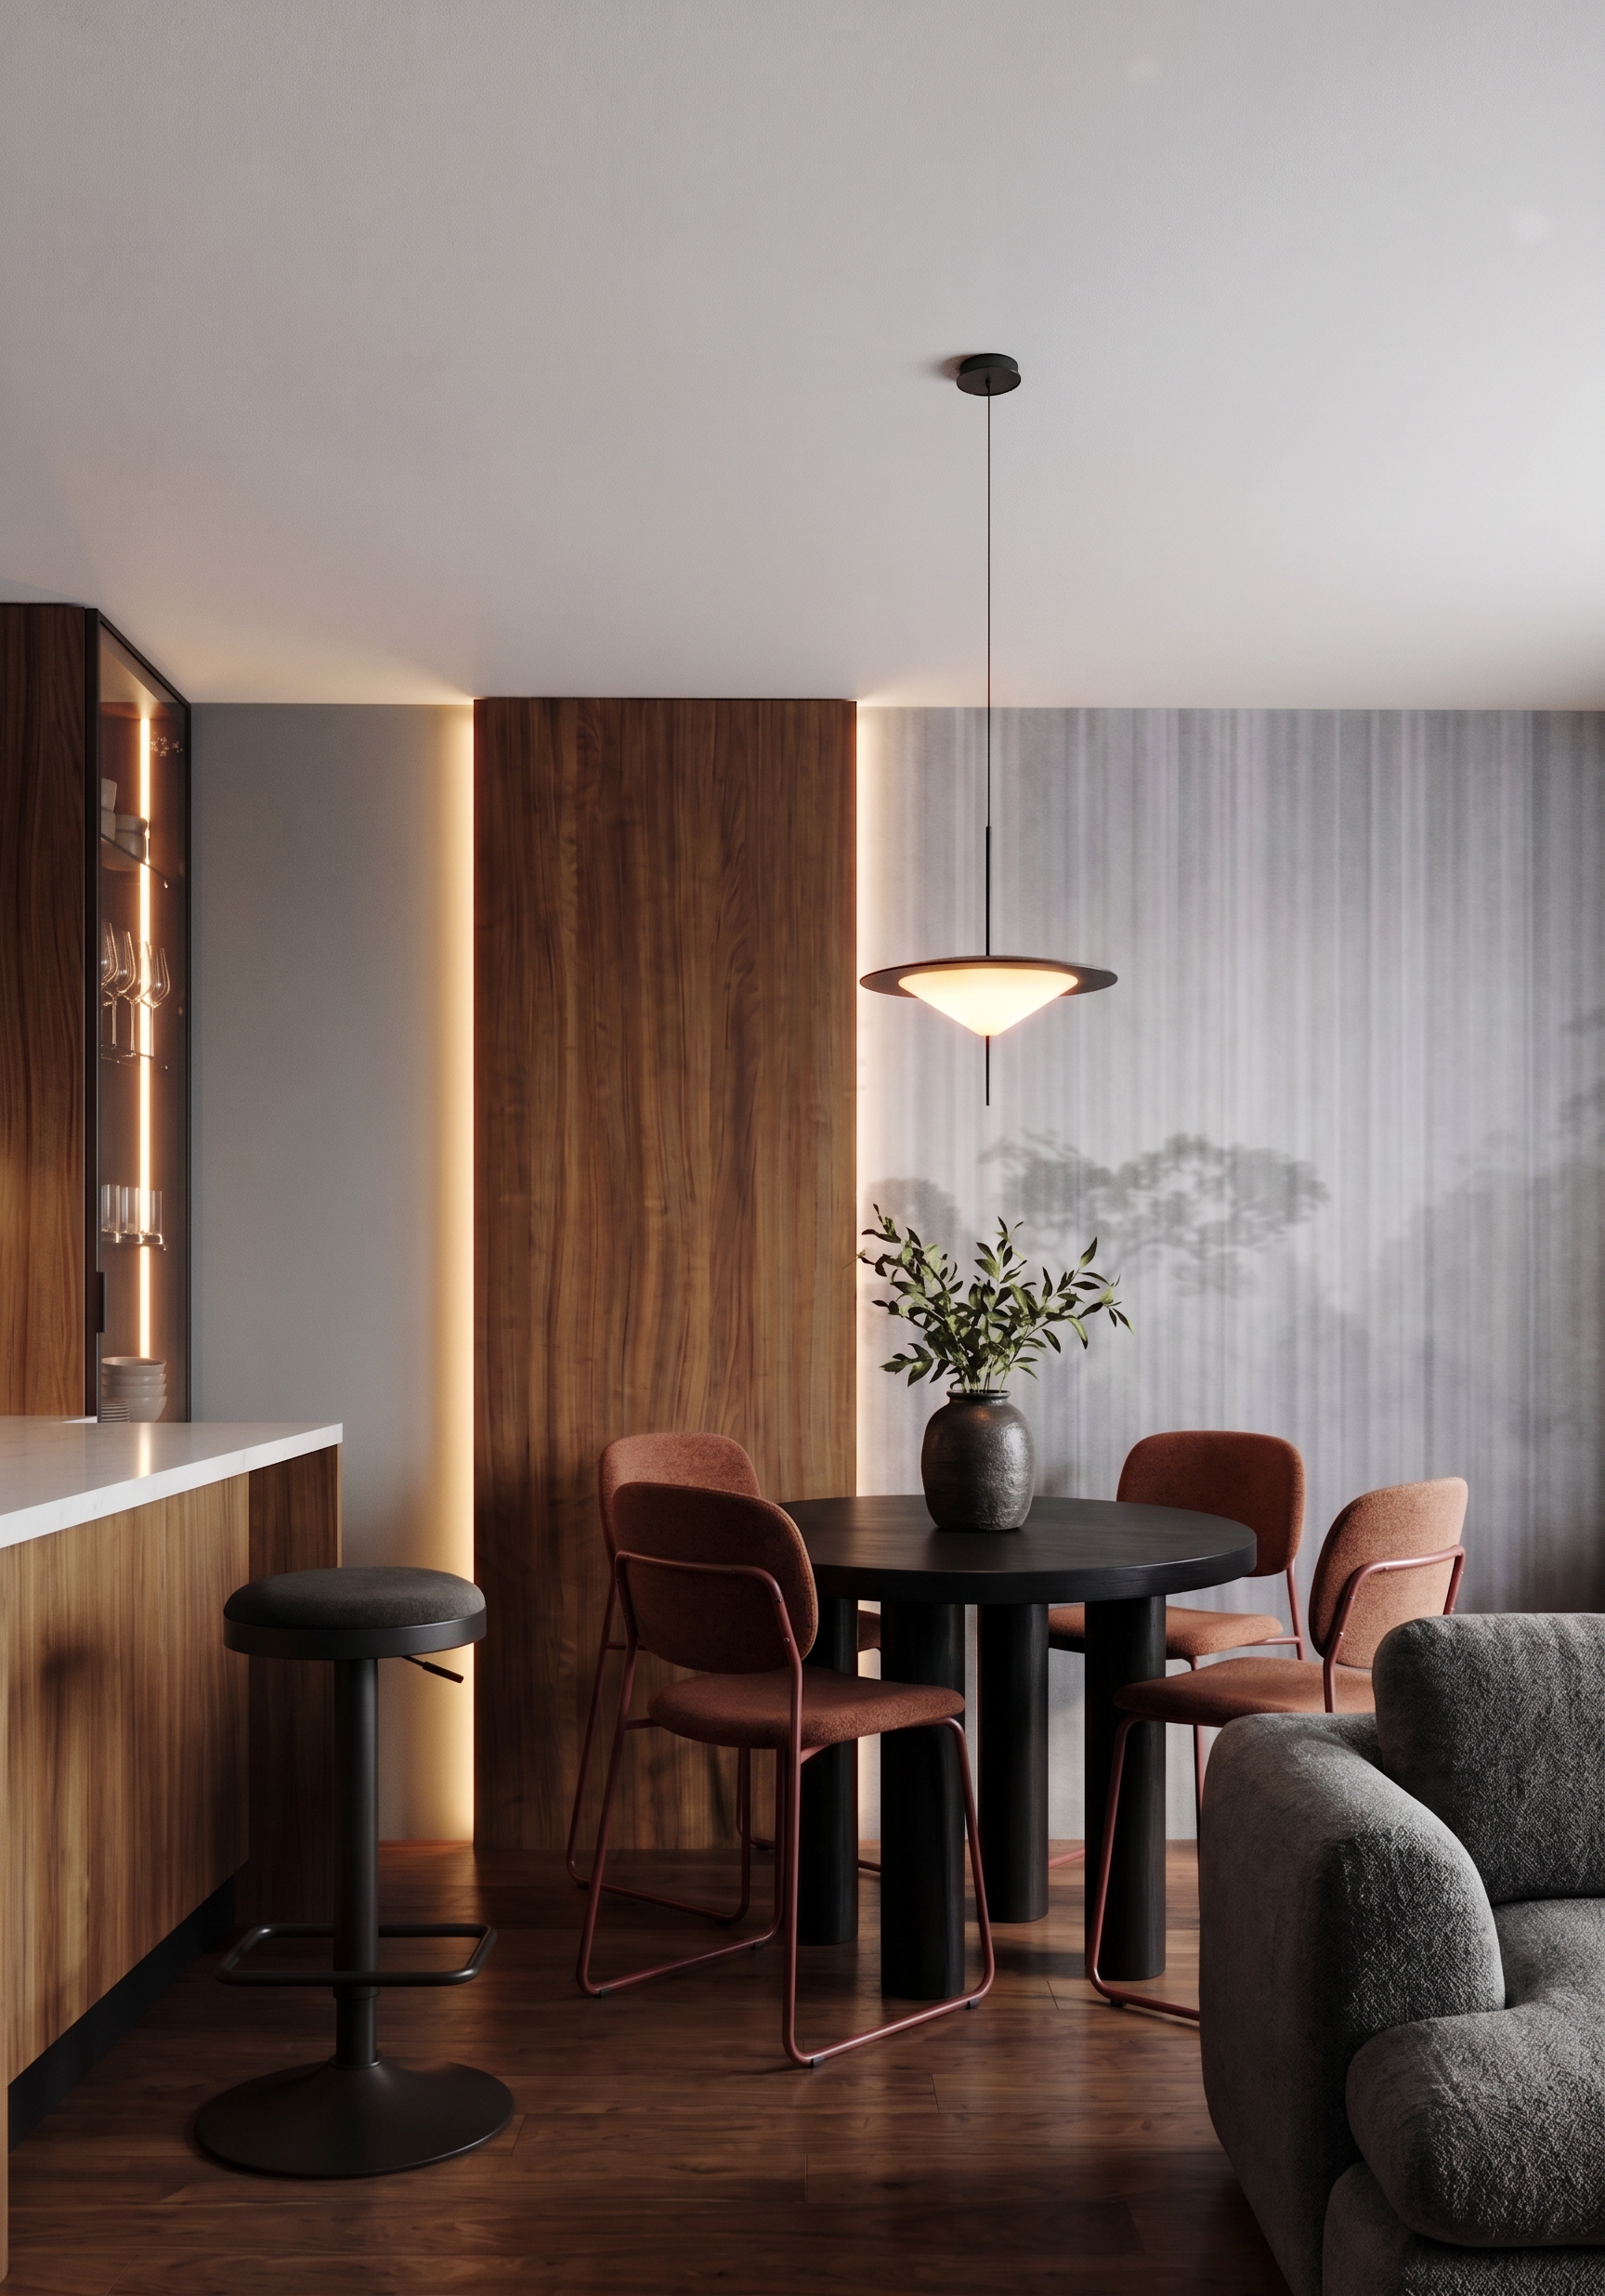
Near the display cabinet on the left, extend the existing bar counter further. The white countertop must remain exactly in its current position and height. Only the wooden front panel underneath it should be pushed further back/recessed, so that the wooden front becomes almost invisible from this camera angle. It should read as a continuation of the existing bar counter, not as a separate cabinet.
Place one black bar stool in front of the extended counter, matching the stool shown in Reference 1 in style, proportions, material, and appearance.
1. Dining table:
Around the existing black dining table, add four dining chairs, matching the chairs shown in Reference 2 in style, proportions, material, color, and design. Arrange them naturally around the table without changing the position, size, or geometry of the table.
1. Sofa on the right:
On the right side of the image, introduce a partial view of a sofa, visible only as a section entering the frame, exactly as shown in Reference 3 and with the same perspective and positioning relative to the camera. Make the sofa dark grey. Do not alter anything else around it.
The final image must look completely photorealistic and seamlessly integrated. Do not redesign, reinterpret, move, resize, or modify any existing elements except for the three explicitly requested changes above.
ABSOLUTELY DO NOT CHANGE:
• Image dimensions or aspect ratio.
• Camera angle, camera position, or perspective.
• Room geometry, proportions, or architectural layout.
• Existing furniture dimensions, shapes, or design.
• Any design elements not explicitly mentioned below.
Apply the following materials and design specifications:
1. Left side – wooden panel and display cabinet: The rectangular element on the left consists of two distinct parts:
• The brown section must be finished in wood, matching the exact wood tone and finish shown in Reference 3.
• The pink-marked section represents a glazed display cabinet. Make it a glass-fronted cabinet, matching Reference 3. Include a glass door with tableware displayed inside. The glazed door must face towards the dining table, as indicated in the 3D model.
2. Dining table: The green-marked element represents the dining table. Reproduce it exactly as shown in Reference 1, including its black finish and the same decorative vase placed on top.
3. Pendant light: Above the dining table, install the pendant light shown in Reference 2. Reproduce its design, proportions, and appearance accurately.
4. Flooring: Use parquet flooring in exactly the same colour and wood tone as shown in Reference 3.
5. Ceiling and walls:
• Ceiling: plain white.
• The wall section between the glass display cabinet and the wooden wall panel: grey.
• Wooden wall panel: use the same wood colour and finish as the wood shown in Reference 3.
• Add concealed LED strip lighting behind the wooden panel on both sides, creating a soft, indirect glow that illuminates the adjacent wall surfaces.
• The remaining wall area to the right must feature grey wallpaper. Preserve the exact wallpaper pattern, texture, and layout from the original 3D model, changing only its colour to grey.
FINAL REQUIREMENT: The result must look like a professional, high-end interior photography shot, with realistic materials, natural-looking reflections on the glass, accurate wood textures, subtle LED illumination, and balanced lighting. Follow the original 3D model and reference images precisely. Do not introduce any new design elements, remove existing elements, or reinterpret the design. Only improve the realism and apply the explicitly specified materials and finishes.
- Created
- November 1, 2026