- Prompt
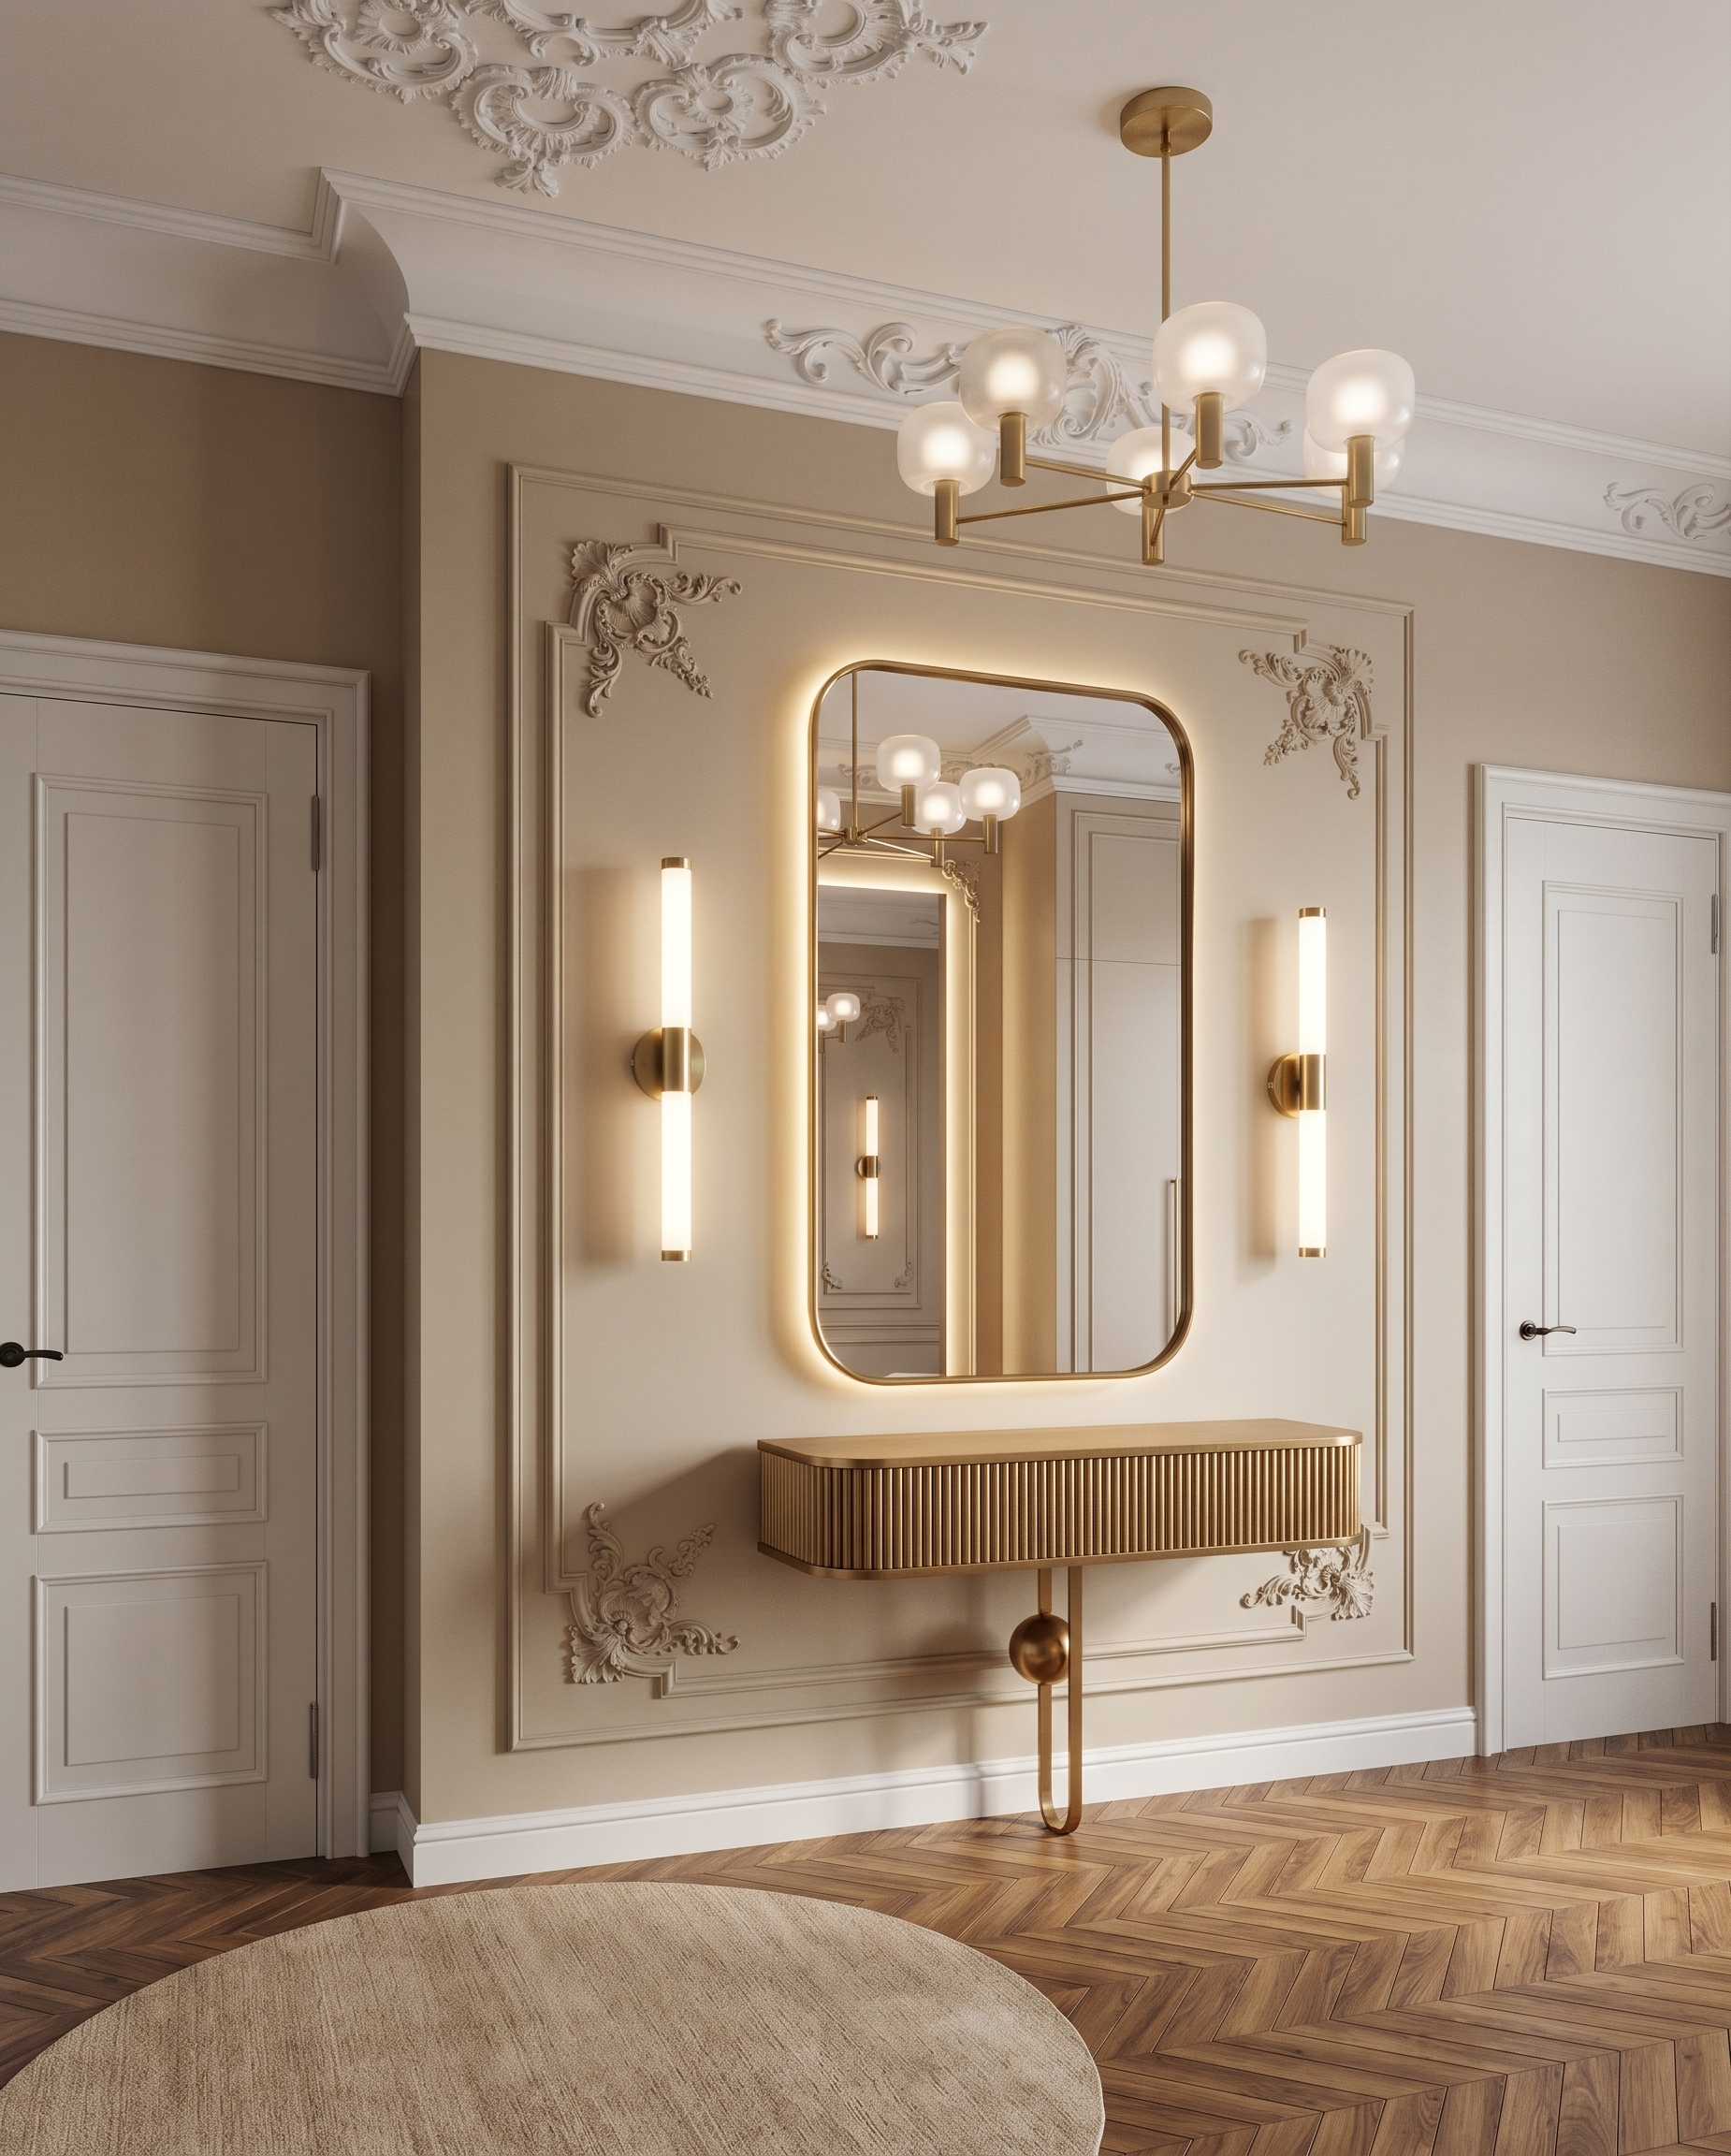
- Create a photorealistic interior render of the corridor based strictly on the provided 3D model.
IMPORTANT — PRESERVE THE ORIGINAL DESIGN
Do not change the image proportions, resolution, aspect ratio, dont change camera angle!, camera position, perspective, composition, geometry, dimensions, architectural elements, or overall design of the 3D model.
Do not move, resize, remove, or redesign any existing element. The corridor must remain exactly as shown in the original model.
MATERIALS AND COLORS
Use Reference 1 as the primary reference for all material colors, tones, finishes, and overall atmosphere, because Reference 1 shows the same interior from a different camera angle.
• The parquet must match the chevron parquet from Reference 1 in pattern, color, tone, wood texture, and finish.
• The wall colors must match Reference 1 exactly.
• The ceiling and all ceiling mouldings must be clean white.
ignore the yellow circle on the floor its a parquiet too
• In the center of the existing ceiling plaster rosette, add the multicolored ceiling light fixture shown in Reference 1, matching its shape, colors, scale, and placement.
MIRROR AREA
The green-lilac rectangle visible in the model indicates the location of a suspended wall panel/cassette.
Create a suspended decorative wall cassette centered precisely relative to the existing wall moulding, following the placement and proportions shown in Reference 2.
• Place a mirror on this cassette exactly as shown in Reference 2.
• Reproduce the decorative elements and styling from Reference 2.
• Preserve the original wall moulding and architecture; integrate the cassette into the existing design without changing the surrounding geometry.
WALL LIGHTING
On both the left and right sides of the mirror, add wall sconces matching Reference 3.
• Use the same design, shape, proportions, material, and finish as the sconces in Reference 3.
• Position them symmetrically on both sides of the mirror.
• The sconces must look naturally integrated into the corridor and have realistic illumination.
PHOTOREALISM
Make the final image highly photorealistic with:
• realistic natural and artificial lighting
• physically accurate shadows and reflections
• realistic wood and stone textures
• realistic plaster and moulding surfaces
• accurate material roughness and subtle imperfections
• realistic mirror reflections
• high-quality architectural visualization
The final result must look like a professionally photographed real interior.
dont change dimensions and proportion of the render and camera angle
- Created
- September 2, 2026