- Prompt
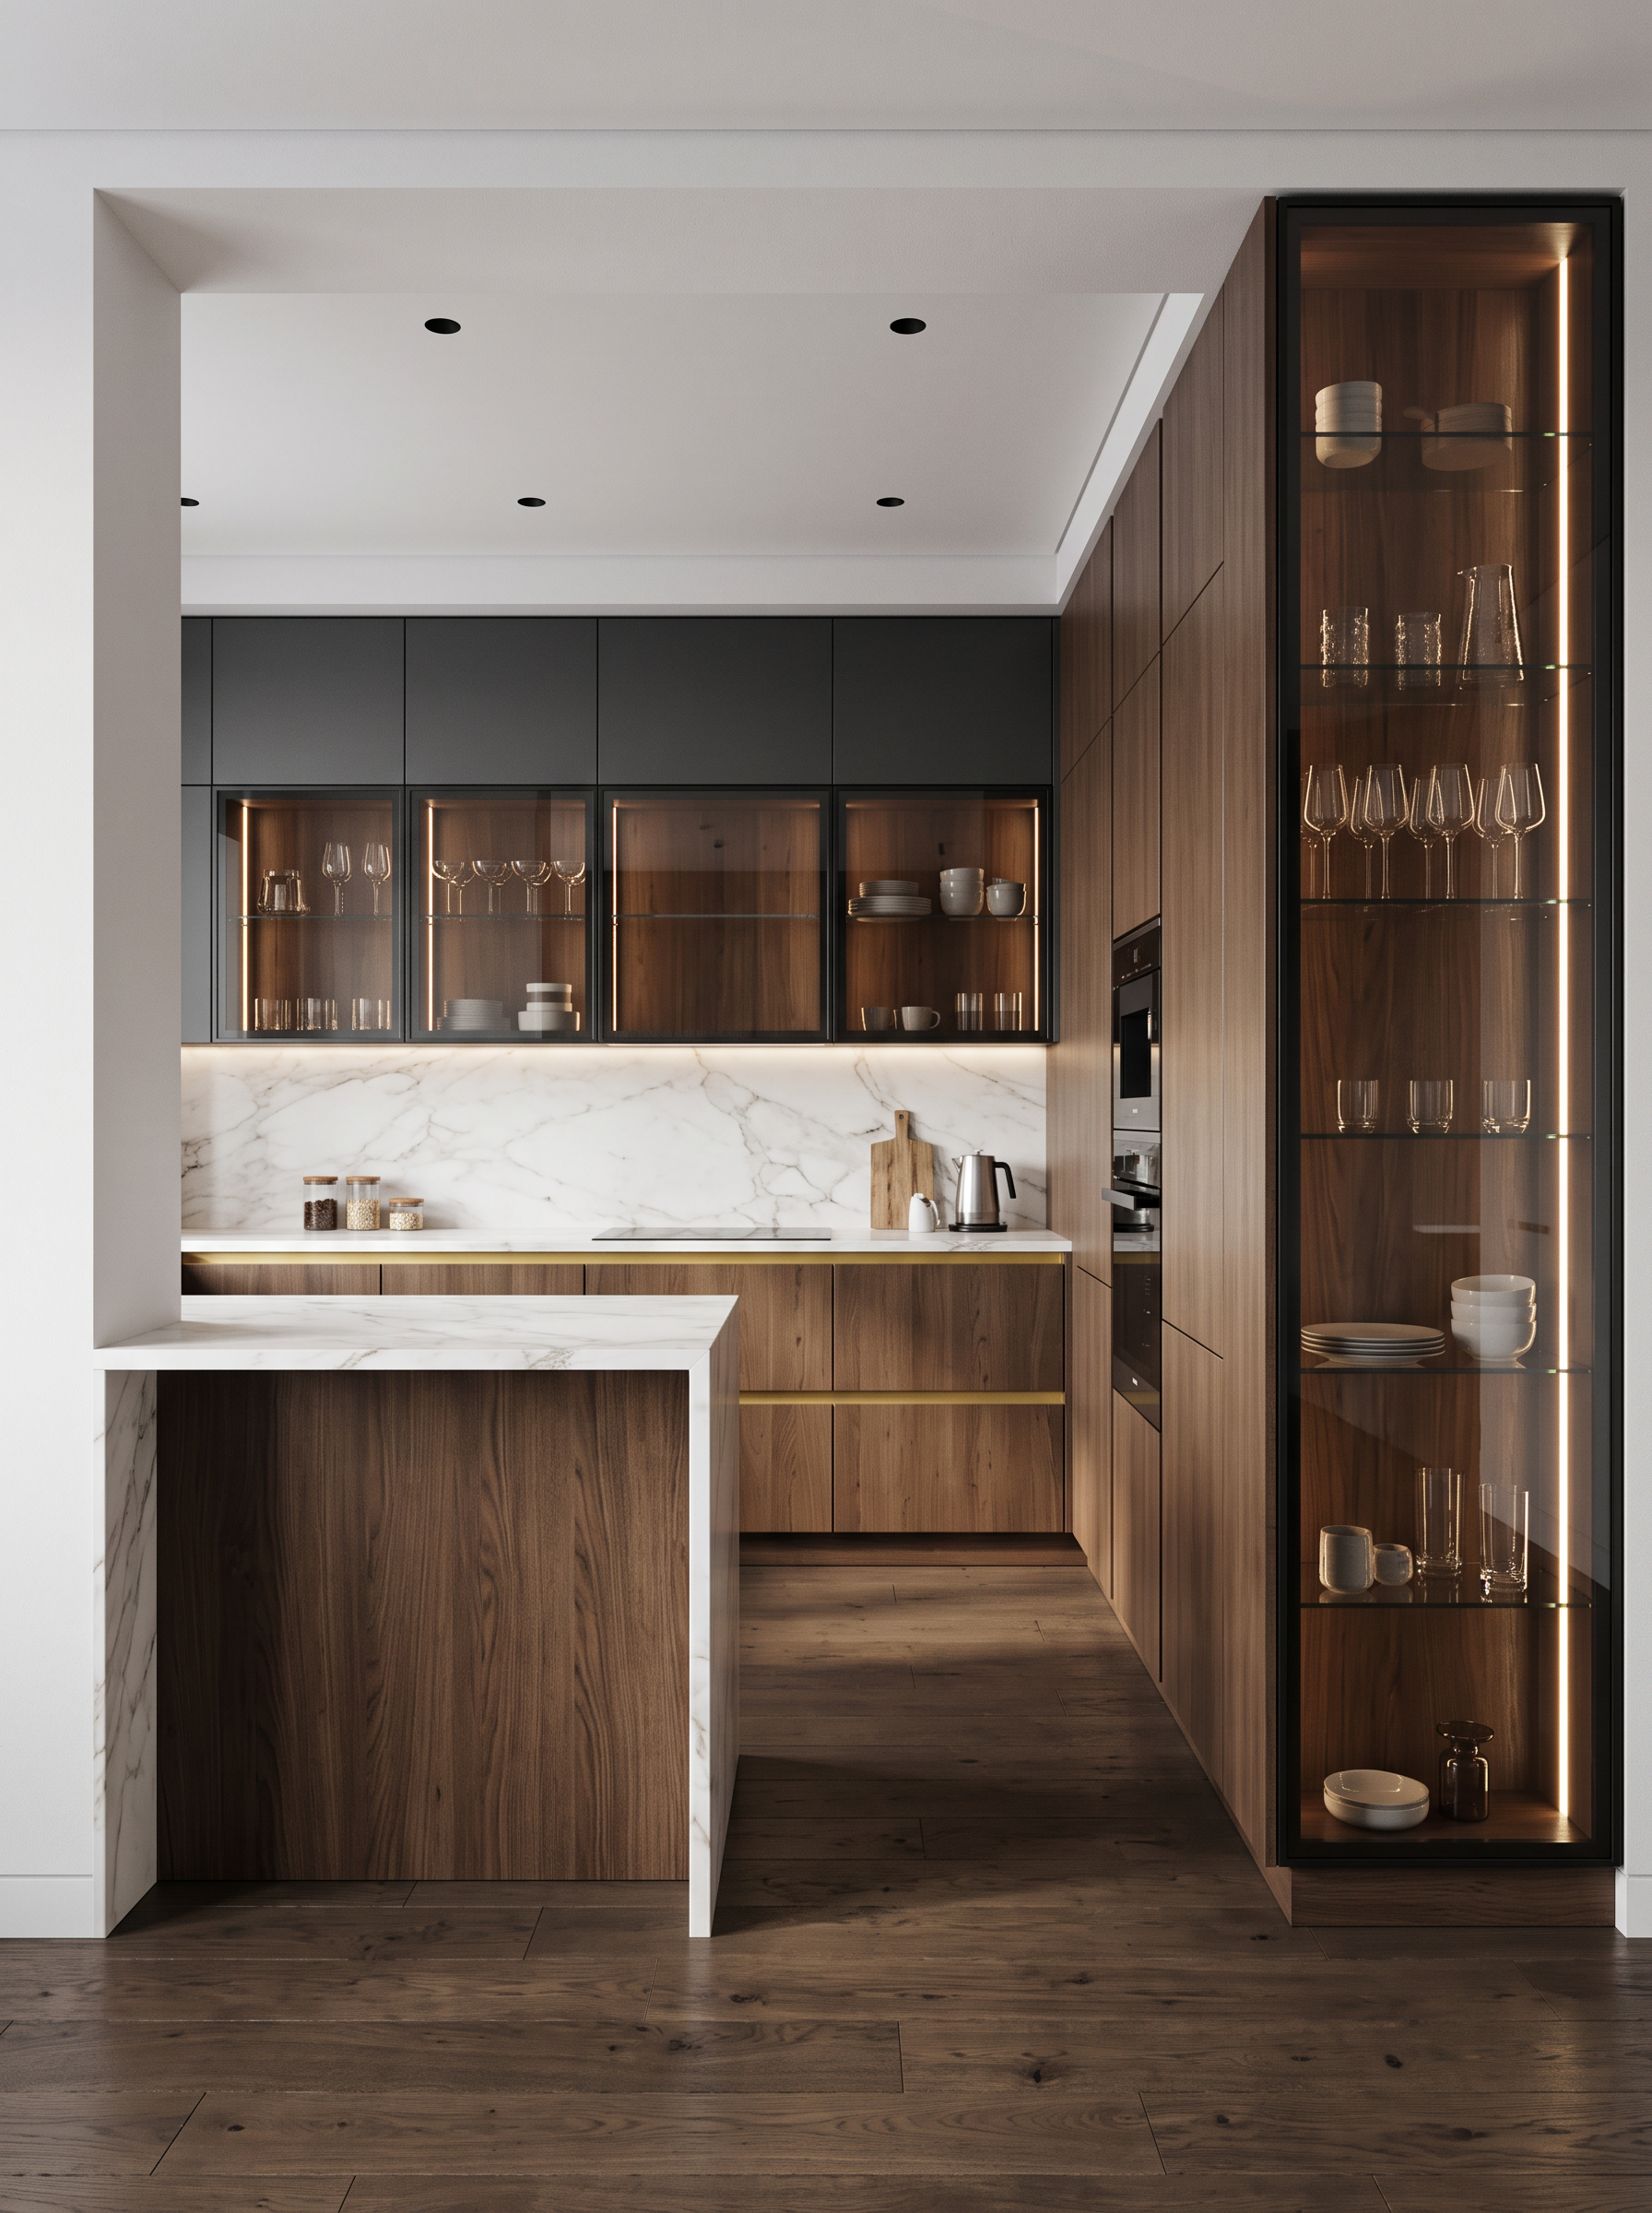
- Create a highly photorealistic interior render of the kitchen based strictly on the provided 3D model and references.
IMPORTANT — DO NOT CHANGE:
• Image dimensions or aspect ratio
• Camera angle, camera position, or perspective
• Room geometry or proportions
• Kitchen layout
• Cabinet dimensions or positions
• Architectural elements
• Overall design
The 3D model is the primary source of truth for geometry, layout, colors, and proportions. The references are only for materials, lighting, glass cabinets, and detailing.
In the kitchen area, use dark-toned natural oak parquet, matching the 3D model. The parquet should look realistic, with subtle natural wood grain and variation.
Use white Calacatta marble exactly in the areas indicated in the 3D model:
• Kitchen worktops
• Kitchen backsplash
• Bar counter worktop
• Left side panel of the bar counter
The marble should have realistic, elegant veining and a high-quality natural stone appearance.
The kitchen ceiling is white but slightly lowered compared with the main ceiling. Preserve this exact difference in ceiling height as shown in the 3D model.
Add simple, minimal black recessed spotlights to the kitchen ceiling. Keep them neutral and architectural, without decorative fixtures.
All lower kitchen cabinets should have:
• Dark wood finish matching the 3D model
• Smooth, flat fronts
• No visible handles
The yellow strip shown in the 3D model represents a recessed gold-colored integrated finger-pull profile between the worktop and lower cabinet fronts. Reproduce this detail accurately and continuously where shown. It should look like a real recessed metal profile used to open the drawers and cabinets, not like decorative trim.
Upper Cabinets
The upper cabinets marked in black in the 3D model should be:
• Dark charcoal / dark gray
• Smooth, flat fronts
• Minimal and handleless
The upper cabinets marked in pink should instead be transparent glass-front cabinets with:
• Clear glass doors
• Slim black frames
• Interior wooden back panels matching the dark wood finish of the lower kitchen cabinets
• Integrated warm LED lighting inside
Add tasteful, realistic dishware and a small amount of refined kitchen decor inside these glass cabinets
Right-Side Tall Cabinet
The tall pink rectangle on the right represents a glass-front display cabinet viewed directly from the front, as shown in Reference 1.
Create:
• Clear glass front
• Slim black frame
• Interior shelves
• Dark wood back panel matching the lower kitchen cabinetry
• Warm integrated LED shelf lighting
• Carefully arranged elegant dishes and decorative objects
The cabinet should look realistic and functional, with subtle reflections on the glass.
Right-Side Tall Cabinetry
All elements shown in black on the right side of the 3D model are NOT black.
They should be finished in the same dark wood as the lower kitchen cabinets and should extend continuously from floor to ceiling.
Preserve their exact positions, proportions, and geometry from the 3D model.
Built-In Appliances
The two light-pink rectangles represent the built-in oven and microwave.
Place the oven and microwave exactly as indicated in the 3D model:
• Built into the tall cabinetry
• Positioned approximately at worktop height and above
• Vertically stacked
• Matching the placement and proportions shown in Reference 3
Use realistic premium built-in appliances with dark glass fronts and minimal detailing.
Lighting and Materials
Create realistic, sophisticated interior lighting with:
• Neutral ambient illumination
• Soft natural light
• Warm integrated LED lighting inside the glass cabinets
• Realistic reflections on marble, glass, metal, and lacquered surfaces
• Physically accurate shadows and material textures
The overall result should feel like a high-end architectural photography shot of a real, professionally executed kitchen, not a CGI-looking image.
- Created
- October 29, 2026