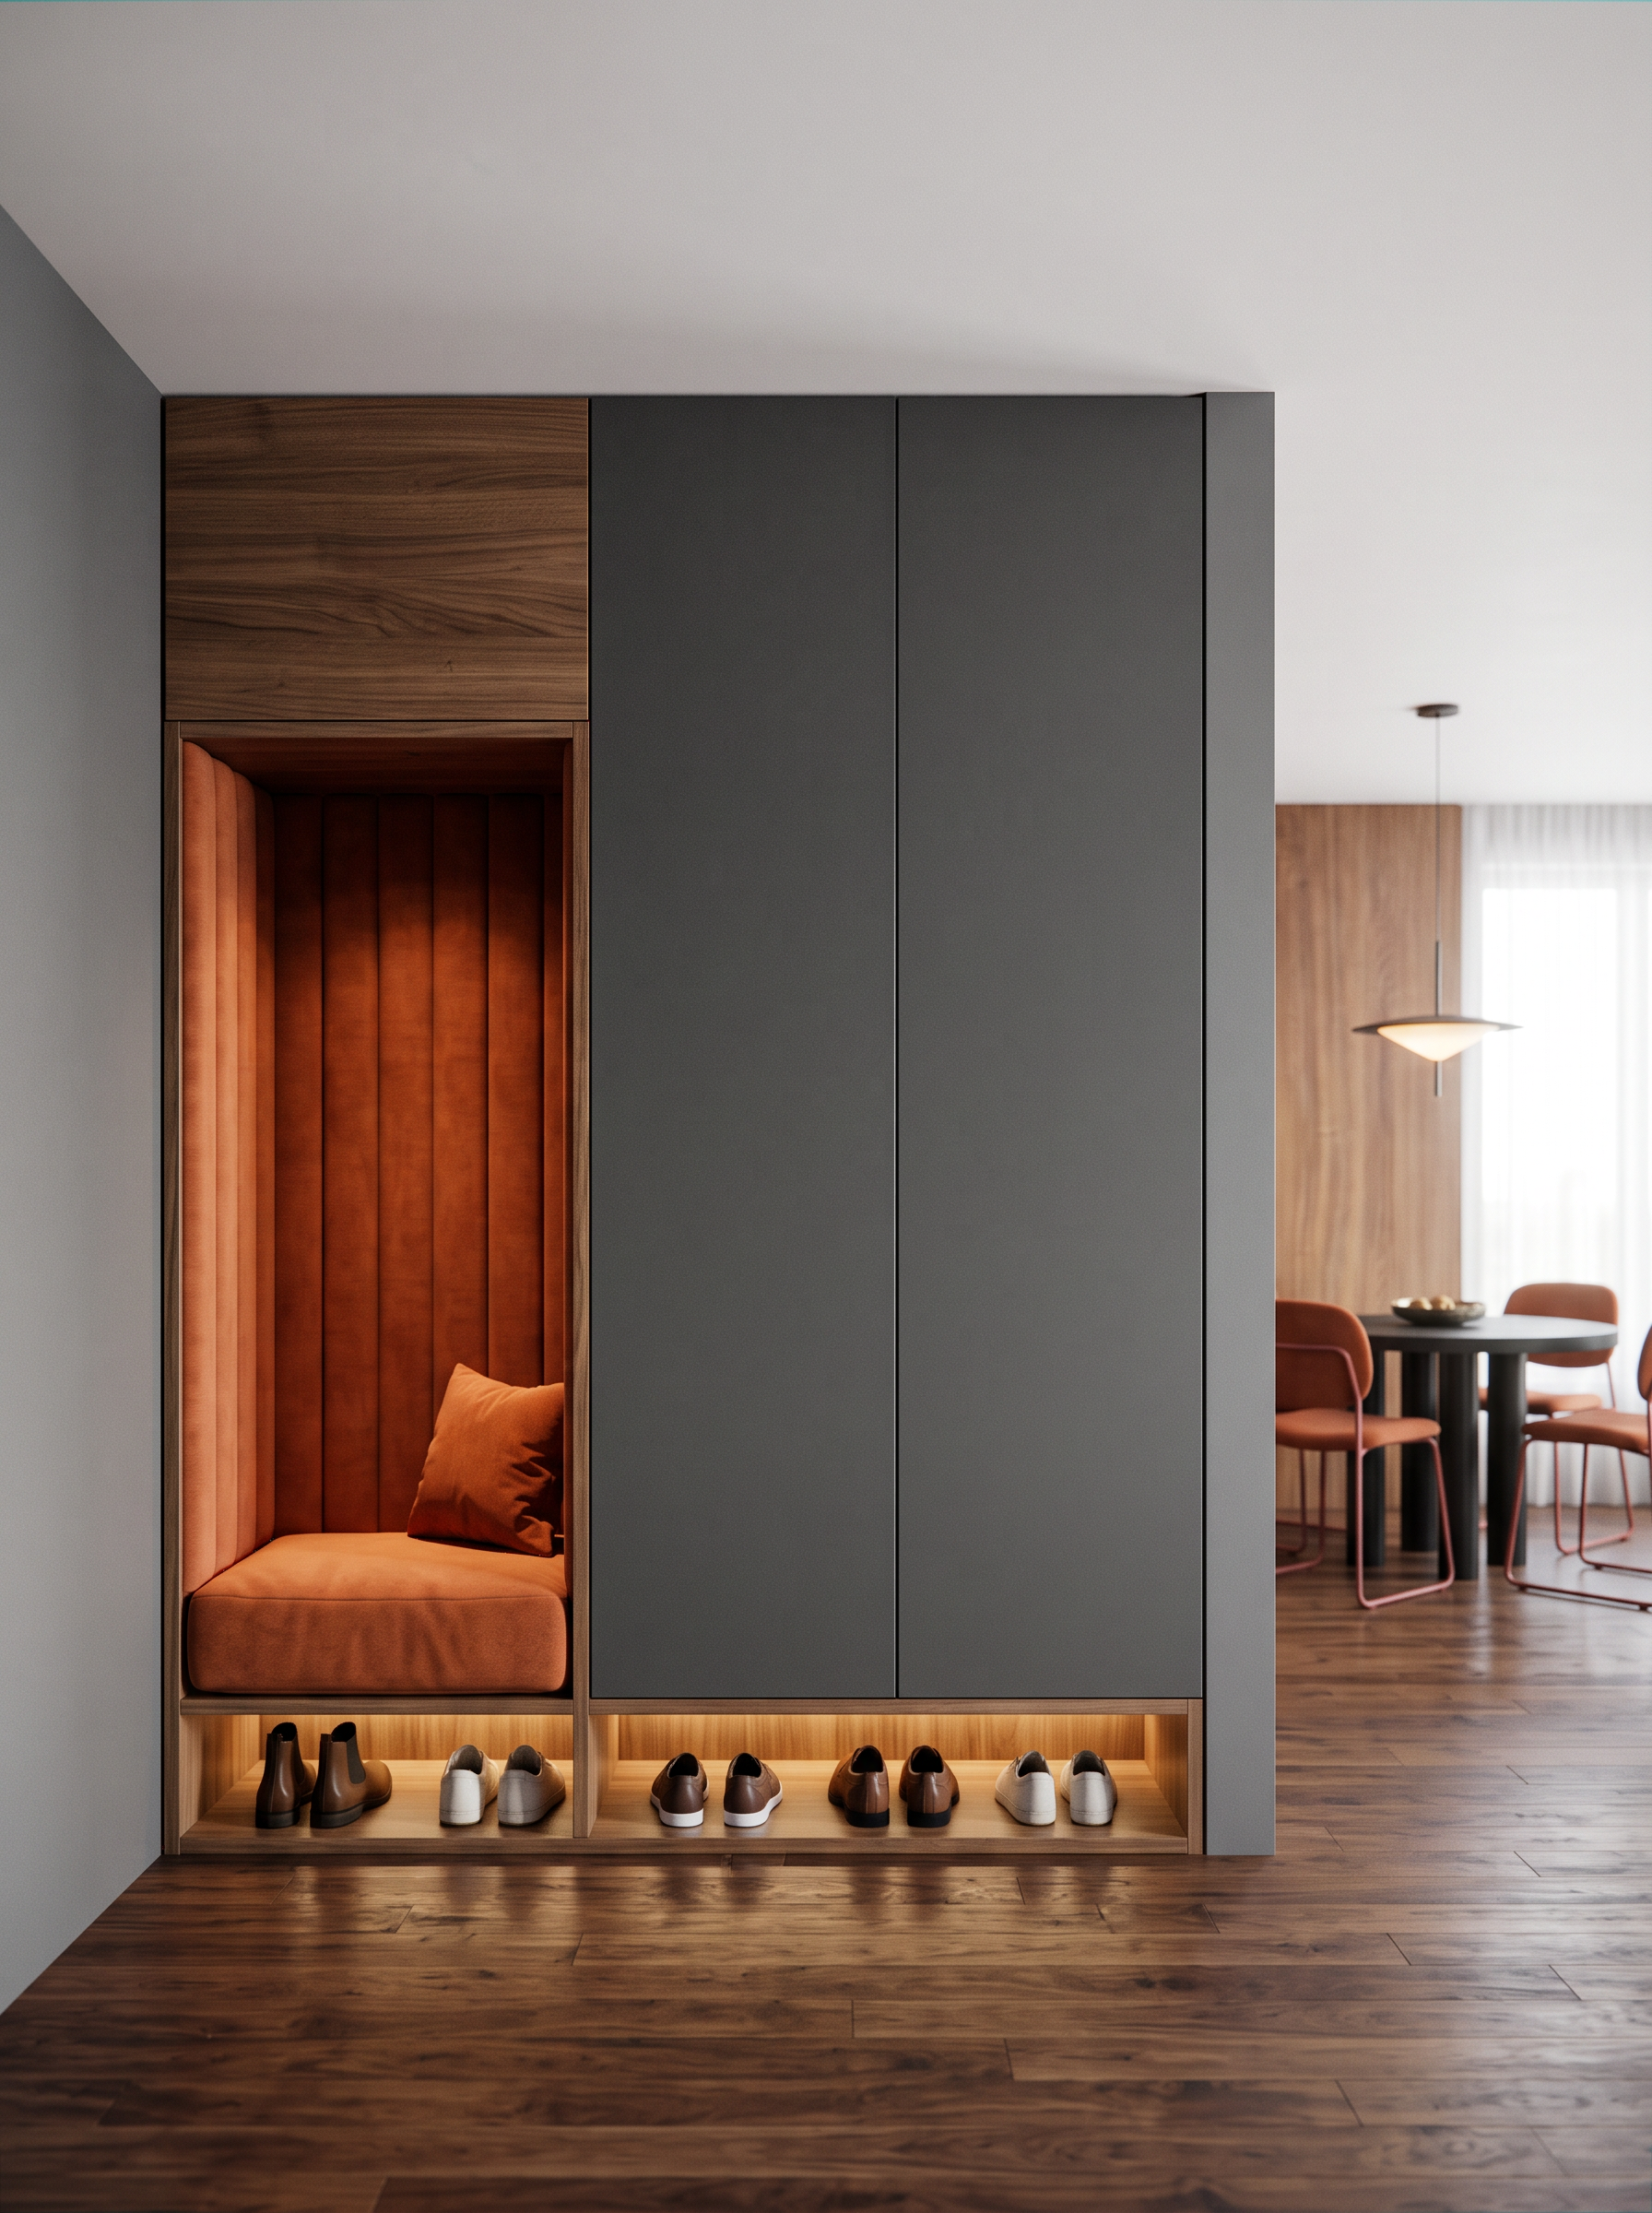
- Prompt
- Create a high-end, photorealistic architectural render of the entrance area, based strictly on the original 3D model.
CRITICAL: DO NOT CHANGE THE IMAGE DIMENSIONS, ASPECT RATIO, CAMERA ANGLE, CAMERA POSITION, PERSPECTIVE, FRAMING, PROPORTIONS, ROOM GEOMETRY OR DESIGN. Preserve the exact original composition and architectural layout. Only apply the materials, furniture, lighting and details described below.
1. ENTRANCE WALL AND WOODEN ELEMENTS
The camera is facing the entrance wardrobe wall directly and frontally.
On the left, there is a grey wall. Keep its existing position, dimensions and colour.
The wooden elements are:
• the upper horizontal cabinet door;
• the wooden frame/box structure surrounding the seating niche.
Finish both elements in the same wood tone, grain and texture as the wooden panels shown in Reference 1.
The wooden surfaces should look natural, refined and high-quality.
2. SEATING NICHE
The orange-marked back panel inside the wooden structure represents a recessed upholstered niche.
Create a comfortable built-in seating area with:
• a recessed backrest upholstered in warm orange fabric, matching the upholstery of the chairs shown in Reference 1;
• a soft upholstered seat cushion placed on the wooden horizontal bench;
• two decorative cushions in matching orange fabric, inspired by Reference 2.
The niche must have the same recessed appearance, proportions and construction as shown in Reference 2.
The upholstery should have a realistic textile texture, with soft, natural folds and subtle detailing.
3. OPEN SHOE SHELVES
Directly below the seating bench, create two open shoe storage shelves.
Add integrated, concealed warm LED lighting to both shelves, matching the appearance and lighting effect shown in Reference 3.
The illumination should be subtle and elegant, highlighting the shoes and the interior of the shelves without excessive brightness.
Preserve the exact dimensions and positions of both shelves.
4. GRAPHITE WARDROBE DOORS
Next to the wooden seating niche, there are two wardrobe doors in a dark graphite-grey finish.
Make both doors completely smooth, flat and minimalist, without handles or decorative detailing.
Importantly, at the central boundary between these two wardrobe doors, include a 12 cm thick grey wall return/end section, as indicated in the original 3D model.
This is a solid architectural wall element, not an additional wardrobe door. Preserve its exact position and dimensions.
5. BACKGROUND DINING AREA
In the background, behind the entrance wardrobe, there is a dining area.
Recreate the entire dining arrangement as one cohesive group, matching Reference 1:
• a wooden wall panel;
• a dining table;
• four dining chairs;
• a pendant light above the table.
The table is marked in light grey in the original model.
Keep the entire dining area softly blurred and out of focus, creating realistic depth of field. The entrance wardrobe and seating niche must remain the main focal point.
Although blurred, the dining furniture, wooden panel and pendant should retain realistic shapes, proportions, materials and colours consistent with Reference 1.
6. FLOOR AND CEILING
Floor: Use dark wooden parquet matching the colour, wood grain, tone and finish shown in Reference 1.
Ceiling: Keep it plain, clean and white, without additional decorative elements.
- Created
- November 2, 2026