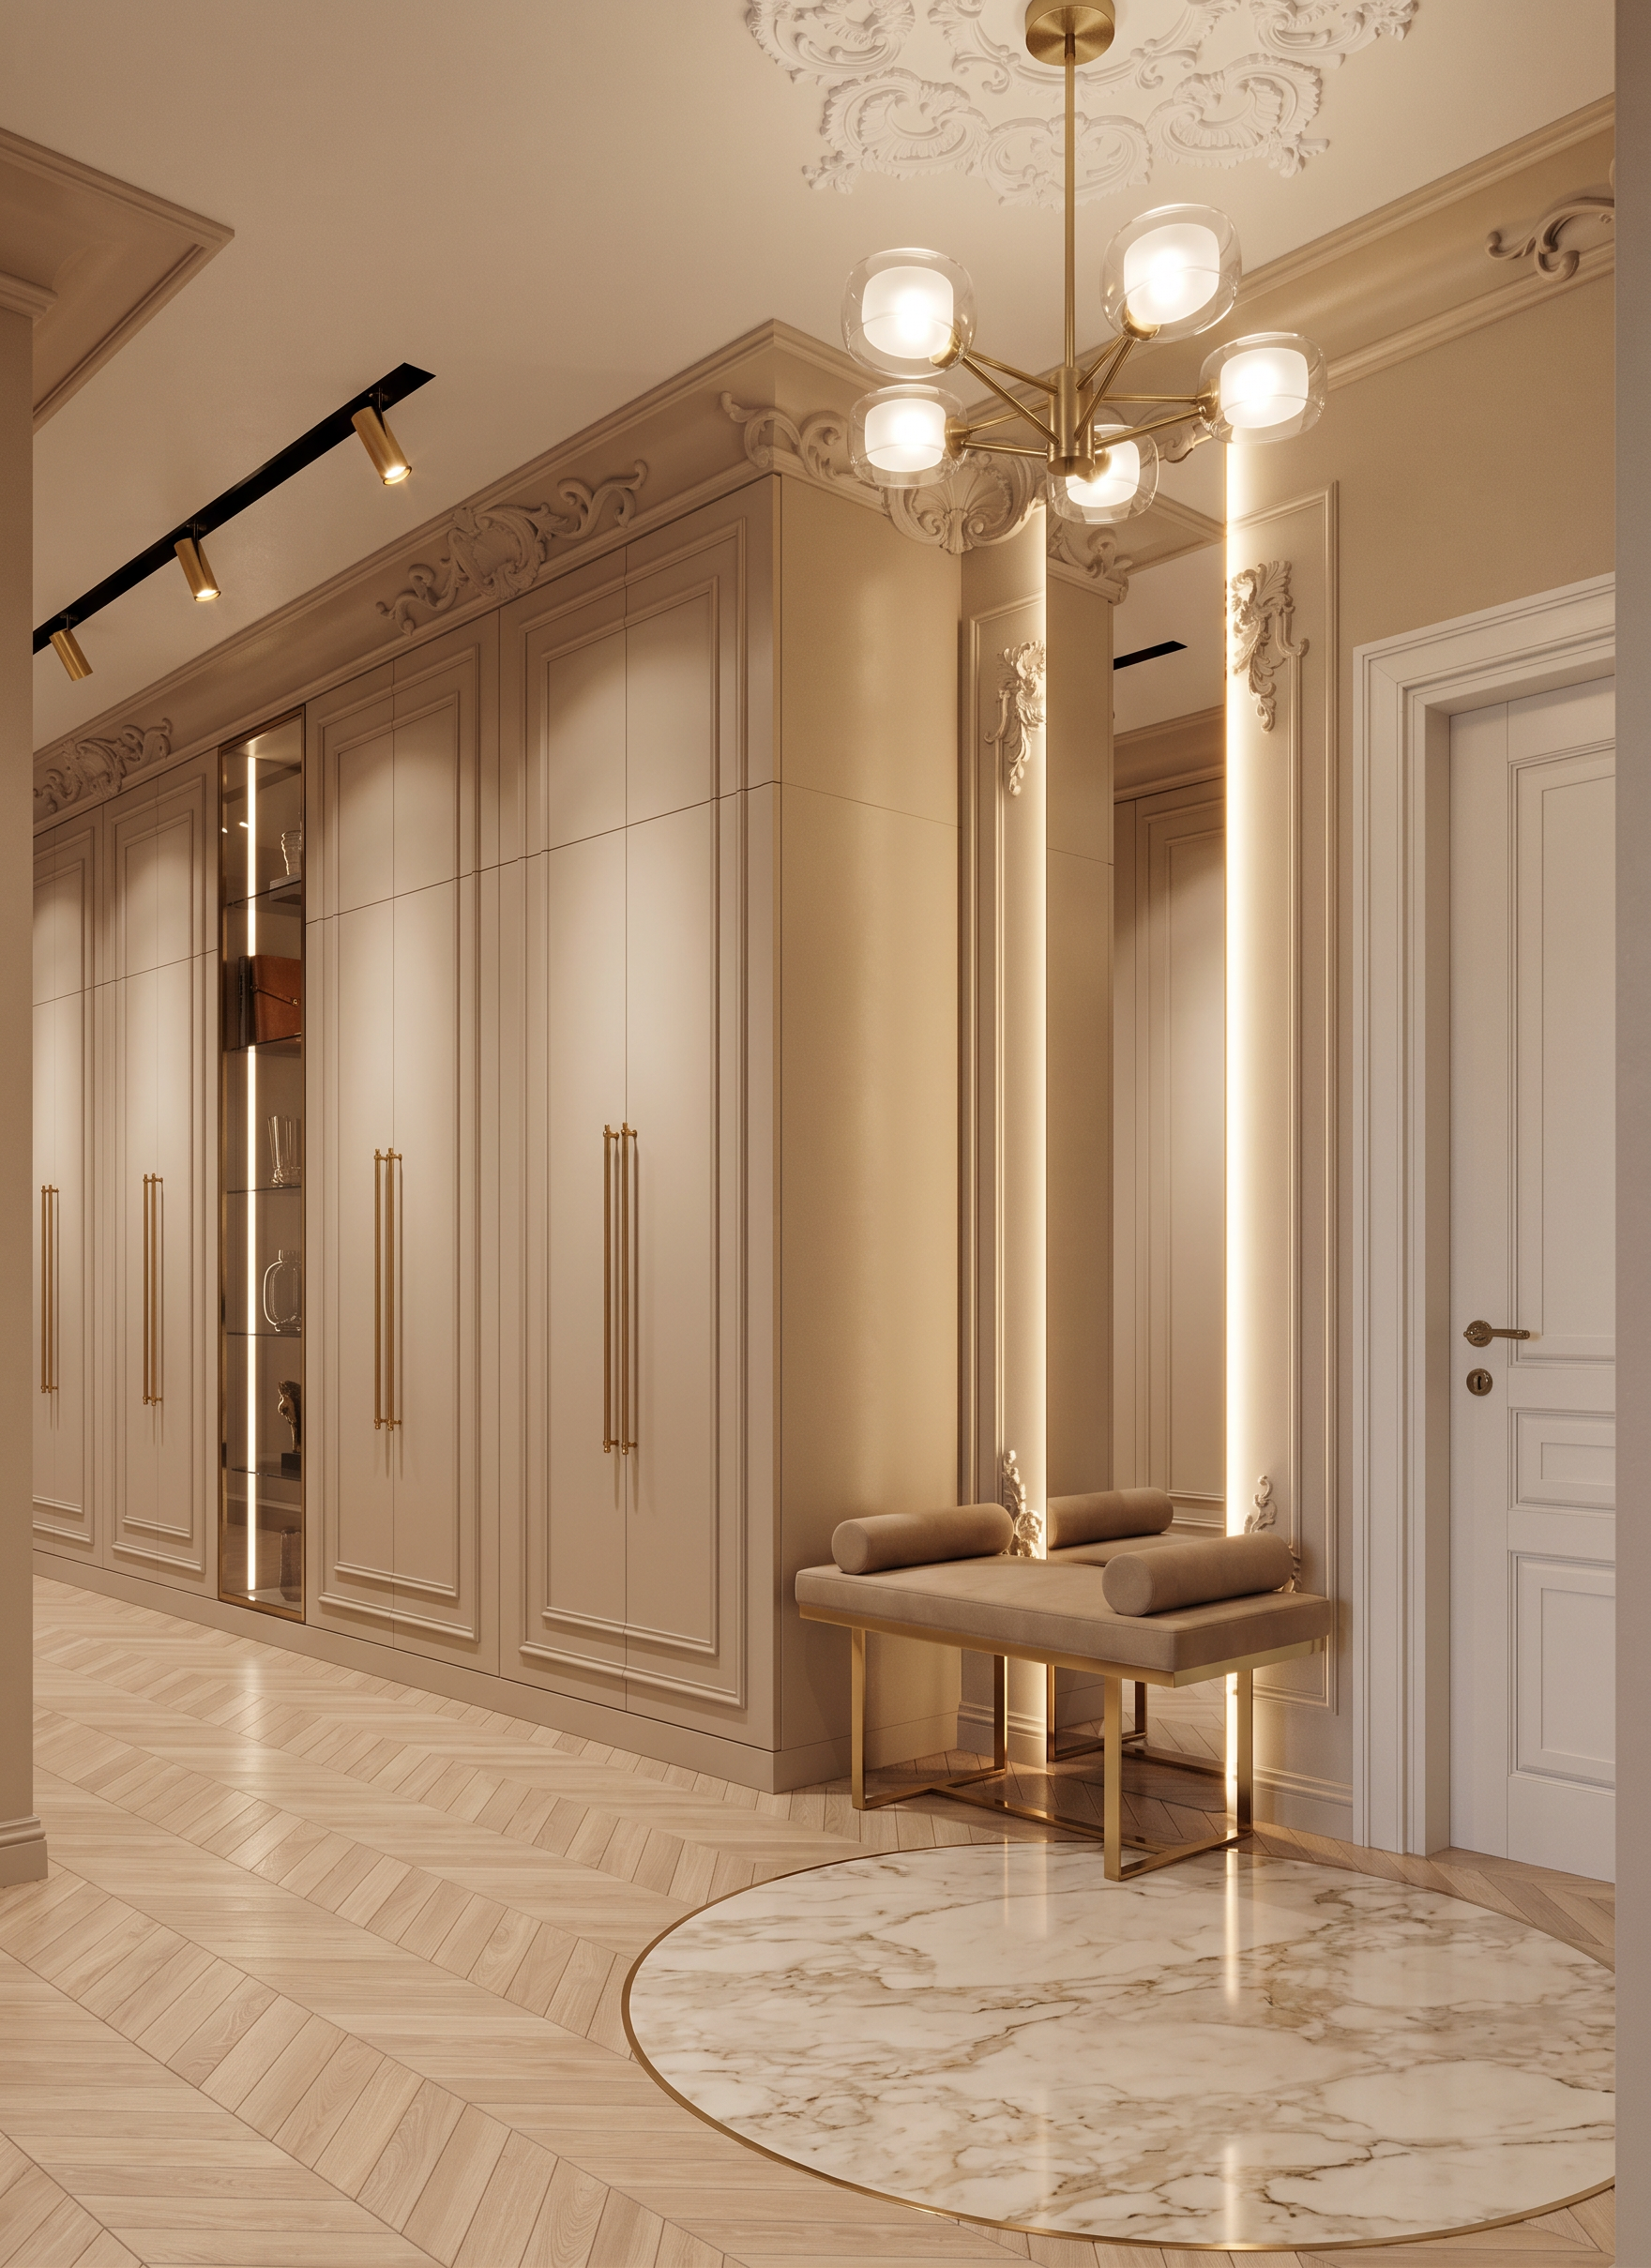
- Prompt
- Create a highly photorealistic interior render based on the provided 3D model.
IMPORTANT: Do not change the image aspect ratio, image dimensions, camera angle, perspective, composition, proportions, geometry, architectural elements, furniture layout, or overall design of the original 3D model. Preserve the exact geometry and positioning of all existing elements. Only apply the material, lighting, and specific design adjustments described below.
Create a warm, elegant, sophisticated corridor interior in warm beige and neutral tones.
FLOOR:
Use a light, uniform-colored chevron parquet throughout the corridor. The yellow circle marked on the floor represents a circular marble inlay. Recreate it as shown in Reference Image 3, using the same marble appearance and color. The transition between the parquet and marble must have a very thin, elegant brass profile.
WARDROBES AND WALLS:
The built-in wardrobes and walls should be warm beige, with the wardrobe color matching Reference Image 1. Add elegant brass handles to the wardrobes.
The blue rectangle between the wardrobes represents a display cabinet. Recreate it as a glass-enclosed display niche with tinted glass doors, integrated LED lighting, and elegant decorative objects inside, matching the style and appearance of Reference Image 1.
CEILING:
Keep the ceiling white. Preserve all existing decorative plaster moldings exactly as they appear in the original 3D model.
The black strip marked on the ceiling represents a black surface-mounted track lighting system with elegant gold spotlights. Recreate it accordingly.
BENCH AND MIRROR:
Add a bench next to the wardrobes, matching Reference Image 1: upholstered in a warm neutral beige fabric and supported by elegant brass legs.
Behind the bench, there is a full-height black rectangular element extending from floor to ceiling. This is a mirror with integrated LED backlighting. The mirror should emit a soft glow that illuminates and reflects onto the surrounding wall.
Preserve the decorative plaster molding on the wall behind the mirror exactly as shown in the original 3D model.
PENDANT LIGHT:
Add the pendant light shown in Reference Image 2. Position it precisely in the center of the existing gypsum ceiling rosette in the 3D model. The pendant light must be perfectly aligned with the center of the ceiling rosette.
MARBLE FLOOR INLAY:
The yellow circle on the floor represents the marble insert. Recreate it exactly according to Reference Image 3, including the marble color, texture, finish, and the thin brass profile at the junction between the marble and the parquet.
LIGHTING AND ATMOSPHERE:
Create a warm, luxurious, realistic interior atmosphere with soft architectural lighting, realistic reflections, natural material textures, accurate shadows, and high-quality photorealistic rendering.
Use the reference images only to reproduce the specified materials, colors, lighting fixtures, furniture details, and finishes. Do not reinterpret or redesign the space.
Do not add, remove, move, resize, or modify any element that is not explicitly mentioned above. Preserve the original 3D model exactly.
- Created
- September 1, 2026