- Prompt
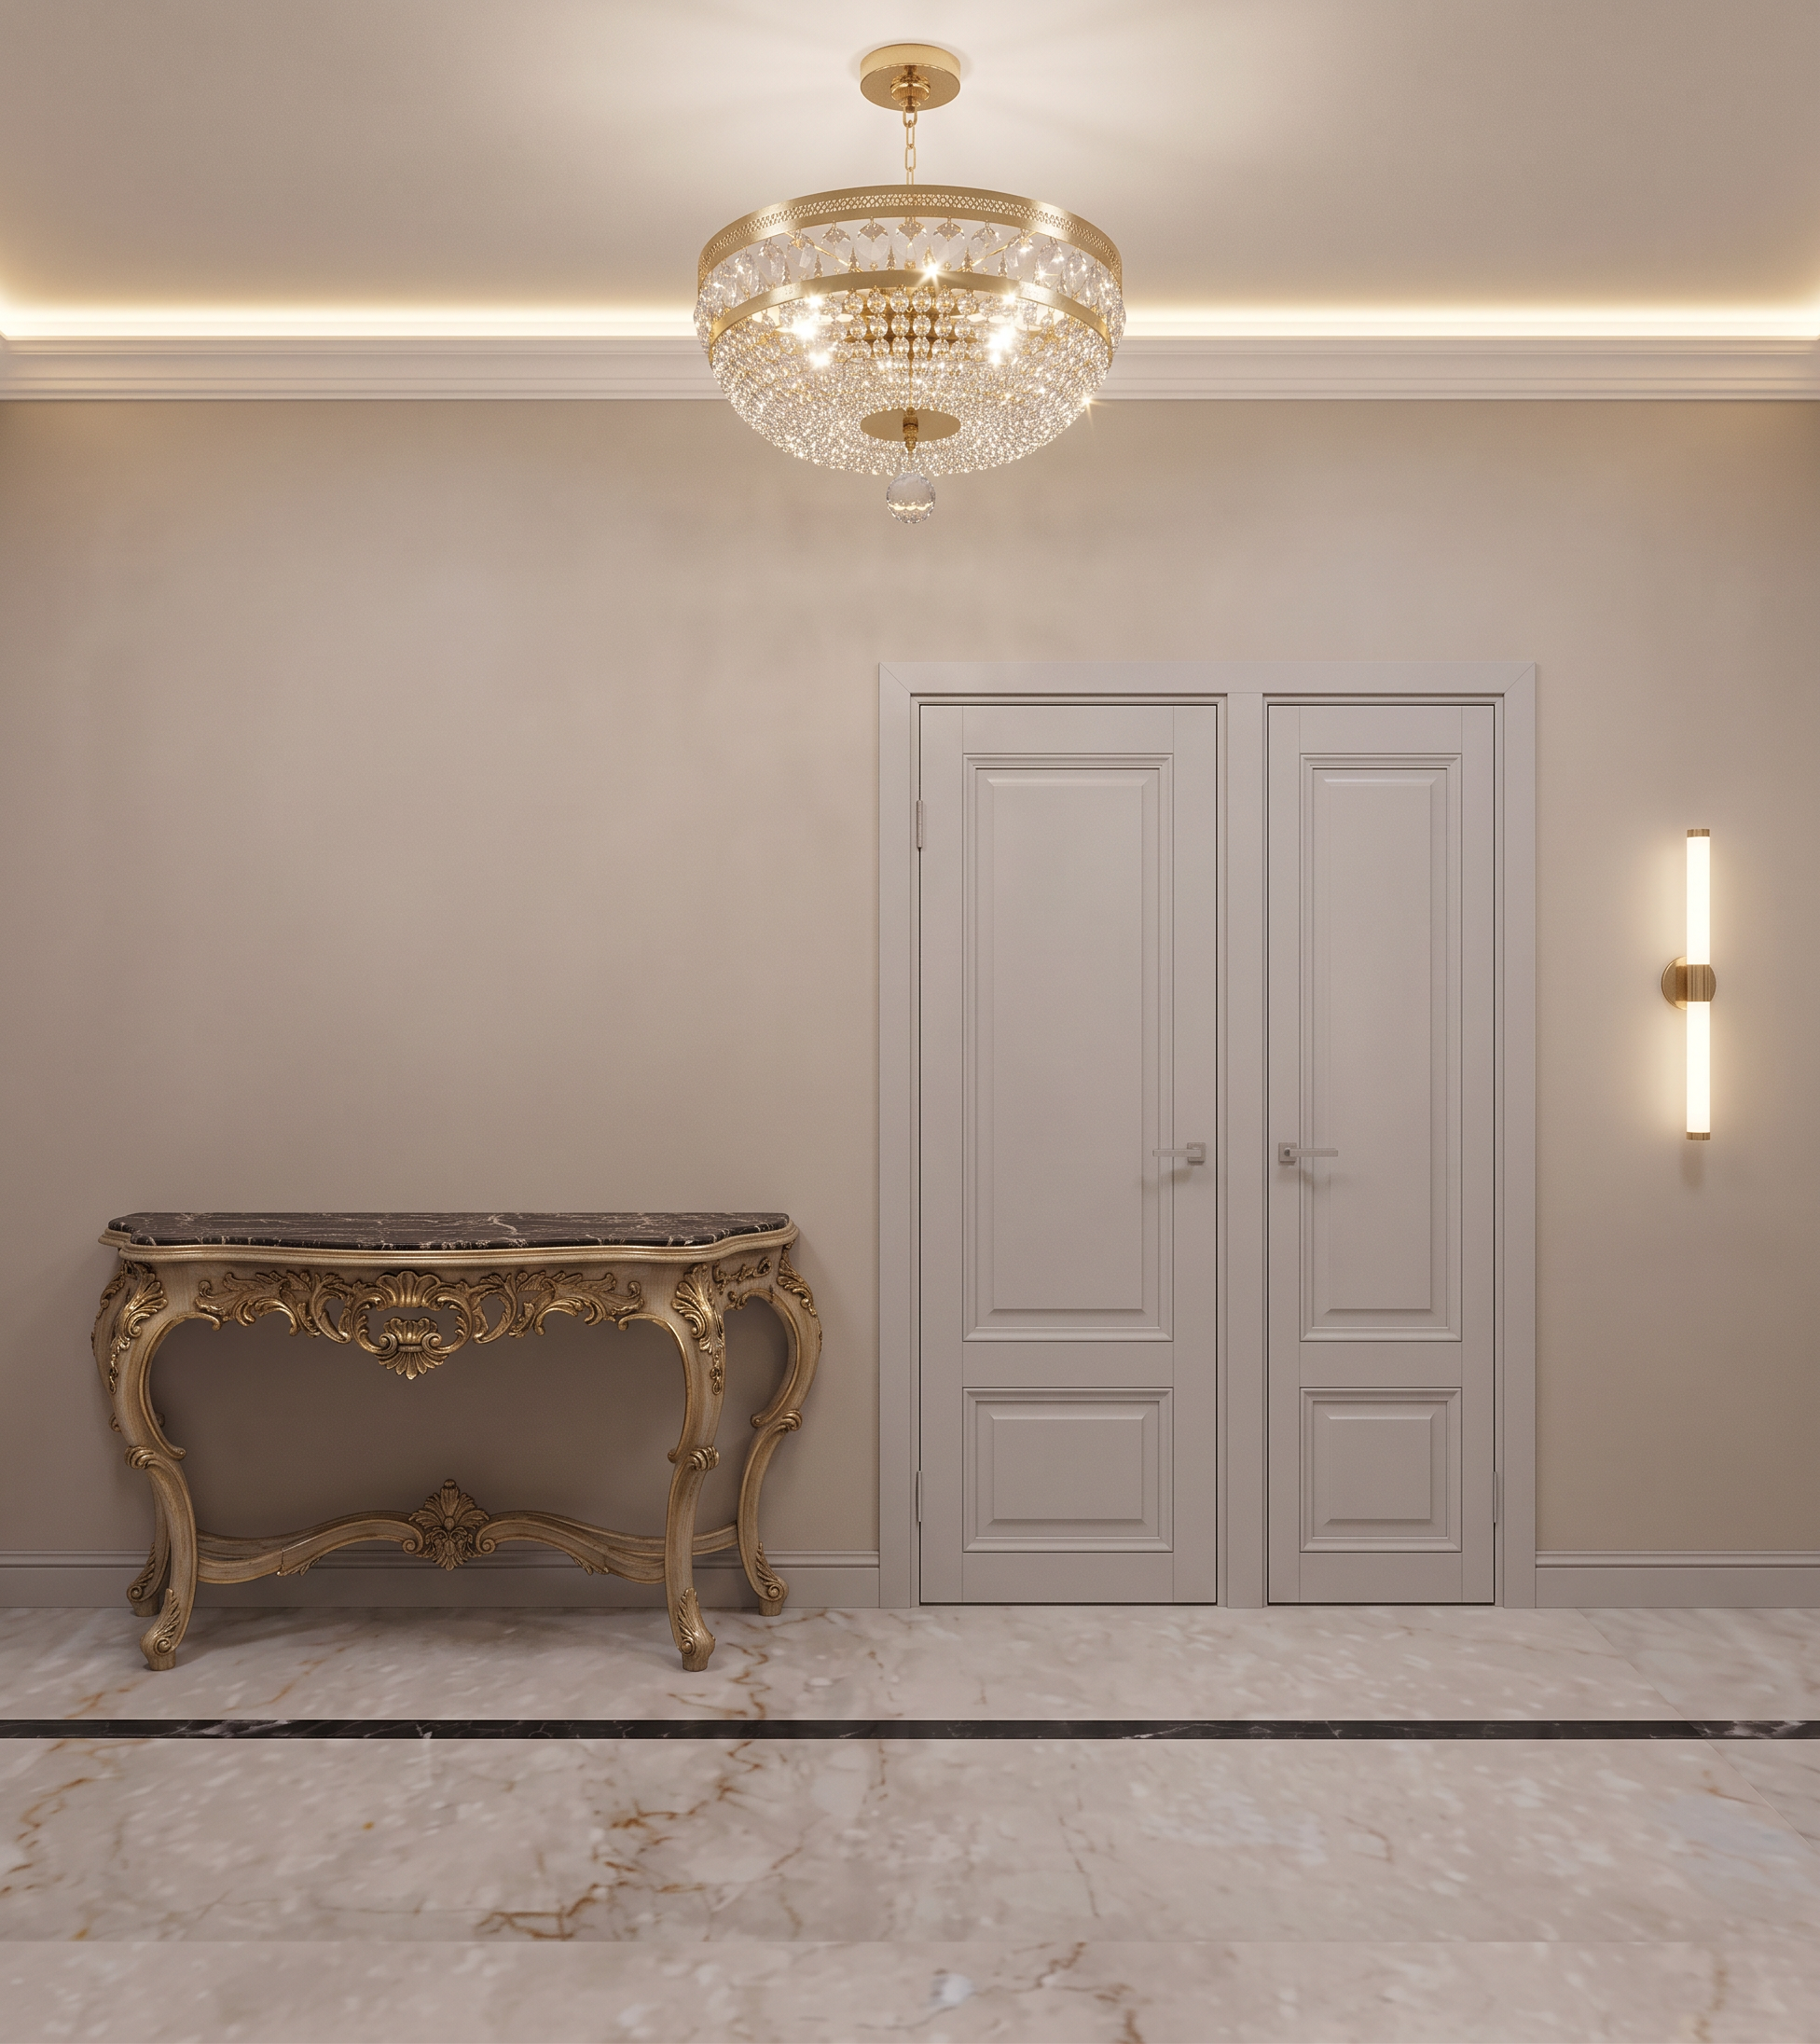
- Create an ultra-photorealistic high-end architectural render of the existing corridor image.
CRITICAL — PRESERVE THE EXISTING IMAGE EXACTLY
Do NOT change the image size, aspect ratio, composition, camera position, camera angle, perspective, focal length, framing, geometry, proportions, dimensions, architectural layout, doors, walls, ceiling, or any existing design elements.
The original image must remain structurally identical.
Do not redesign or reinterpret the space.
Only apply the specific material, color, lighting, and furniture changes described below.
dont change camera angle its a frontal view to the wall and doors!
REFERENCE 1 — MATERIALS, COLORS & LIGHTING
Use Reference 1 as the primary visual reference for the following elements:
• Floor: Match the exact color, tone, material appearance, finish, and overall visual character of the floor shown in Reference 1.
• Doors: Match the exact color, tone, and finish of the doors from Reference 1.
• Walls: Match the exact warm beige/neutral color and finish of the walls from Reference 1.
• Ceiling: Match the color, finish, and overall appearance of the ceiling from Reference 1.
• Ceiling cornice: Match the design, color, proportions, and finish of the ceiling cornice from Reference 1.
• Ceiling light: The red-marked area on the ceiling indicates the exact location of the ceiling light fixture. Replace the red marking with the same ceiling light fixture shown in Reference 1, matching its design, proportions, material, position, orientation, and perspective.
• Wall light: The blue rectangle on the right wall indicates the exact location of the wall light. Replace the blue marking with the same wall-mounted light fixture shown in Reference 1, matching its design, proportions, material, position, scale, and perspective.
The colored red and blue markings are only placement indicators and must NOT remain visible in the final image.
REFERENCE 2 — CONSOLE
The purple rectangle on the left side is only a placeholder indicating the location of the console.
Remove the purple rectangle completely and replace it with the console table shown in Reference 2.
Position and scale the console according to the existing corridor geometry and camera perspective-frontal view , so it looks naturally integrated into the space. Do not change the wall or surrounding architecture to accommodate it.
- Created
- September 8, 2026