- Prompt
- BASE PROMPT (paste this every time, then add one VIEW line)
Create a photorealistic interior render of a modern office in Riyadh, Saudi Arabia, for client presentation.
LAYOUT: Follow the attached floor plan "Option2_Floor_Plan.png" and the attached 3D massing image exactly: same room positions, walls, glass partitions, doors and furniture layout. Do not invent rooms, columns, stairs or extra furniture.
STYLE: Match the attached site photos of an office we built: same materials, colours and furniture type. Keep it simple and cost-effective. Use standard products only, nothing custom or decorative beyond what is listed below.
MATERIALS
- Floor: light natural oak-look plank flooring, matt, in offices, corridors and studios.
- Walls: smooth white painted gypsum. Light oak slatted cladding on the reception back wall only.
- Ceiling: flat white gypsum ceiling at 3.0 m. Over the workstation benches and the reception desk, a dropped flat gypsum panel painted matt black. NO exposed ceiling, NO visible ducts.
- Glass partitions: full-height clear glass with slim black aluminium frames, black door handles and a frosted band at 1.0–1.5 m height.
- Lighting: black linear LED lights, 4000 K neutral white. Lengthwise strips over the benches; short strips running across the corridors at regular spacing.
- Workstations: light oak desk tops on black frames, set as back-to-back benches, with black planter troughs of green artificial plants between facing desks. Charcoal felt desk screens.
- Chairs: black mesh task chairs. Black or charcoal leather in executive offices and meeting rooms.
- Glazing: large curved glass façade with black mullions, soft natural daylight coming from the façade side.
CAMERA AND QUALITY: Eye-level camera at 1.6 m, 24 mm lens, straight vertical lines, natural daylight plus 4000 K interior lighting, realistic soft shadows, clean and tidy office with a few desk items, no people, no text, no logos, no watermark. Landscape 16:9, high resolution.
VIEW LINES (one per generation)
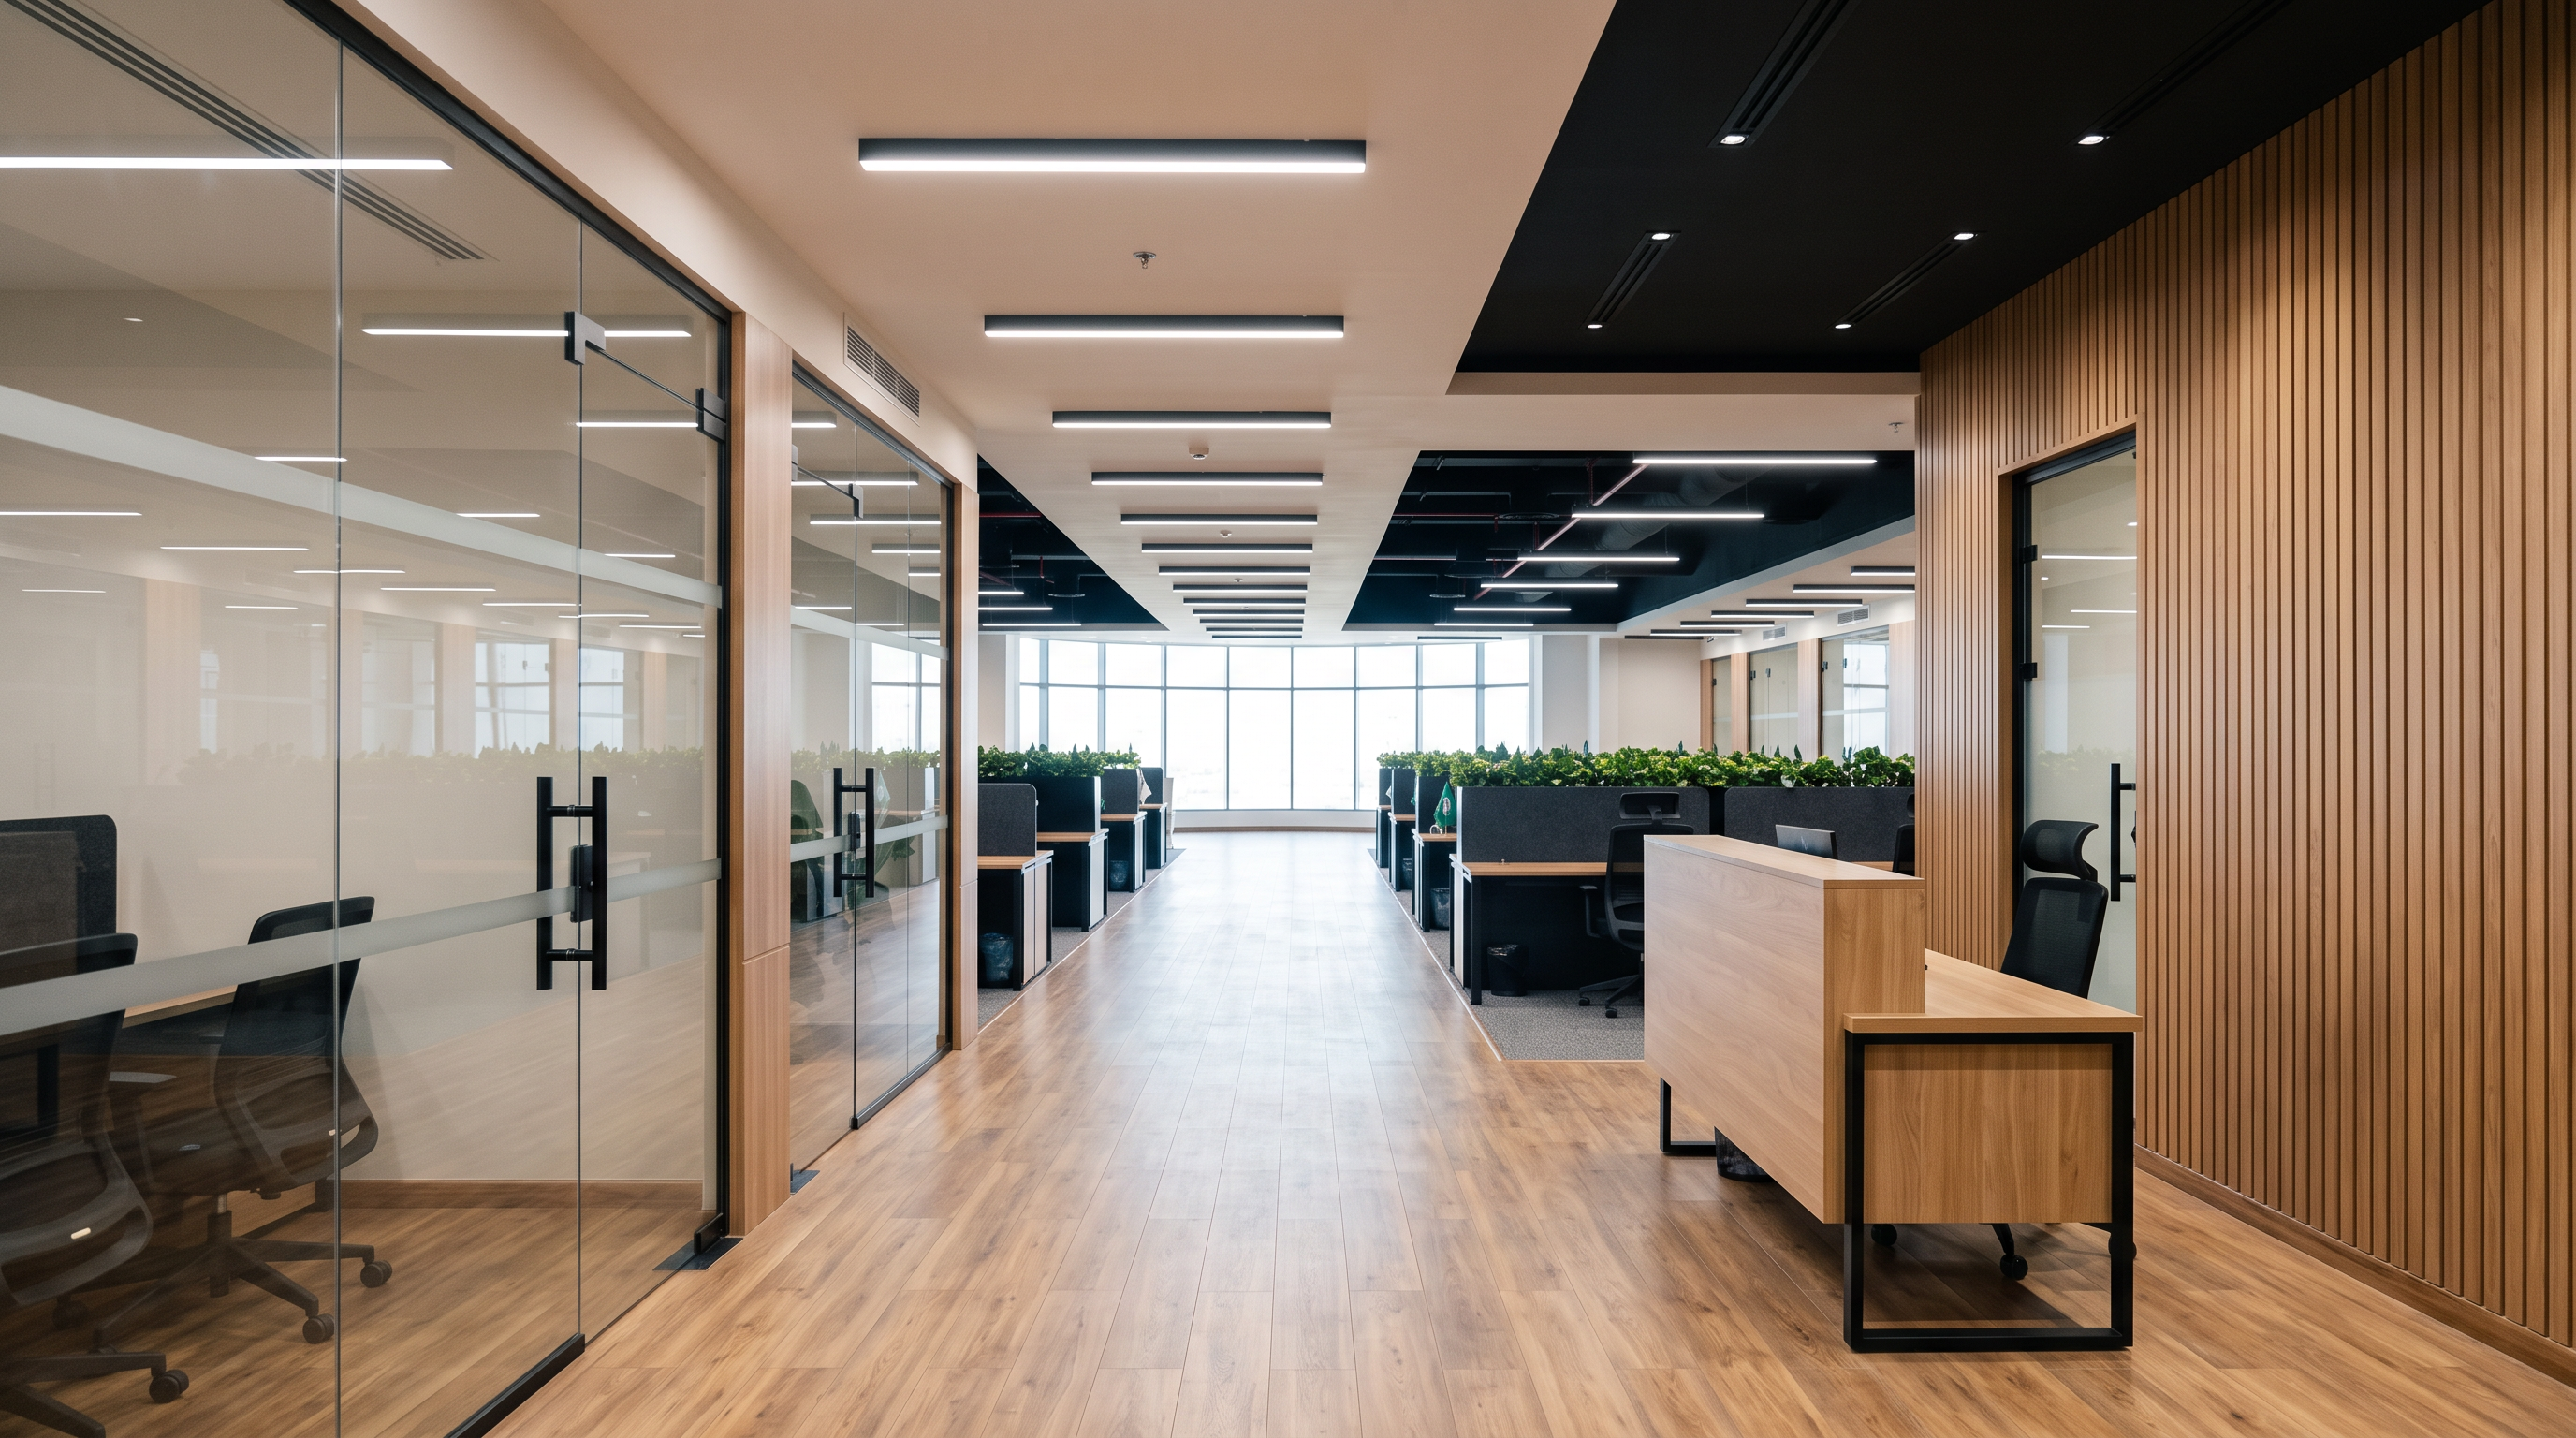
VIEW 1 – Entrance and reception: Standing at the main entrance looking straight up the central corridor toward the curved glass façade. Oak reception desk in front of the oak slatted wall, a glass door behind it, glass-walled studios on both sides of the corridor, daylight at the far end.
VIEW 2 – Project studio: Inside the large glass-enclosed workstation room, standing at the door, looking along three rows of back-to-back oak benches with black planter dividers and black mesh chairs. Black ceiling panel with linear lights above the benches; glass walls to the corridor.
VIEW 3 – Central corridor: In the corridor between the two glass studios, looking toward the façade. Glass walls with black frames on both sides, oak floor, short linear lights across the ceiling.
VIEW 4 – Manager offices corridor: In the curved corridor that follows the façade. On one side, a row of small glass-fronted manager offices with the street-view façade behind them; on the other side, the glass wall of the workstation studio. Linear ceiling lights follow the curve.
VIEW 5 – Executive office: Inside a corner executive office on the curved façade. Oak desk with a black leather chair and two visitor chairs; a lounge corner with a dark leather sofa, an armchair and a low black coffee table; large curved window behind.
VIEW 6 – Meeting room: Inside a meeting room with a 10-seat oak table, black leather chairs, a wall-mounted screen, glass wall with frosted band to the reception.
VIEW 7 – Quiet booth and plan table: Open area at the end of the curved corridor with a black-framed glass booth for 2–3 people (small table, felt wall panel inside) and a stand-up oak plan table for reviewing drawings.
- Created
- November 18, 2026