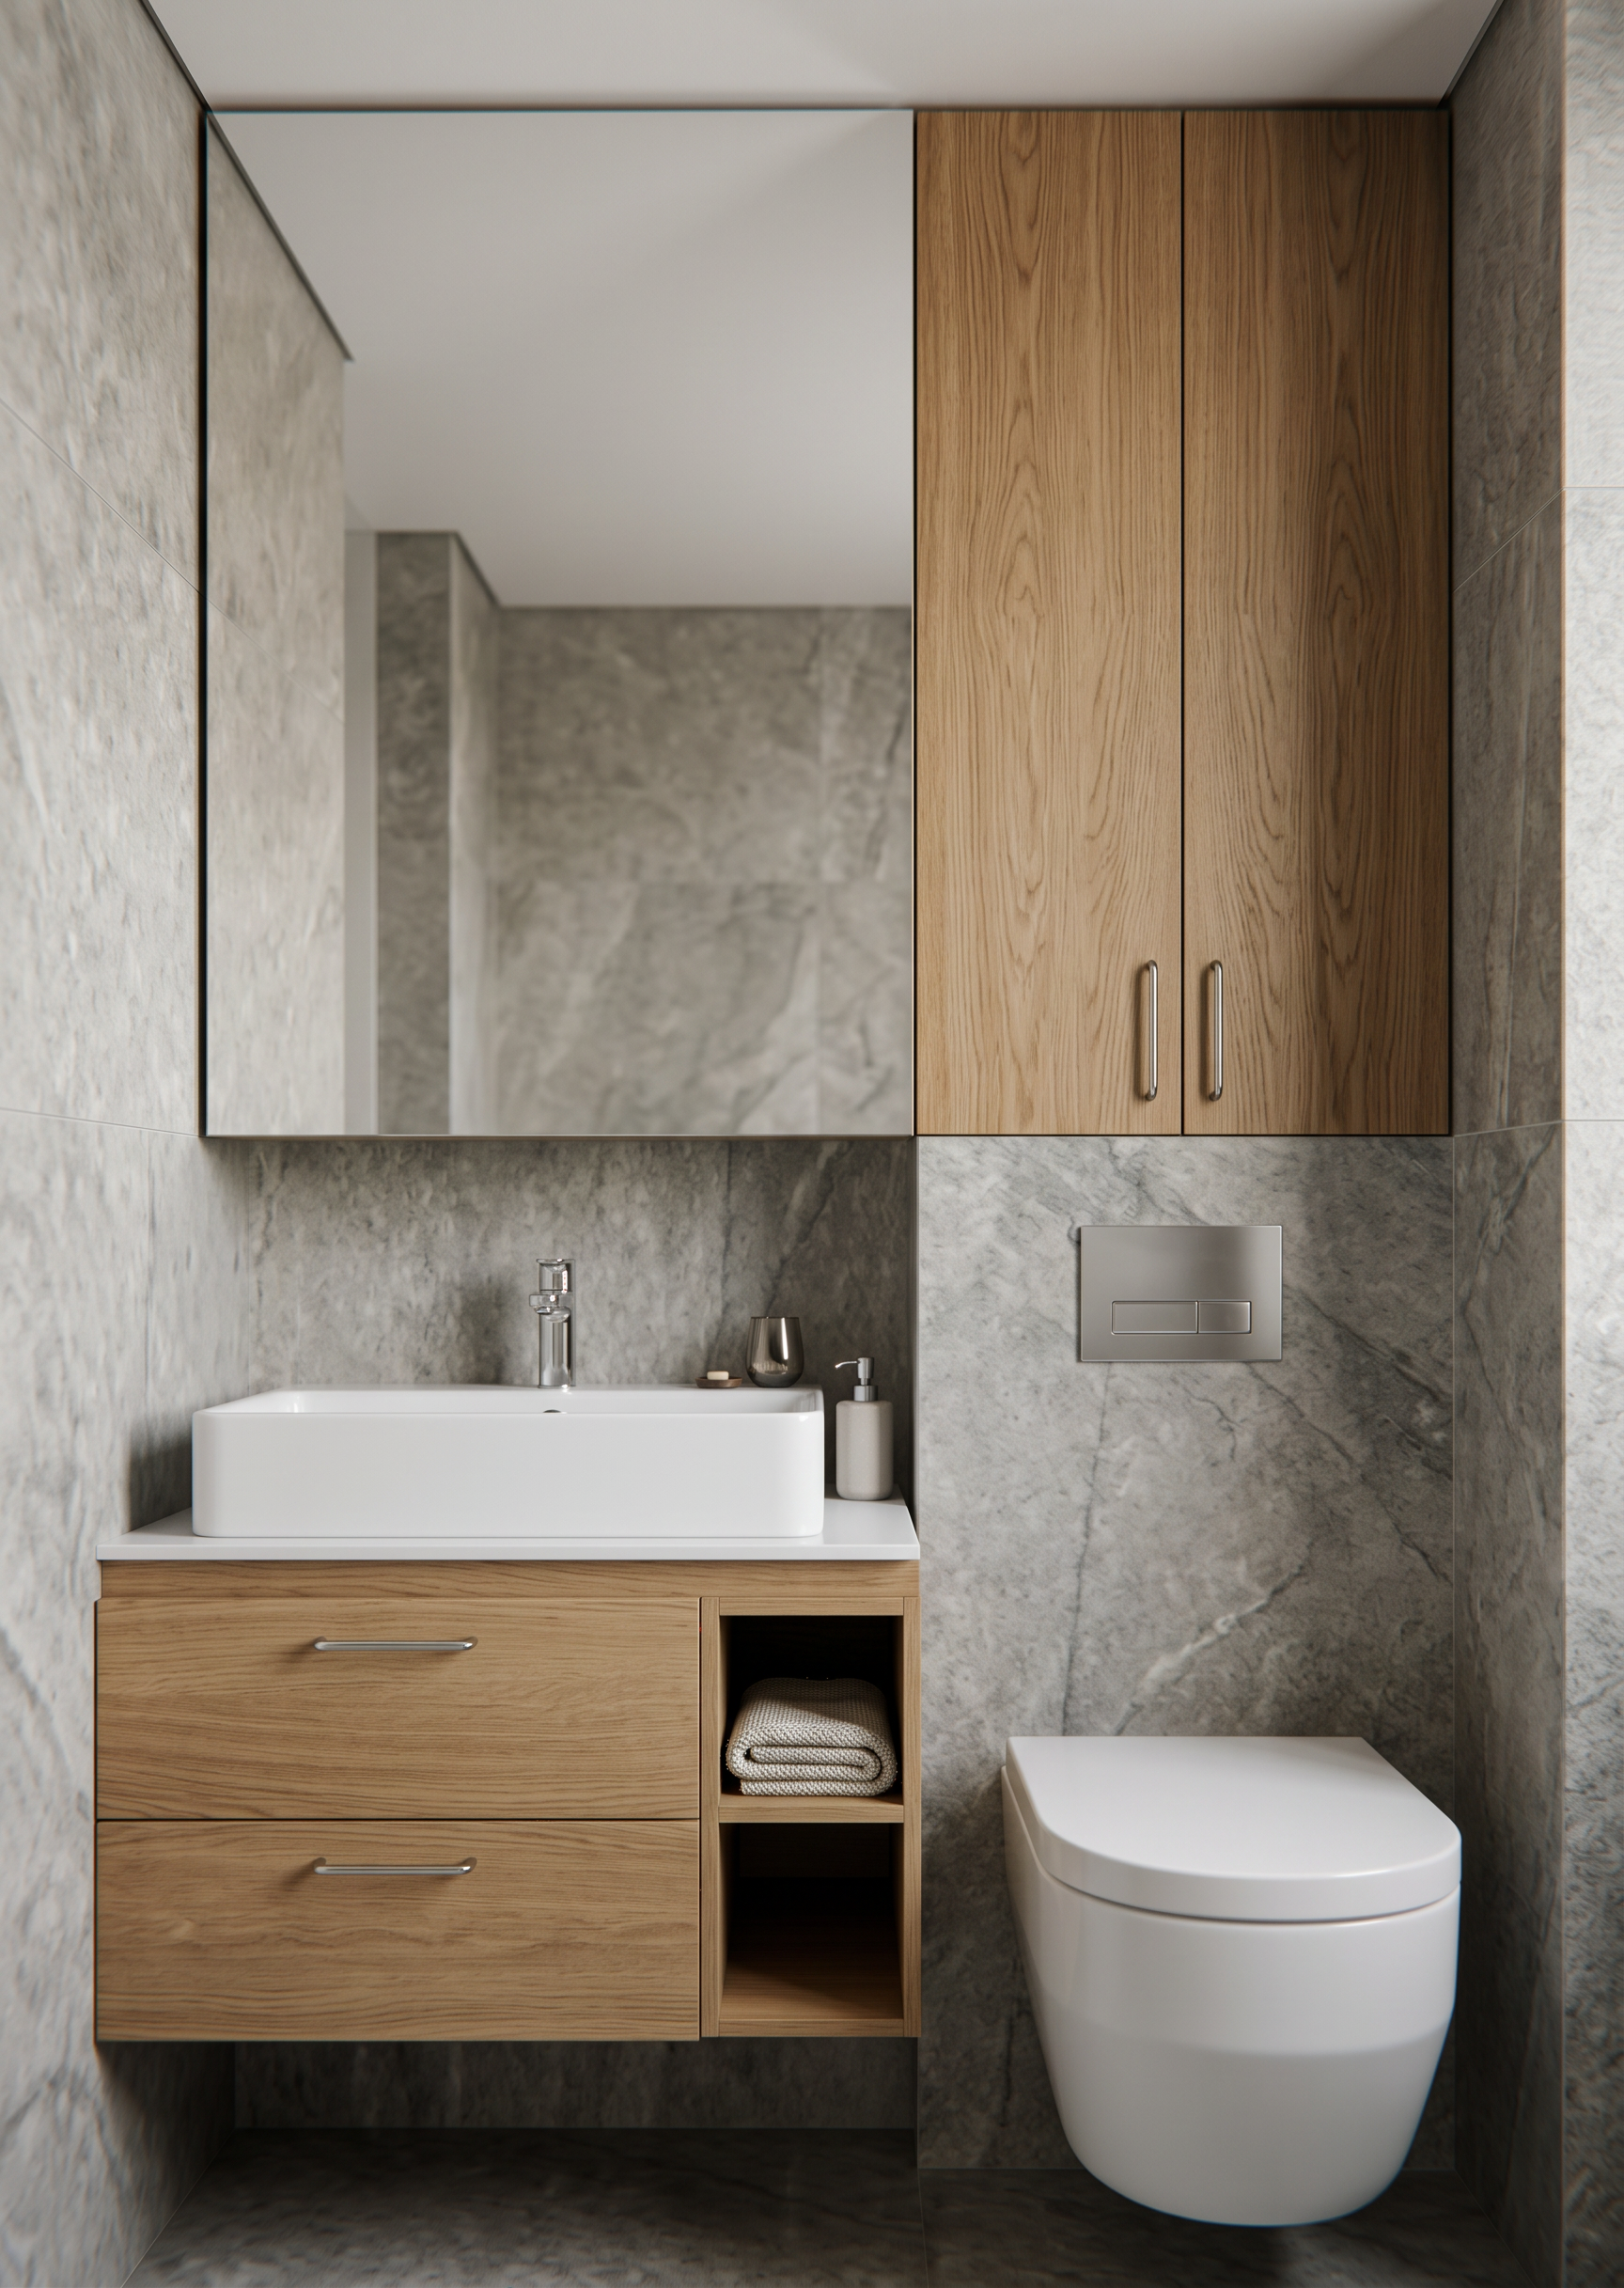
- Prompt
- Create a photorealistic render of the bathroom based strictly on the provided 3D model. Do not change the image dimensions, aspect ratio, proportions, camera angle, perspective, geometry, layout, or original design. Preserve the exact composition and placement of all elements.
Materials and finishes:
• Floor and walls: grey-toned tiles, matching the appearance and tone shown in the original 3D model. Use realistic tile textures, subtle variations, and natural-looking grout lines.
• Ceiling: plain white.
• The black area on the right side of the model represents a wall. Finish this wall with the same grey tiles used on the other walls.
Toilet area:
• Place a realistic modern white toilet in the exact position shown in the model.
• Add a sleek, chrome-plated flush plate on the wall directly above the toilet.
• Above the toilet, install a wall-mounted cabinet aligned flush with the existing toilet projection. Finish the cabinet in a natural oak wood tone with realistic wood grain.
• The cabinet must have exactly two front doors, with two slim, elegant, classic-style handles, allowing the doors to be opened.
Mirror and concealed shelving:
• The large black rectangle to the left of the toilet cabinet represents a mirror, with shelving concealed behind it.
• Render it as a realistic mirror with a clearly defined physical thickness and refined edges.
• Position the mirror flush with the front plane of the toilet cabinet, maintaining the alignment shown in the 3D model.
• Preserve the original dimensions and position of the mirror and the concealed shelving. Do not alter the surrounding geometry.
Vanity unit and washbasin:
• Reproduce the vanity area within the existing washbasin niche, preserving its exact dimensions and position.
• Use the same natural oak finish as the toilet cabinet for the wooden vanity elements.
• Include two open oak shelves. Arrange them neatly and place a neatly folded, high-quality neutral-toned towel on one of the shelves.
• The main vanity front must be divided horizontally into exactly two equal drawer fronts.
• Add two minimal, elegant chrome handles, one centered on each drawer front.
• Install a white rectangular washbasin on top of the vanity, spanning the full intended width of the countertop as indicated by the original model. The basin should have clean, refined edges and a realistic white ceramic finish.
• Add a contemporary chrome faucet emerging directly from the vanity countertop or integrated vanity surface, positioned appropriately behind the washbasin. Ensure the faucet is realistic, correctly scaled, and functionally plausible.
Styling and accessories:
• Add a small amount of carefully selected bathroom decor to create a refined, premium interior. For example, a minimal soap dispenser, a small elegant container, or a subtle decorative accessory near the washbasin.
• Keep all accessories understated, tasteful, and proportionate to the space. Do not clutter the countertop or obscure any architectural or design details.
Lighting and rendering quality:
Use soft, realistic architectural lighting with natural shadows, accurate reflections on the mirror and chrome fittings, physically realistic materials, detailed oak grain, and subtle surface textures. Ensure the grey tiles, white sanitaryware, chrome hardware, and natural oak cabinetry appear distinct and authentic.
The final image must look like a high-end professional interior visualization, with photorealistic materials, realistic lighting, refined detailing, and a clean, elegant atmosphere.
CRITICAL CONSTRAINTS: Do not redesign the bathroom, move or resize any elements, add new architectural features, change the camera position, modify the proportions, or reinterpret the original geometry. Only apply realistic materials, finishes, lighting, and the specifically described bathroom fixtures, cabinetry, and minimal decor to the existing 3D model.
- Created
- October 19, 2026