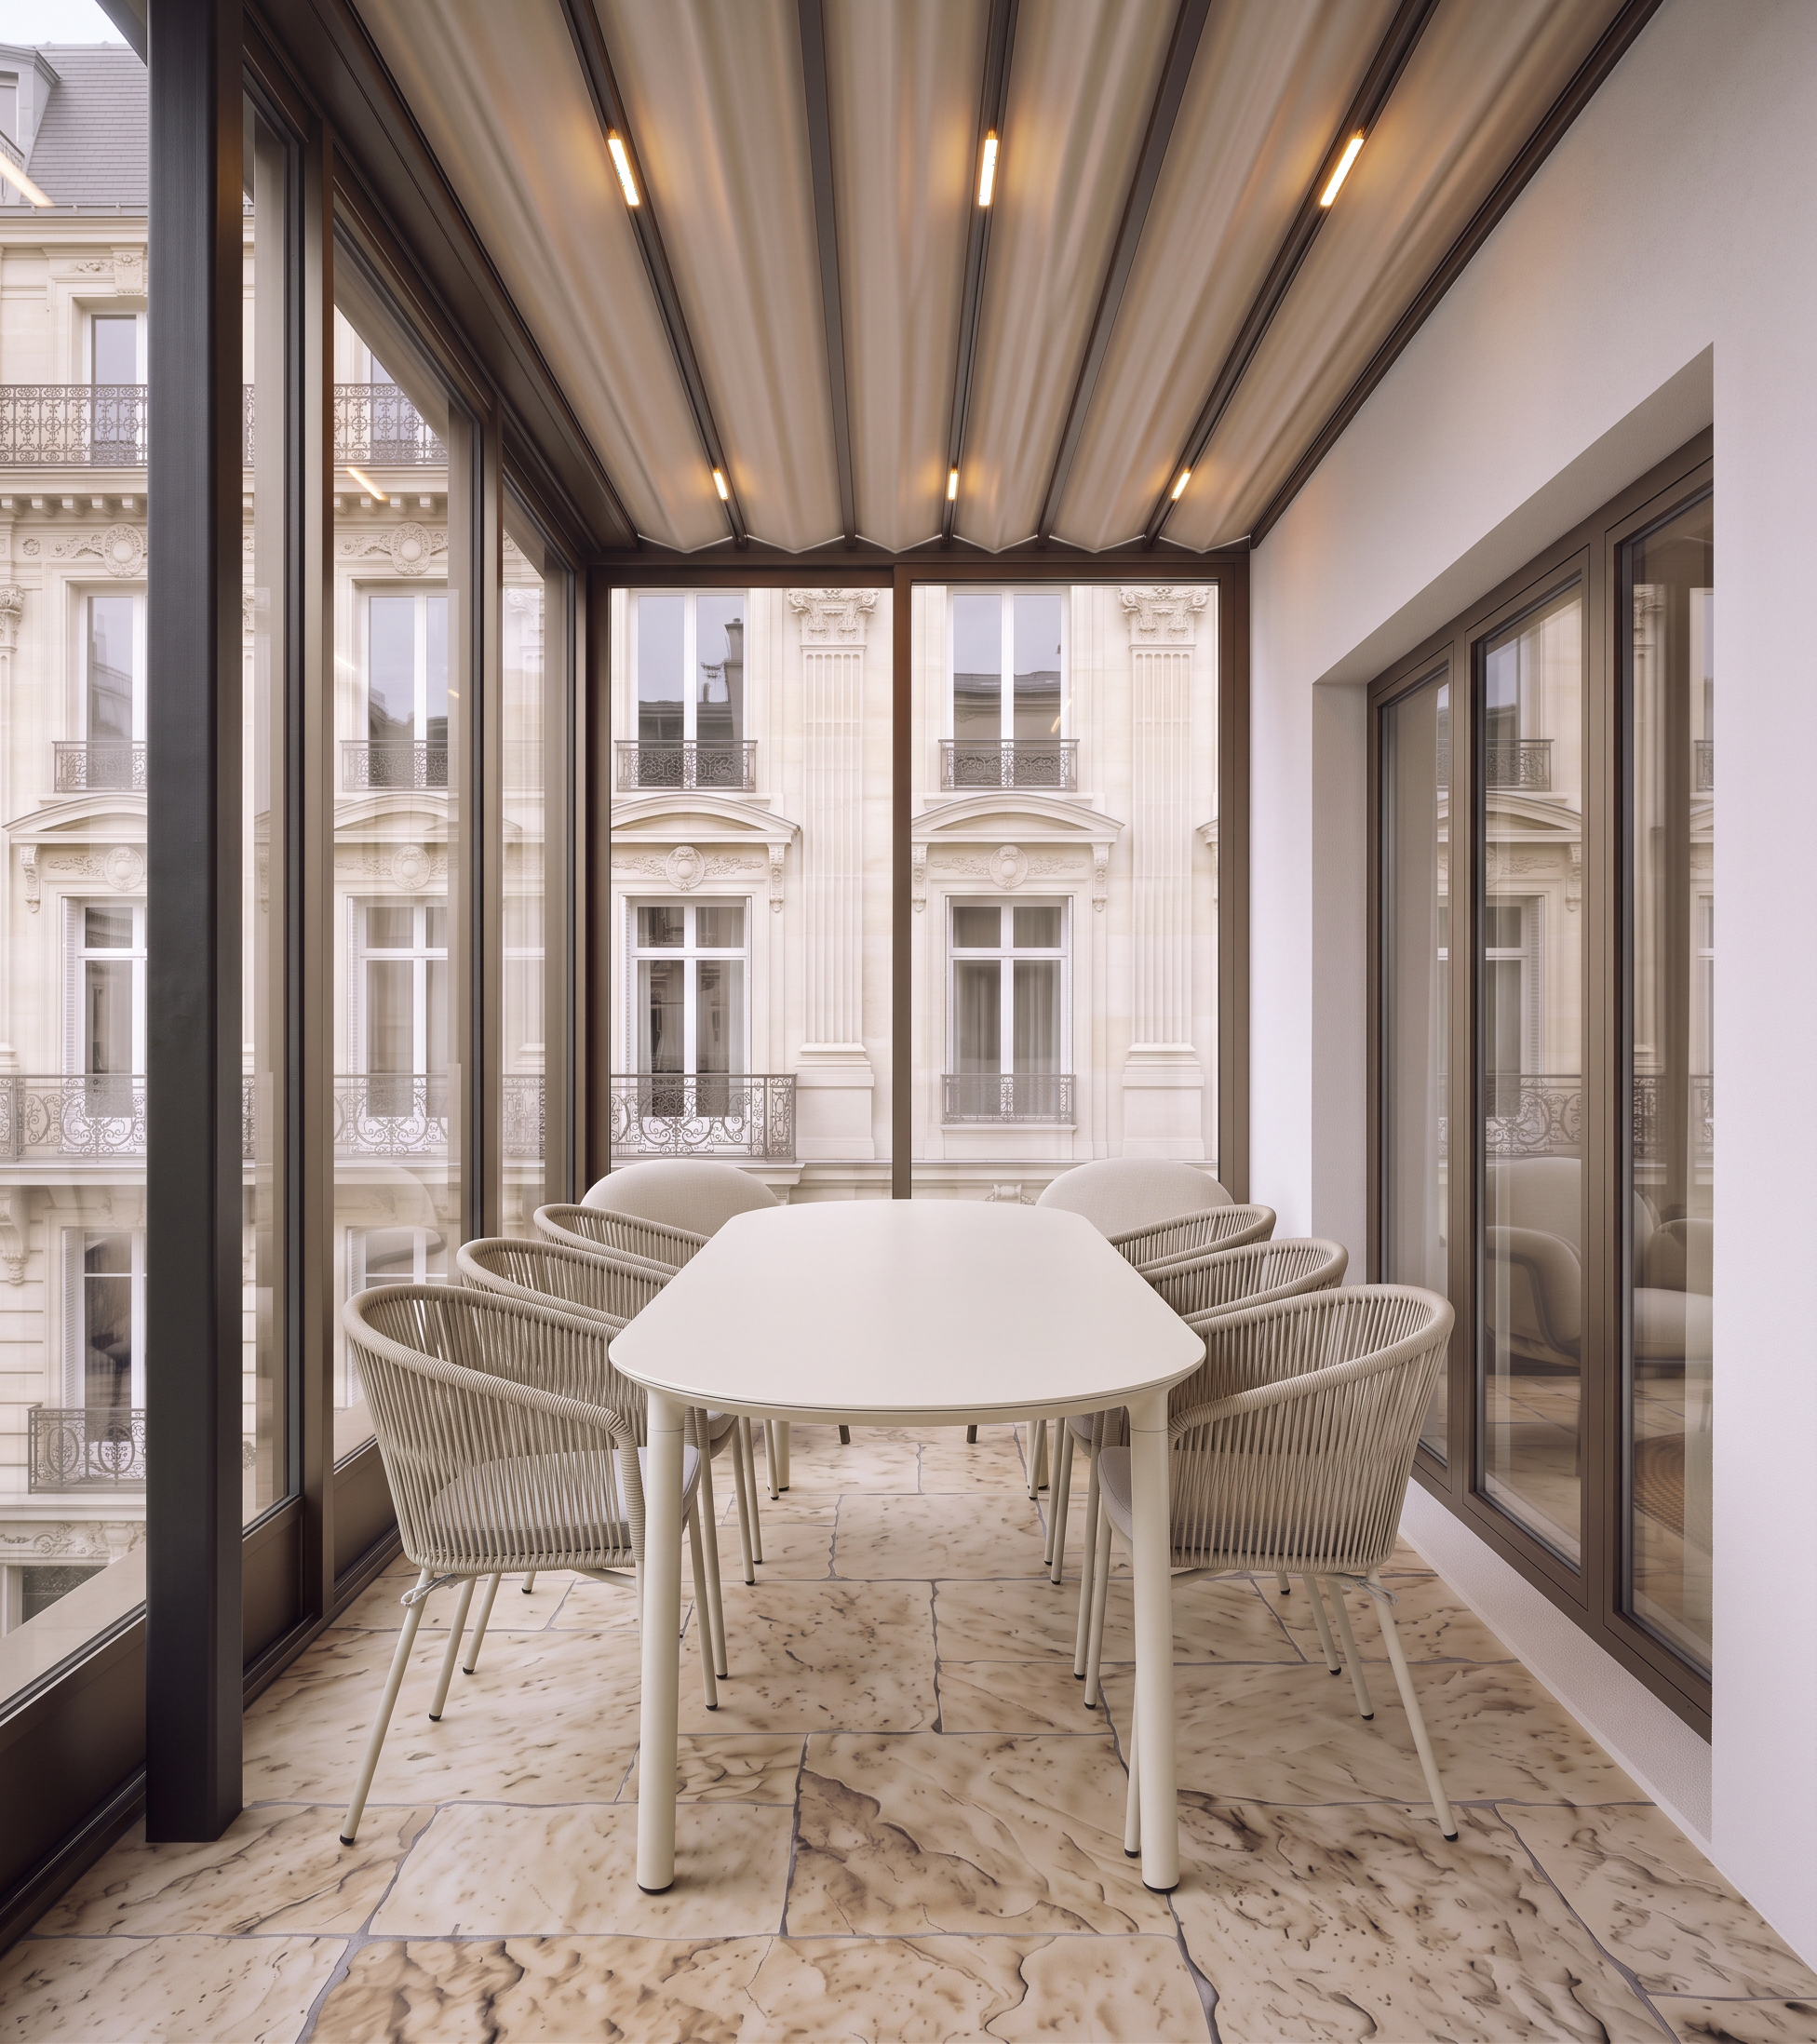
- Prompt
- Create a highly photorealistic architectural render of the terrace based strictly on the provided image and references.
CRITICAL — PRESERVE THE ORIGINAL IMAGE AND GEOMETRY
• Do not change the image dimensions, aspect ratio, camera position, camera angle, perspective, focal length, or framing.
• Do not modify the existing architecture, geometry, proportions, or spatial layout.
• Preserve the exact viewpoint and composition of the original image.
• Only apply the materials, architectural details, and furniture described below.
Reference 1 shows the same terrace from a slightly different camera angle. Reproduce the corresponding architectural elements consistently, matching Reference 1 exactly:
• Flooring: Use the same tiles, including their color, texture, dimensions, pattern, and laying direction.
• Glazing: Reproduce the same glazing system, frame design, divisions, materials, and proportions.
• Exterior view: Match the view through the glazing shown in Reference 1, including the neighboring building and its appearance.
• Ceiling: Reproduce the same fabric awning/canopy with integrated lighting, matching its material, structure, shape, and lighting effect.
• Right-side wall: Create the same solid white exterior facade wall shown in Reference 1, preserving its exact architectural appearance and proportions.
• Yellow-marked area: This represents a three-panel glass door leading from the terrace into the interior room. Reproduce the same three-panel door from Reference 1, matching its frame, glazing, dimensions, and configuration.
• Bright pink squares: These small visible areas represent the upper portions of two armchairs shown in Reference 1. Reproduce the same armchairs, preserving their design, upholstery, color, and proportions. Since only the upper portions are visible from this camera angle, show them accordingly. Do not reposition the camera to reveal more of the chairs.
• Purple-marked area — dining table: Place the dining table shown in Reference 2 along the length of the terrace, parallel to the facade wall. The table’s long axis must run lengthwise along the terrace. From the current camera viewpoint, show the shorter end of the table facing the camera, so that the table is viewed from its end rather than from its long side. Match the exact design, shape, material, color, and proportions of the table in Reference 2.
• Green-marked areas — dining chairs: Place three chairs on each side of the table, for a total of six chairs. Use the exact chair design shown in Reference 3. Arrange the chairs in two rows of three, with one row on each long side of the table. Align them neatly along the table, maintaining realistic spacing and proportions.
ADDITIONAL CLARIFICATION — CAMERA VIEW AND DINING AREA LAYOUT
The camera is positioned farther away from the terrace, capturing a wider view and a larger portion of the terrace area. Preserve the exact camera position, angle, perspective, and framing shown in the current image. Do not zoom in or crop the image.
On the right side, the two yellow rectangles indicate the second set of doors connecting the interior room to the terrace. Reproduce these doors as part of the existing architecture, matching the design and glazing of the other doors shown in Reference 1.
The dining table and its six chairs must be positioned between the first and second sets of doors leading from the interior onto the terrace, exactly as in the original 3D model. The dining area must occupy the space between these two exits, not beyond either doorway or in front of them.
Keep the table oriented lengthwise along the terrace, parallel to the facade wall, with three chairs on each long side. Preserve the original 3D model’s furniture layout and spatial relationships.
- Created
- October 18, 2026