- Prompt
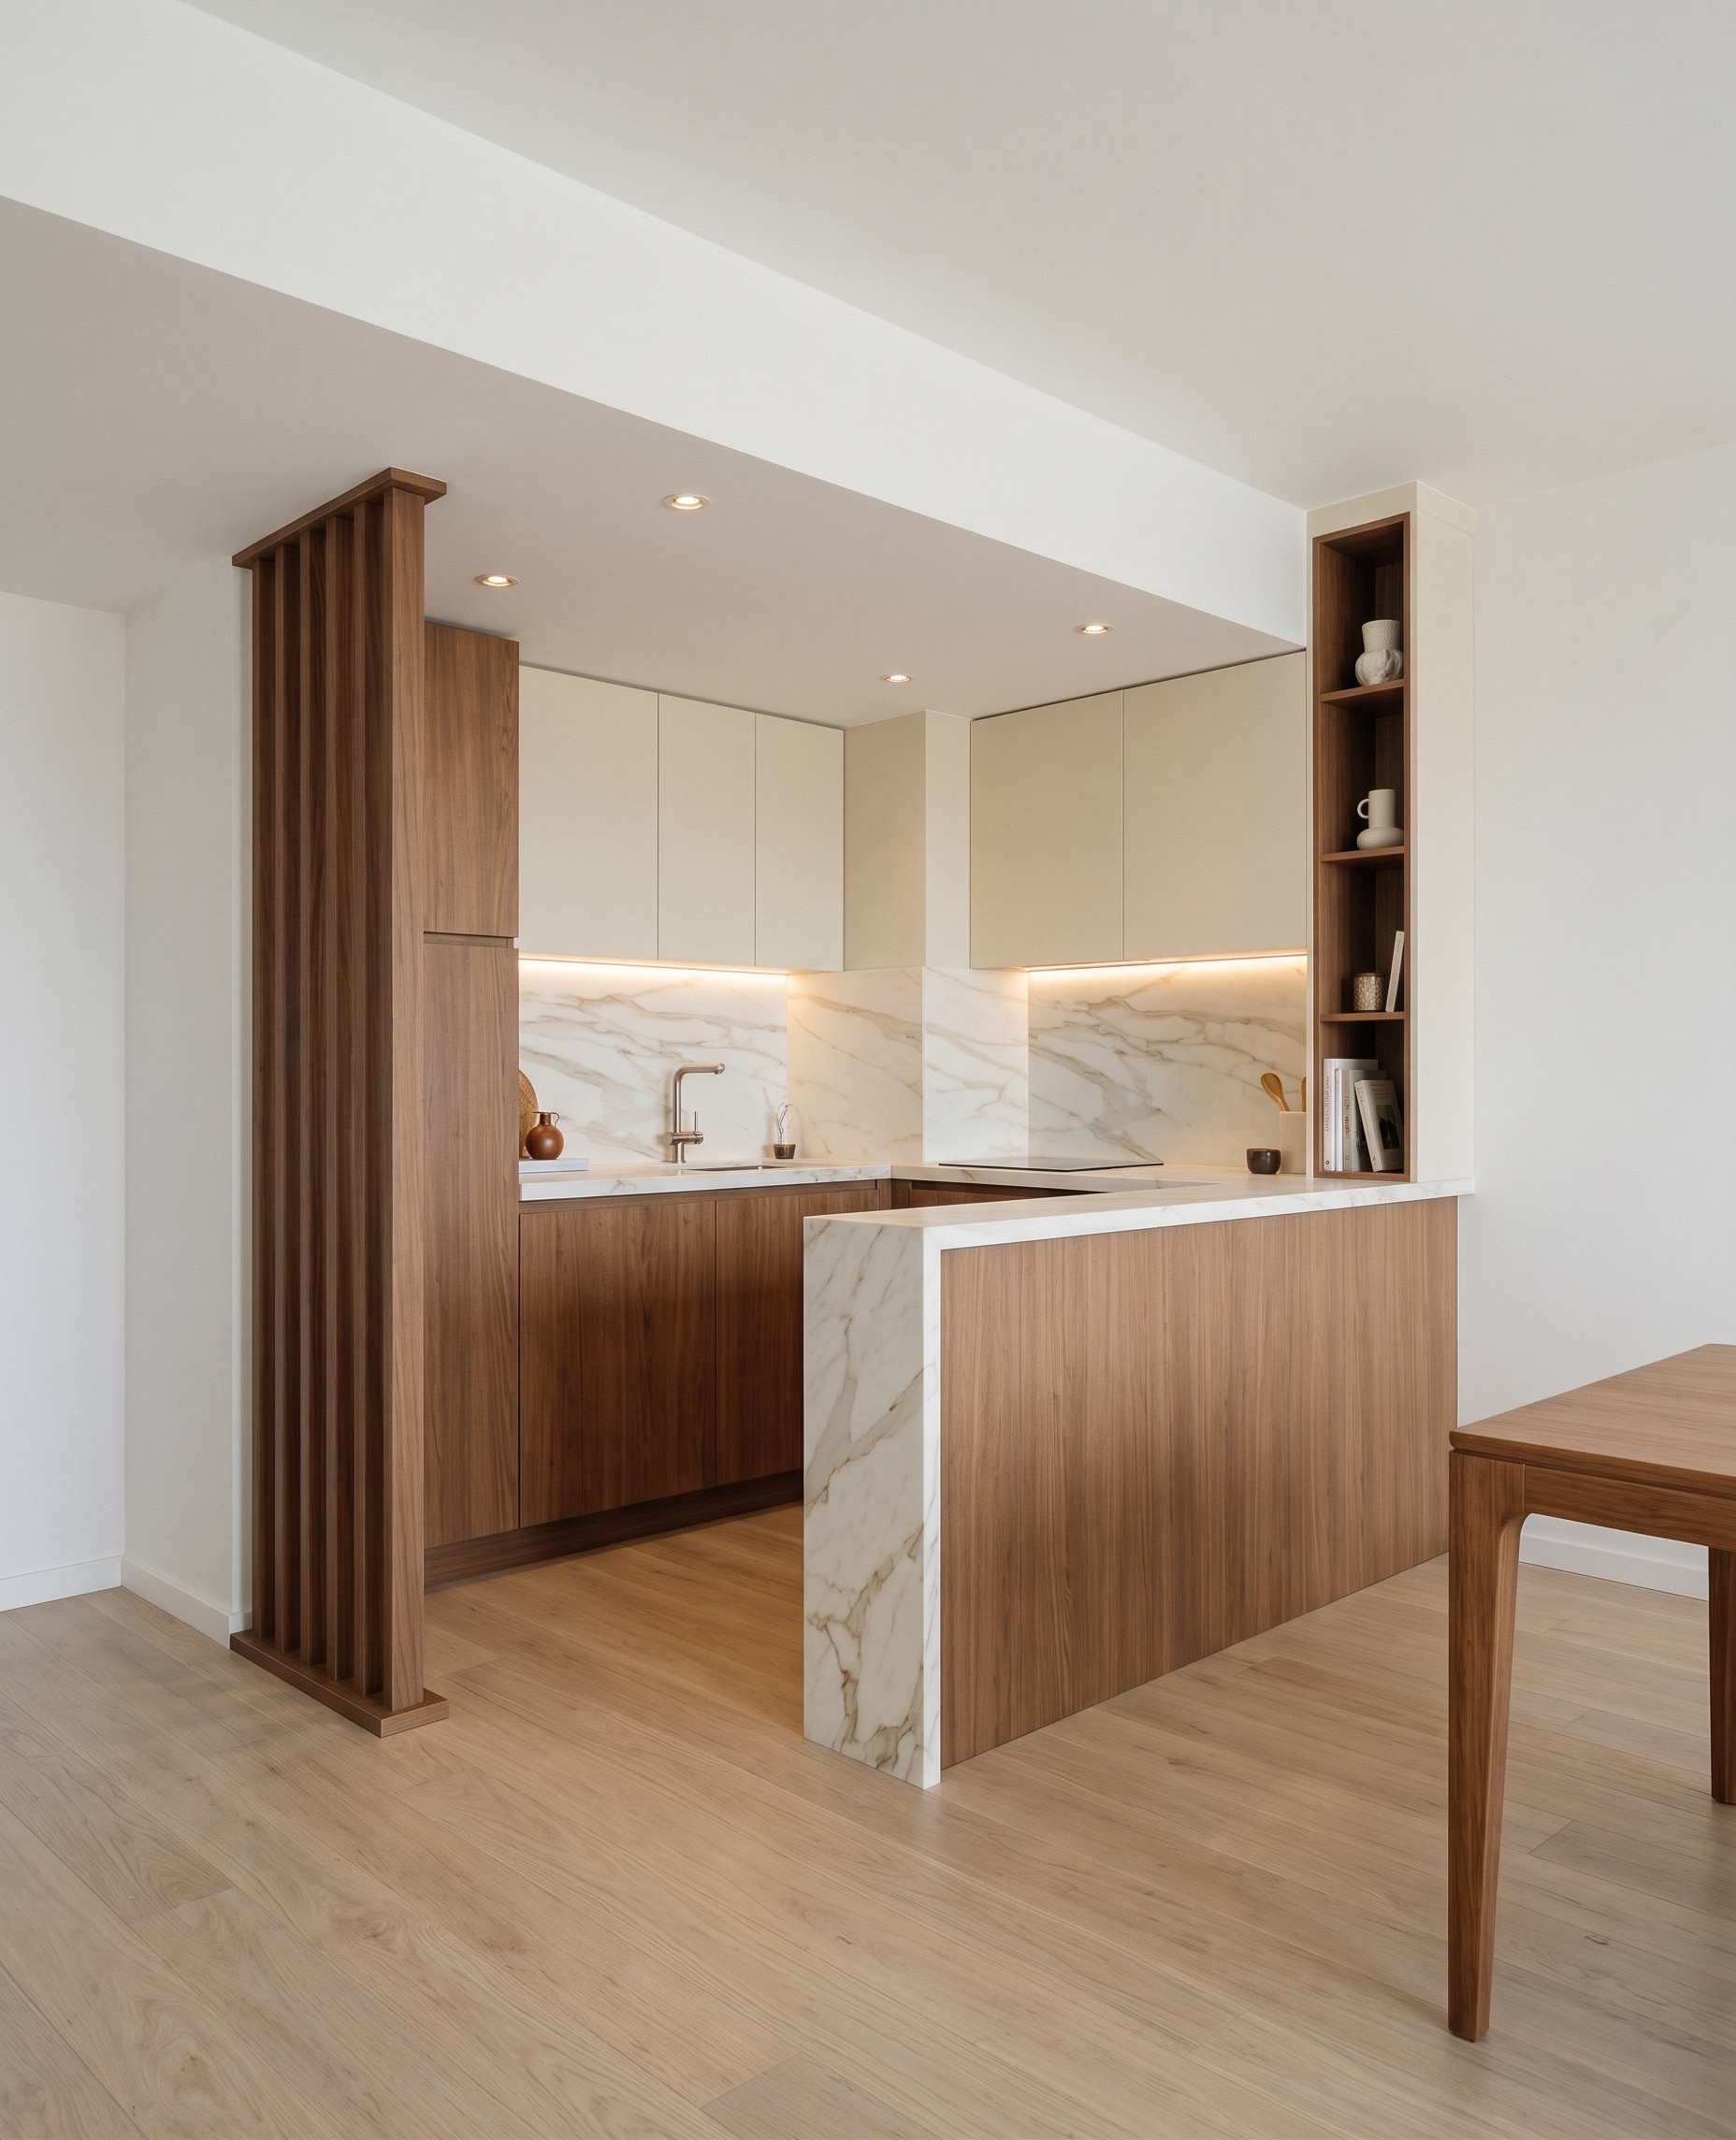
- Create a highly photorealistic, high-end interior render of the kitchen based strictly on the provided 3D model and reference images.
CRITICAL – PRESERVE THE ORIGINAL MODEL:
• Do NOT change the image dimensions, resolution, aspect ratio, camera angle, camera position, perspective, or framing.
• Do NOT modify, redesign, resize, move, or alter any existing geometry, architectural elements, furniture proportions, or layout.
• Preserve the exact original 3D model. Only apply the specified materials, finishes, lighting, and decorative elements.
MATERIALS AND COLOR PALETTE:
1. Kitchen cabinetry:
• Use the warm medium-brown wood finish shown in Reference Image 1 for all upper wooden kitchen elements.
• All surfaces currently highlighted in yellow must be finished in a very light, soft creamy beige tone, matching the light cream finish in Reference Image 1.
• Maintain the exact combination of brown wood and light cream cabinetry shown in Reference Image 1.
2. Flooring:
• Replace the existing floor finish with light natural oak parquet in a neutral, subtle shade.
• Avoid overly yellow, orange, or grey undertones.
3. Countertop and backsplash:
• Use elegant Calacatta marble for both the kitchen countertop and backsplash, with realistic natural veining and a refined, luxurious appearance.
4. Walls and ceiling:
• All walls must be white.
• The entire ceiling, including the kitchen area, must also be white.
• Pay particular attention to the ceiling geometry above the kitchen: preserve the existing lowered ceiling bulkhead exactly as modeled.
• The black-marked area is an indication error, NOT a black ceiling finish. It must be finished in white, consistent with the rest of the ceiling.
• Add several discreet recessed spotlights to the lowered ceiling area above the kitchen.
ARCHITECTURAL AND FURNITURE DETAILS:
1. Wooden slat partition on the left:
• There is a small partition made of wooden slats on the left side.
• Recreate the slat arrangement exactly as shown in Reference Image 2: individual slats arranged in a row, positioned at a 45-degree angle.
• Use the same warm brown wood tone as Reference Image 1.
• Preserve the original partition dimensions and position.
2. Bar counter shelving:
• The shelves near the bar counter must have a light beige finish.
• The back panel must be finished in the same brown wood as the kitchen cabinetry.
• Add a few carefully selected decorative objects and accessories to create a sophisticated, styled appearance.
3. Kitchen styling and accessories:
• Add tasteful, understated decorative objects to the kitchen.
• Include some decorative accessories visible behind the wooden slat partition.
• The tall wooden kitchen element must retain the brown wood finish specified above.
KITCHEN APPLIANCES AND FUNCTIONAL ELEMENTS:
1. Sink:
• The light-blue rectangular marking on the countertop indicates the sink location.
• Replace this marking with a realistic, properly integrated kitchen sink.
• Do not retain any blue color.
2. Cooktop:
• The black rectangular marking near the countertop corner indicates the cooktop location.
• Replace this marking with a realistic, flush-mounted black induction cooktop.
3. Cabinet lighting:
• Add subtle, warm integrated LED lighting beneath the upper kitchen cabinets.
• The lighting should create a soft, elegant illumination across the marble backsplash and worktop.
1. Dining table:
• The visible portion of the light-blue rectangular shape on the right represents part of a wooden dining table.
• Replace the blue marking with a realistic wooden tabletop, following the design and appearance of Reference Image 3.
• Use exactly the same warm brown wood tone as Reference Image 1.
- Created
- November 16, 2026