- Prompt
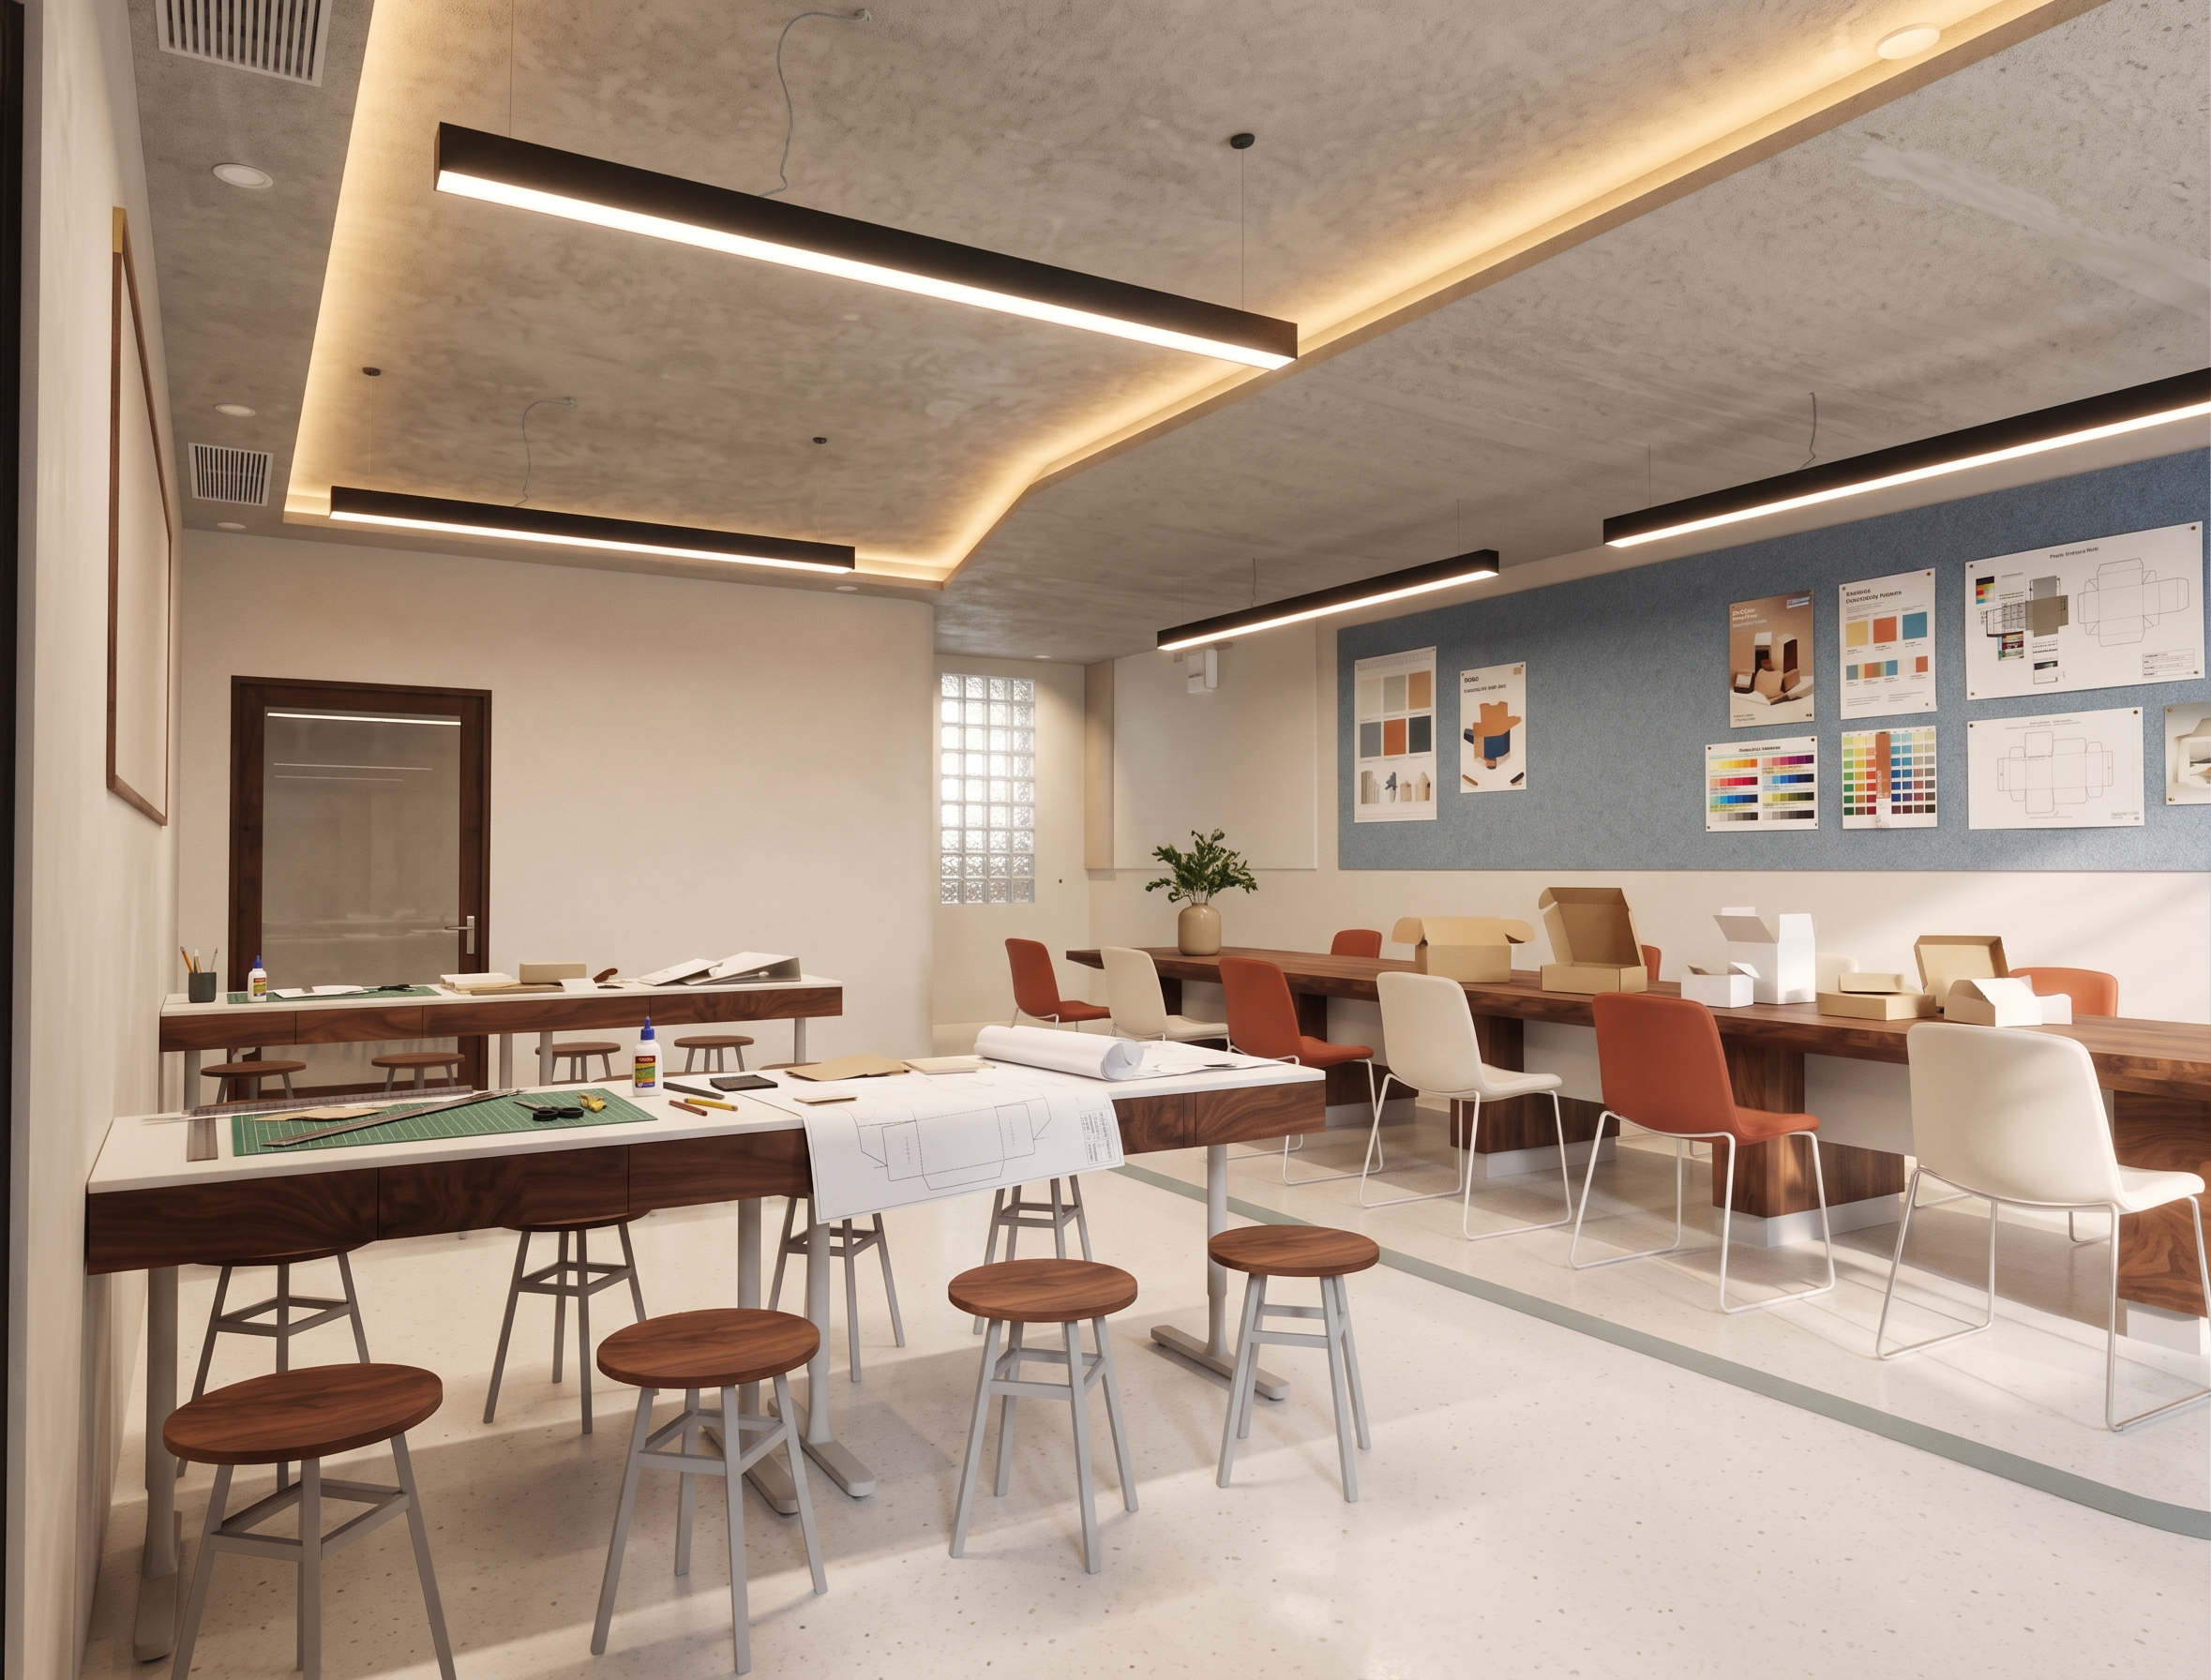
- Create a photorealistic daytime render of the attached **packaging design, print-proofing, and paper mockup studio**. This workspace is used for reviewing printed colors, cutting paper, folding prototype boxes, and discussing packaging designs.
**Preserve the original camera angle, architecture, ceiling geometry, furniture layout, and circulation paths.**
Use soft natural daylight entering from the right, with realistic shadows, balanced exposure, and clear spatial depth. Add concealed **3500K LED lighting inside the existing ceiling recesses and diagonal slots**, gently washing the ceiling. Keep the suspended linear lights as supplementary task lighting. Avoid blown-out whites and an overly yellow appearance.
Clearly show realistic materials: honed ivory micro-terrazzo flooring, matte warm-white plaster walls, finely textured light-gray concrete ceiling, satin walnut table frames, matte ivory worktops, timber stool seats with brushed-metal legs, matte terracotta and off-white chairs, blue-gray felt pinboard, and translucent rippled glass blocks.
Add neatly grouped cutting mats, steel rulers, scissors, pencils, glue, paper samples, and packaging dieline drawings to the worktables. Place a few kraft and white paperboard boxes on the review table, including flat blanks, partially folded prototypes, and finished samples.
Display packaging posters, print proofs, color charts, and technical drawings on the existing pinboard. Add one small plant in a matte beige pot. Keep surfaces functional and uncluttered.
Render accurate texture scales, subtle reflections, believable paper thickness, and natural contact shadows. Output one realistic image without people, labels, or watermarks.
- Created
- October 29, 2026