- Prompt
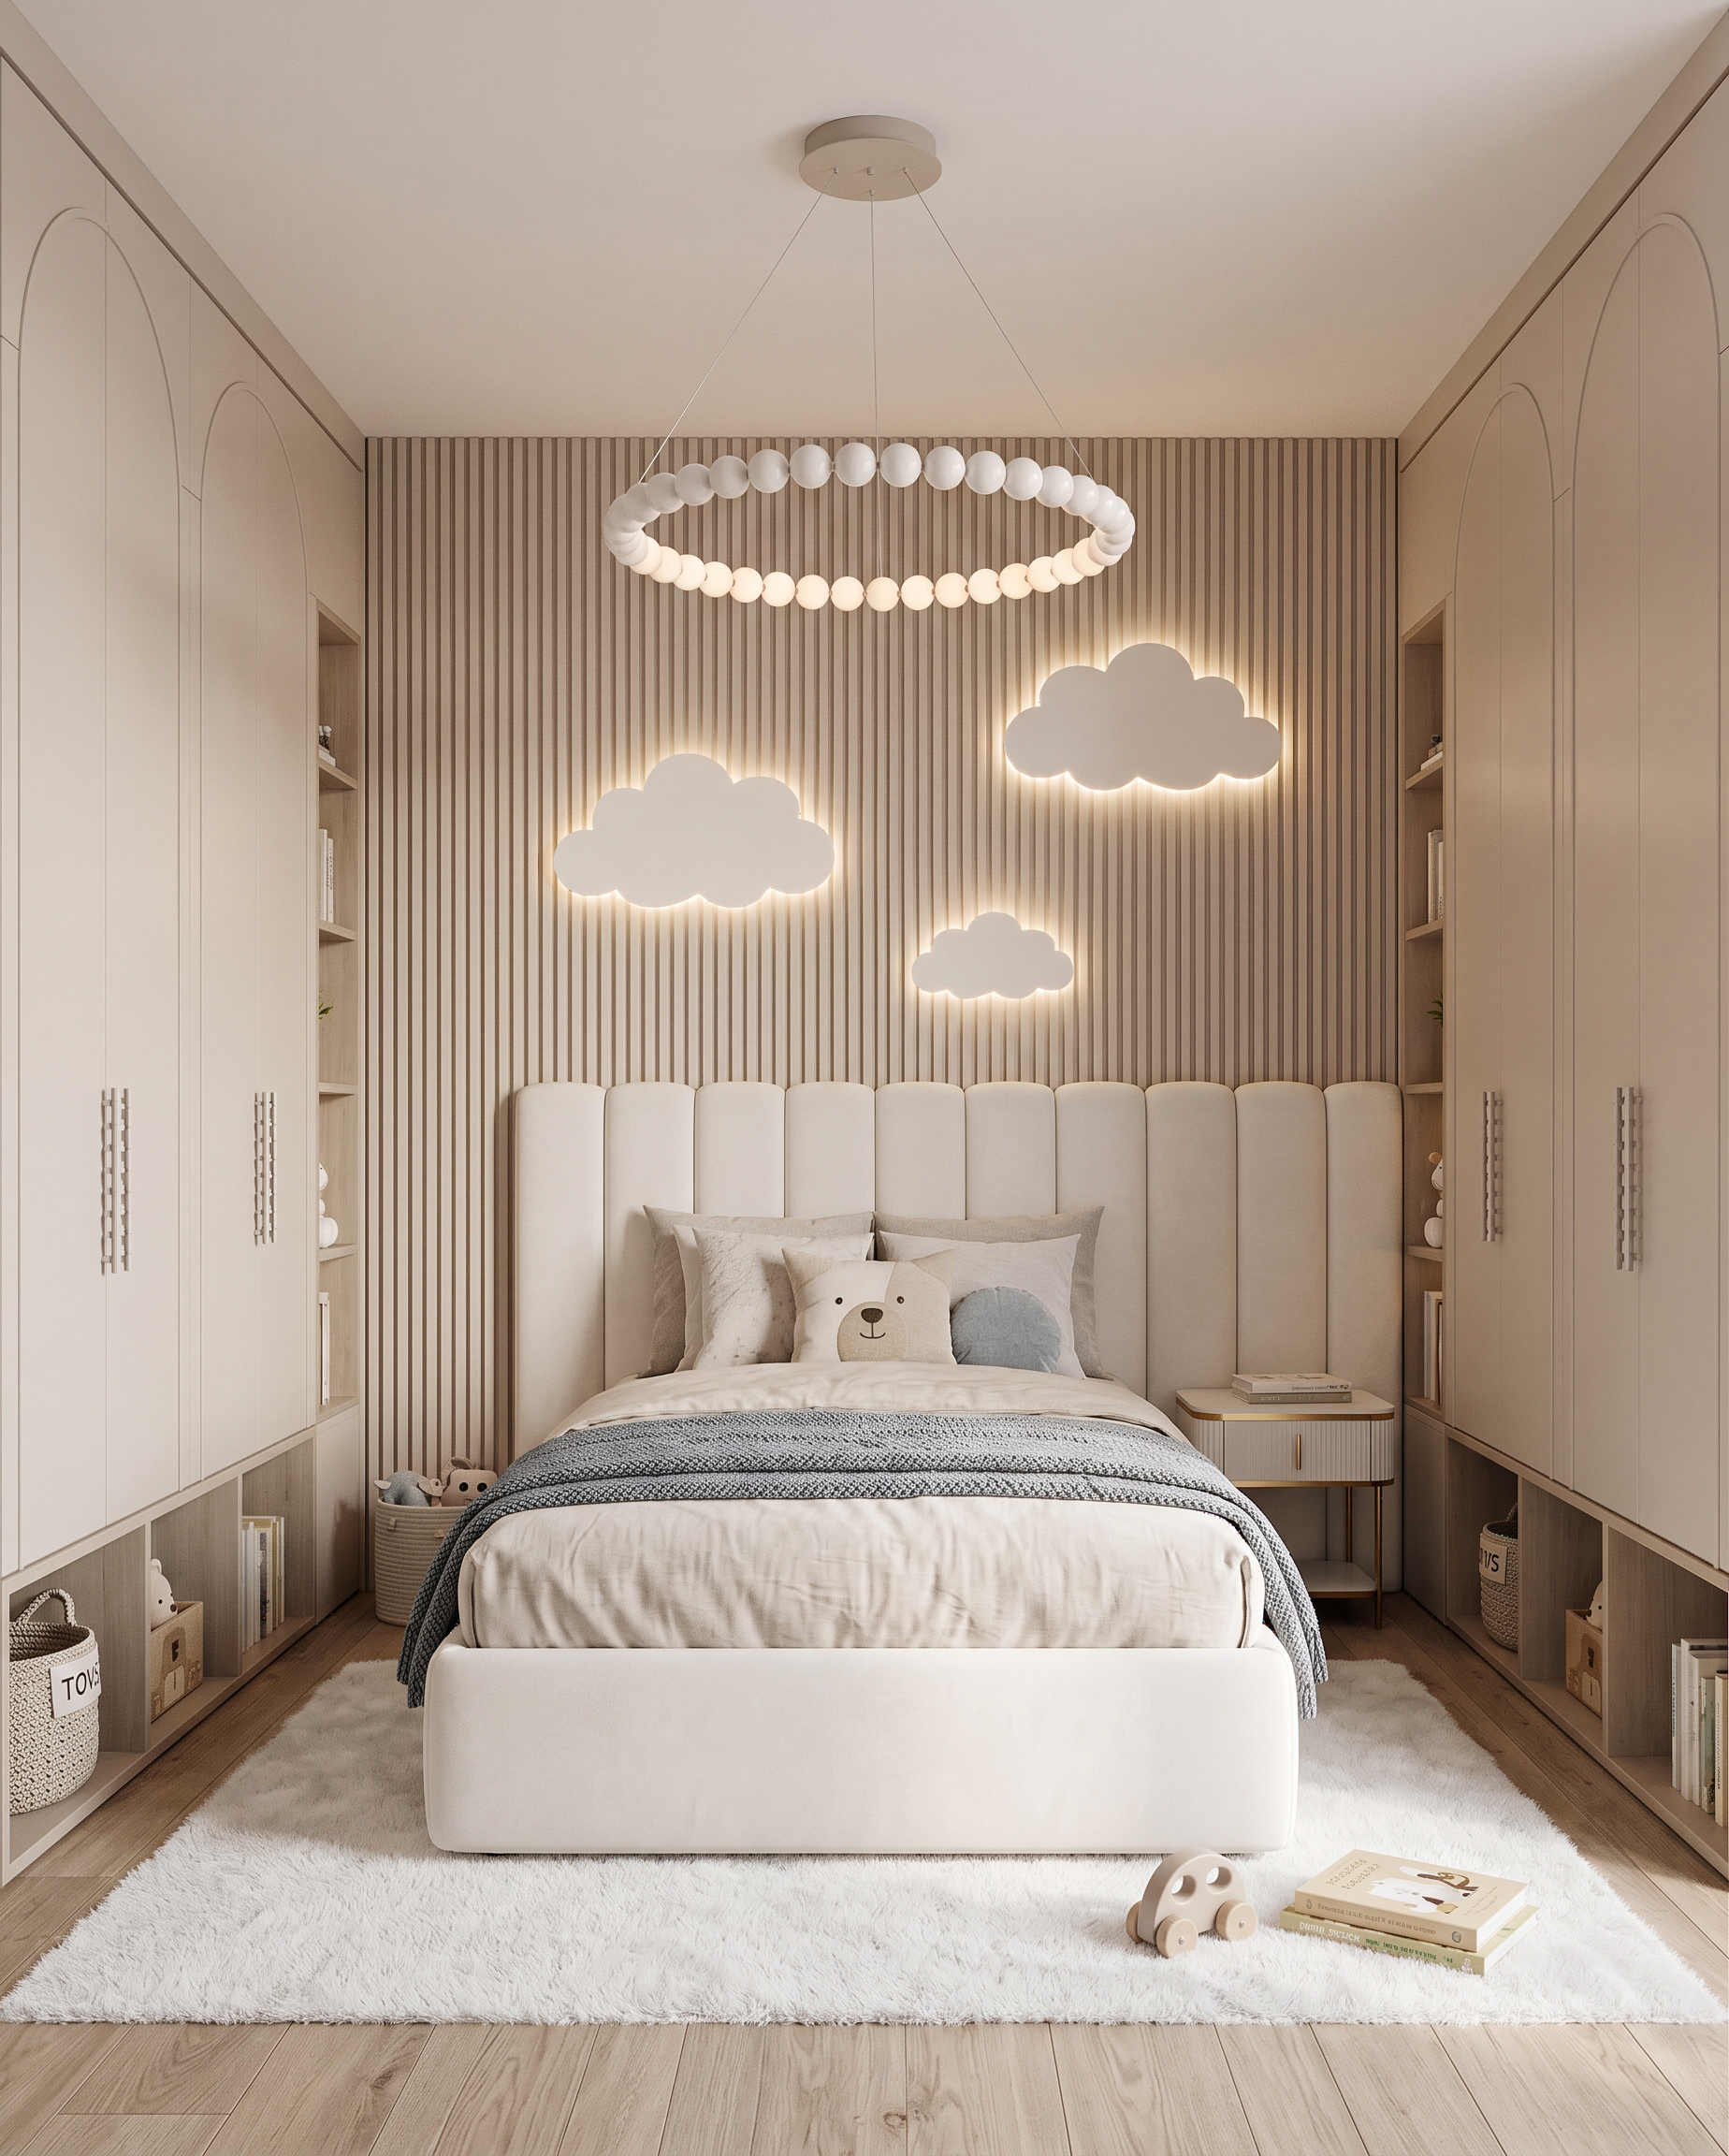
- Create a high-end photorealistic interior render of a children’s bedroom based strictly on the provided base image and references.
IMPORTANT — DO NOT CHANGE THE BASE IMAGE:
• Keep the exact same image dimensions and aspect ratio.
• Keep the exact same camera angle, camera position, perspective, framing, and composition.
• Do not move, resize, rotate, remove, or add architectural elements.
• Do not alter the existing room geometry or proportions.
• Do not change the layout or design concept.
• Preserve the exact positions of all elements marked with colored rectangles. The colored rectangles are design guides and must not appear in the final render.
BED
The green rectangle indicates the bed. We are looking at the bed straight-on, frontally.
• Replace the indicated bed with a white upholstered children’s bed, inspired by Reference 1.
• The headboard must be softly upholstered with elegant vertical stitched/padded sections, matching the style and proportions shown in Reference 1.
• Pay special attention to the fact that the upholstered headboard is slightly extended on the right side, as shown in Reference 1.
• Keep the bed in exactly the position and orientation indicated by the green rectangle.
BEDSIDE TABLE
• Add a small gold-and-white bedside table on the right side of the bed.
• It should look elegant, refined, and appropriate for a premium children’s bedroom.
• It must function as a bedside nightstand and remain visually secondary to the bed.
WALL BEHIND THE BED
The wall behind the bed should be finished similarly to Reference 1:
• Use light beige vertical decorative wood slats/panels.
• Keep the overall appearance soft, elegant, warm, and sophisticated.
• Add a couple of decorative illuminated cloud shapes, inspired directly by Reference 1.
• The clouds should have a subtle integrated warm backlight, creating a soft atmospheric glow.
• Do not make the lighting excessive or theatrical.
WARDROBES
The blue rectangles on the left and right indicate two wardrobes.
The two blue rectangles on the left and right sides of the image represent TWO SEPARATE FREESTANDING/BUILT-IN WARDROBES, not wall panels.
• There is one wardrobe on the left side of the bed and one wardrobe on the right side of the bed.
• The two wardrobes are positioned opposite each other, facing inward toward the bed.
• Their wardrobe doors/facades are oriented toward the bed, so the fronts of both wardrobes face the central bed area.
• Make them warm beige, inspired by Reference 2.
• Use a clean, elegant, contemporary children’s-bedroom design.
CEILING LIGHT
The ceiling is white.
The pink circular elements on the ceiling represent a pendant lighting fixture.
• Recreate them as a refined decorative pendant light, inspired by Reference 3.
• Preserve the exact placement and overall composition of the pink circular elements.
• The fixture should look realistic, elegant, and properly integrated into the ceiling.
FLOOR
• Replace/finish the floor with natural neutral-colored light oak parquet.
• The parquet should have a realistic, high-quality natural wood texture.
• Use a soft neutral light-oak tone, not yellow or orange.
• Preserve the existing floor geometry and perspective.
DECORATION
• Add a soft white area rug on the floor.
• Add a tasteful selection of children’s toys around the room.
• Toys should look realistic, elegant, and curated rather than cluttered.
• Keep the room sophisticated and visually balanced.
LIGHTING
Create realistic premium interior photography lighting:
• Include natural daylight entering the room, creating realistic soft daylight illumination.
- Created
- October 27, 2026