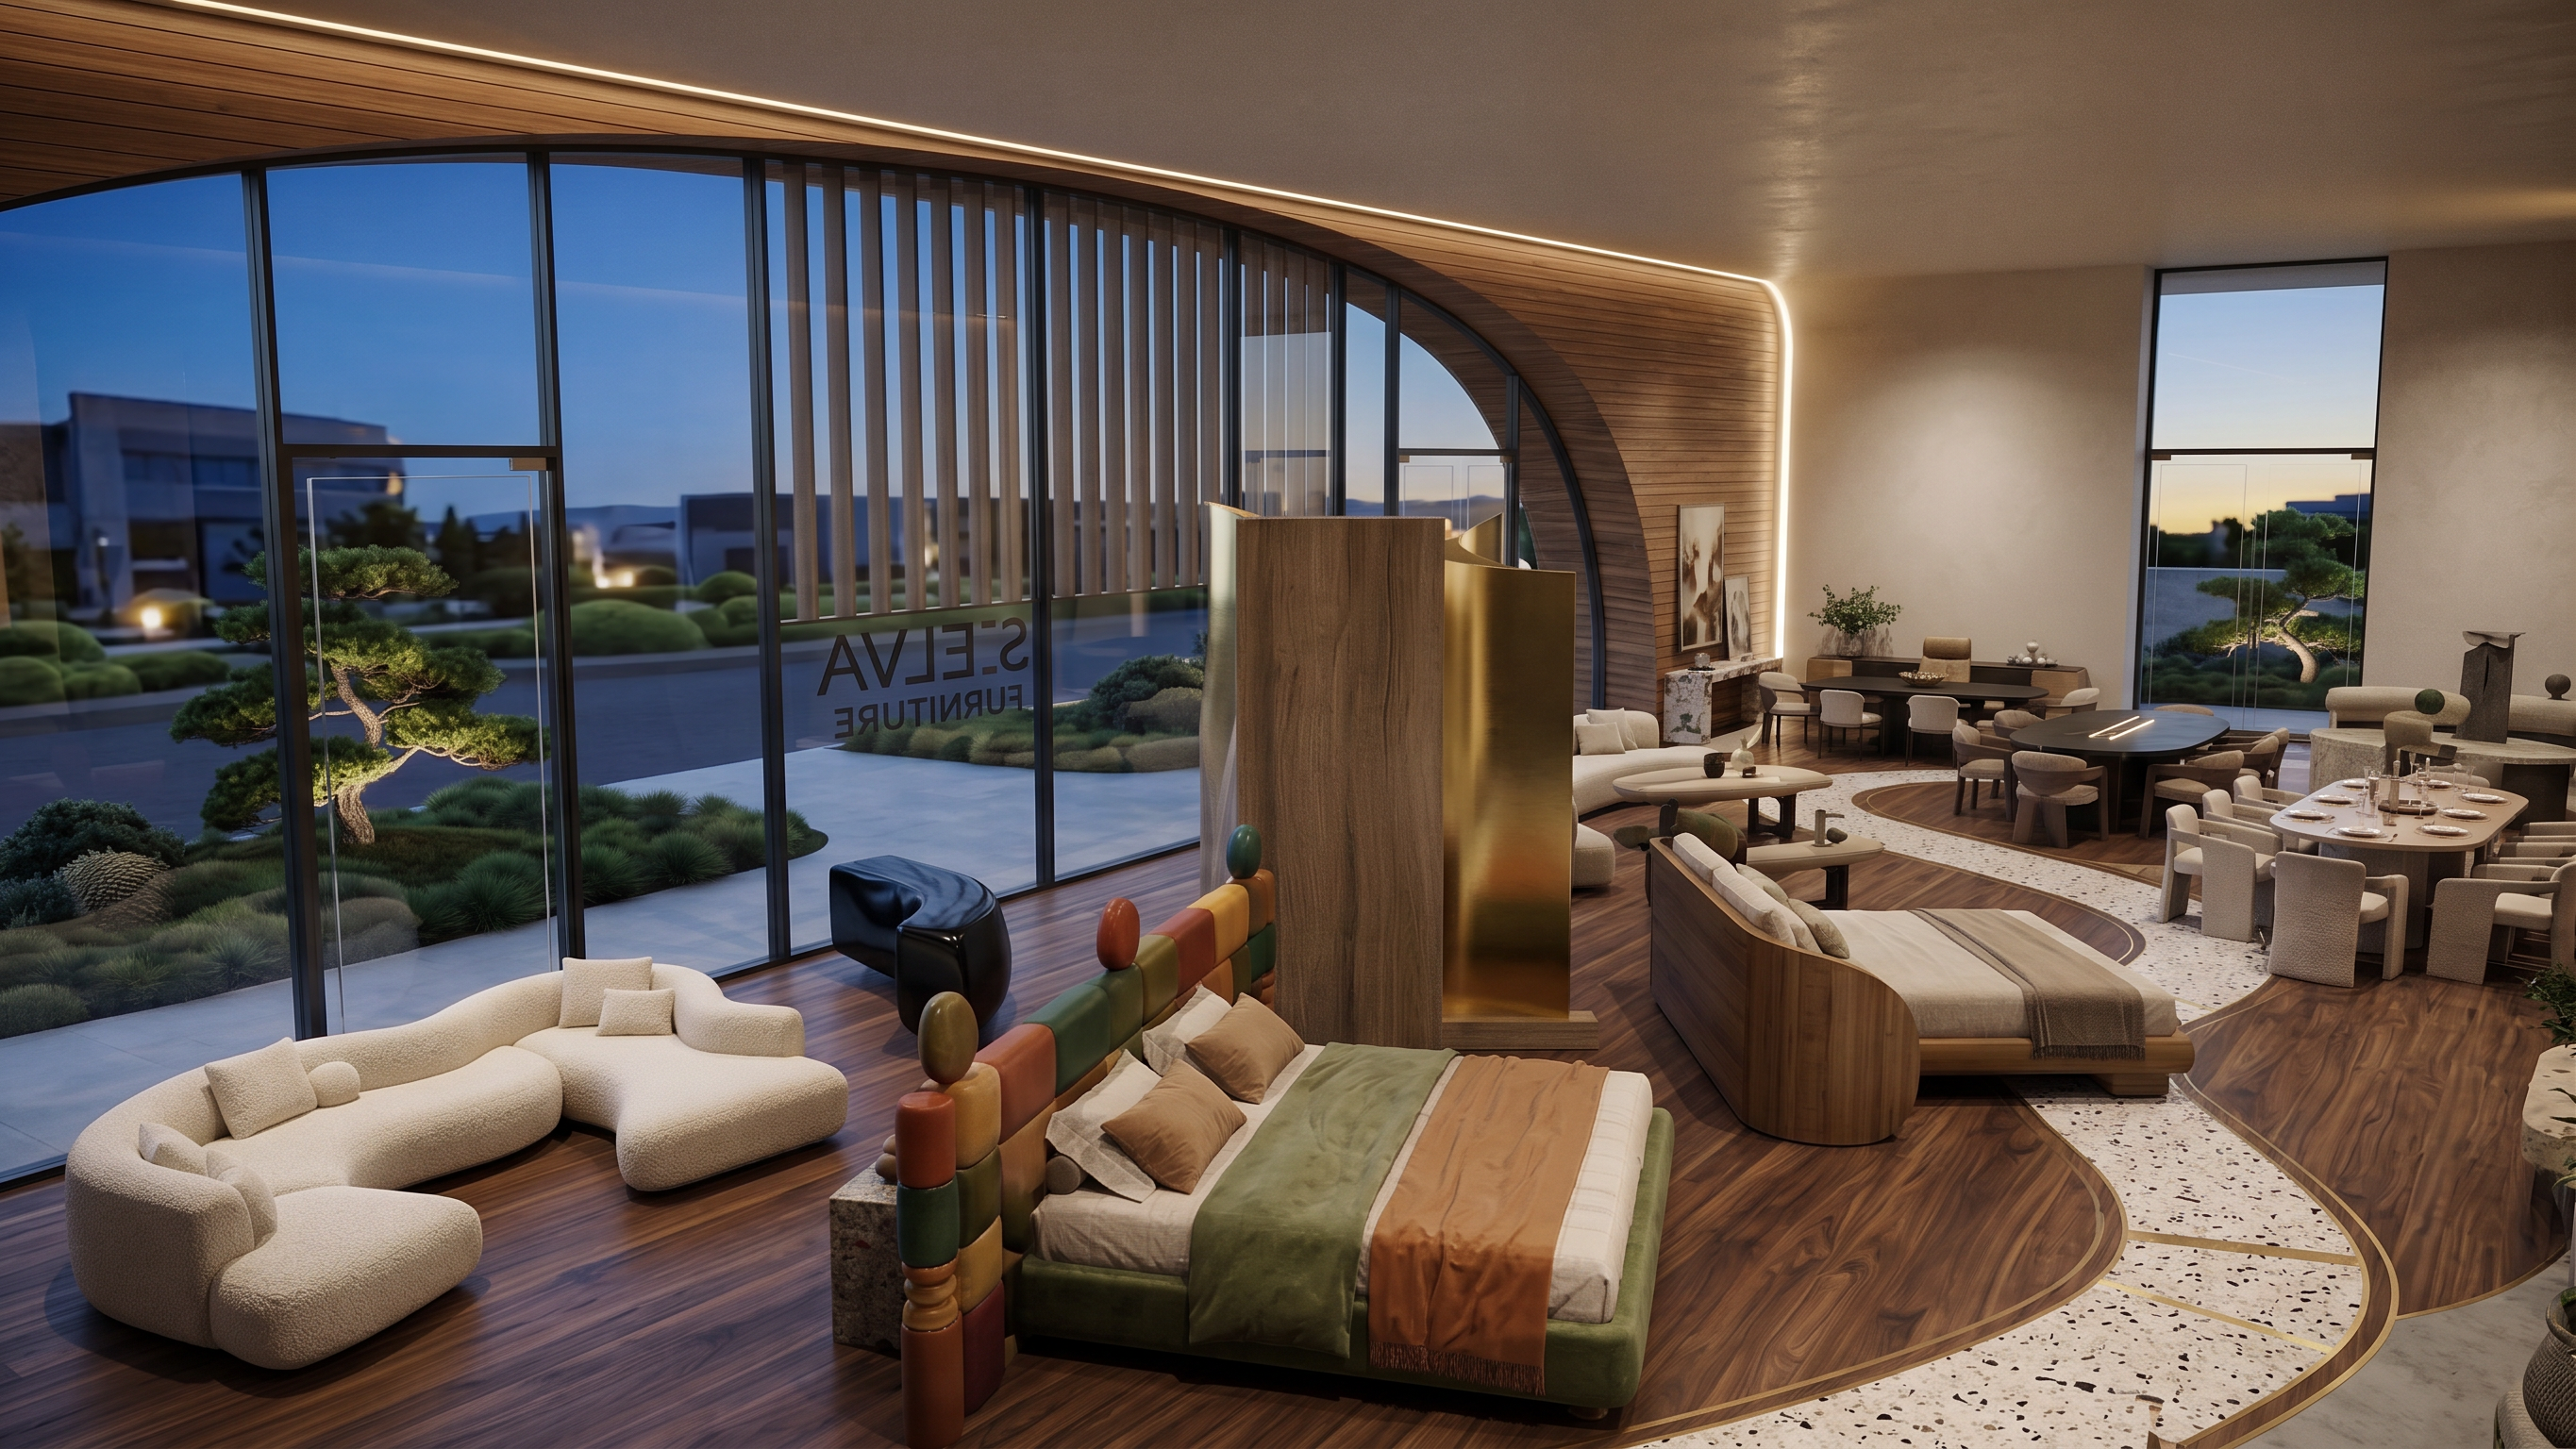
- Prompt
- Use Image 1 as the primary base image and strict spatial reference. This is a clay render of my furniture showroom and must remain the exact foundation of the final visualization. Preserve the camera position, camera angle, perspective, architectural shell, ceiling height, walls, openings, proportions, furniture locations, circulation, and overall composition shown in Image 1. Do not redesign, resize, rotate, remove, or relocate the existing architecture or furniture zones.
The goal is to transform the clay render into a high-end photorealistic luxury furniture showroom, using the remaining reference images to identify the exact furniture pieces, materials, colors, architectural language, and circulation treatment.
FURNITURE REFERENCE — IMAGE 2
Image 2 identifies the first bedroom display, specifically the bedroom closest to the camera in Image 1.
FURNITURE REFERENCE — IMAGE 3
Image 3 identifies the second bedroom display, which is the bedroom positioned next to the first bedroom in Image 1.
FURNITURE REFERENCE — IMAGE 4
Image 4 identifies the large sculptural organic modular sofa positioned on the left side of the showroom scene.
Image 5 shows the exterior façade / wall design of my furniture showroom.
This façade design must be interpreted as the left interior wall visible from the camera position in Image 1.
MPORTANT: MIRROR THE FAÇADE DESIGN horizontally.
The reason is that Image 5 is an exterior view looking toward the store, while Image 1 is a camera view taken from inside the store looking toward that wall.
Entrance configuration is critical:
There must be TWO showroom entrances/openings on this wall:
One entrance positioned toward the RIGHT side of the wall.
One entrance positioned all the way toward the LEFT side of the wall.
MASTER PLAN / CIRCULATION — IMAGE 6
Image 6 is the master plan of the showroom and must be treated as the primary reference for circulation and zoning.
Analyze Image 6 and reproduce the circulation concept in the final showroom.
The circulation paths shown in the master plan must be visually identifiable in the final render through different flooring/material textures, following the same conceptual division shown in the plan.
IMPORTANT PRIORITY ORDER
When interpreting the six images, follow this hierarchy:
1. Image 1 = architecture, geometry, camera, perspective, spatial composition
2. Image 6 = master plan, circulation, zoning, and flooring/material differentiation
3. Images 2–4 = exact furniture references for their corresponding showroom zones
4. Image 5 = façade/wall architectural language, mirrored for the interior viewpoint
Do not mix furniture between reference images. Each furniture reference belongs to its specified location.
FINAL RESULT
Produce an ultra-realistic 8K architectural visualization of the complete furniture showroom.
The final image should look like a professionally photographed luxury furniture flagship showroom, not an AI-generated generic interior.
Preserve the original clay-render architecture and camera exactly while replacing the clay geometry with realistic materials, lighting, furniture, artwork, accessories, and architectural finishes.
The result should communicate sculptural furniture, architectural precision, luxury, comfort, and curated spatial storytelling.
No random furniture. No random room layouts. No additional entrances. No altered circulation. No distorted furniture. No duplicated furniture. No floating objects. No warped architecture. No changes to the original camera composition.
- Created
- September 21, 2026