- Prompt
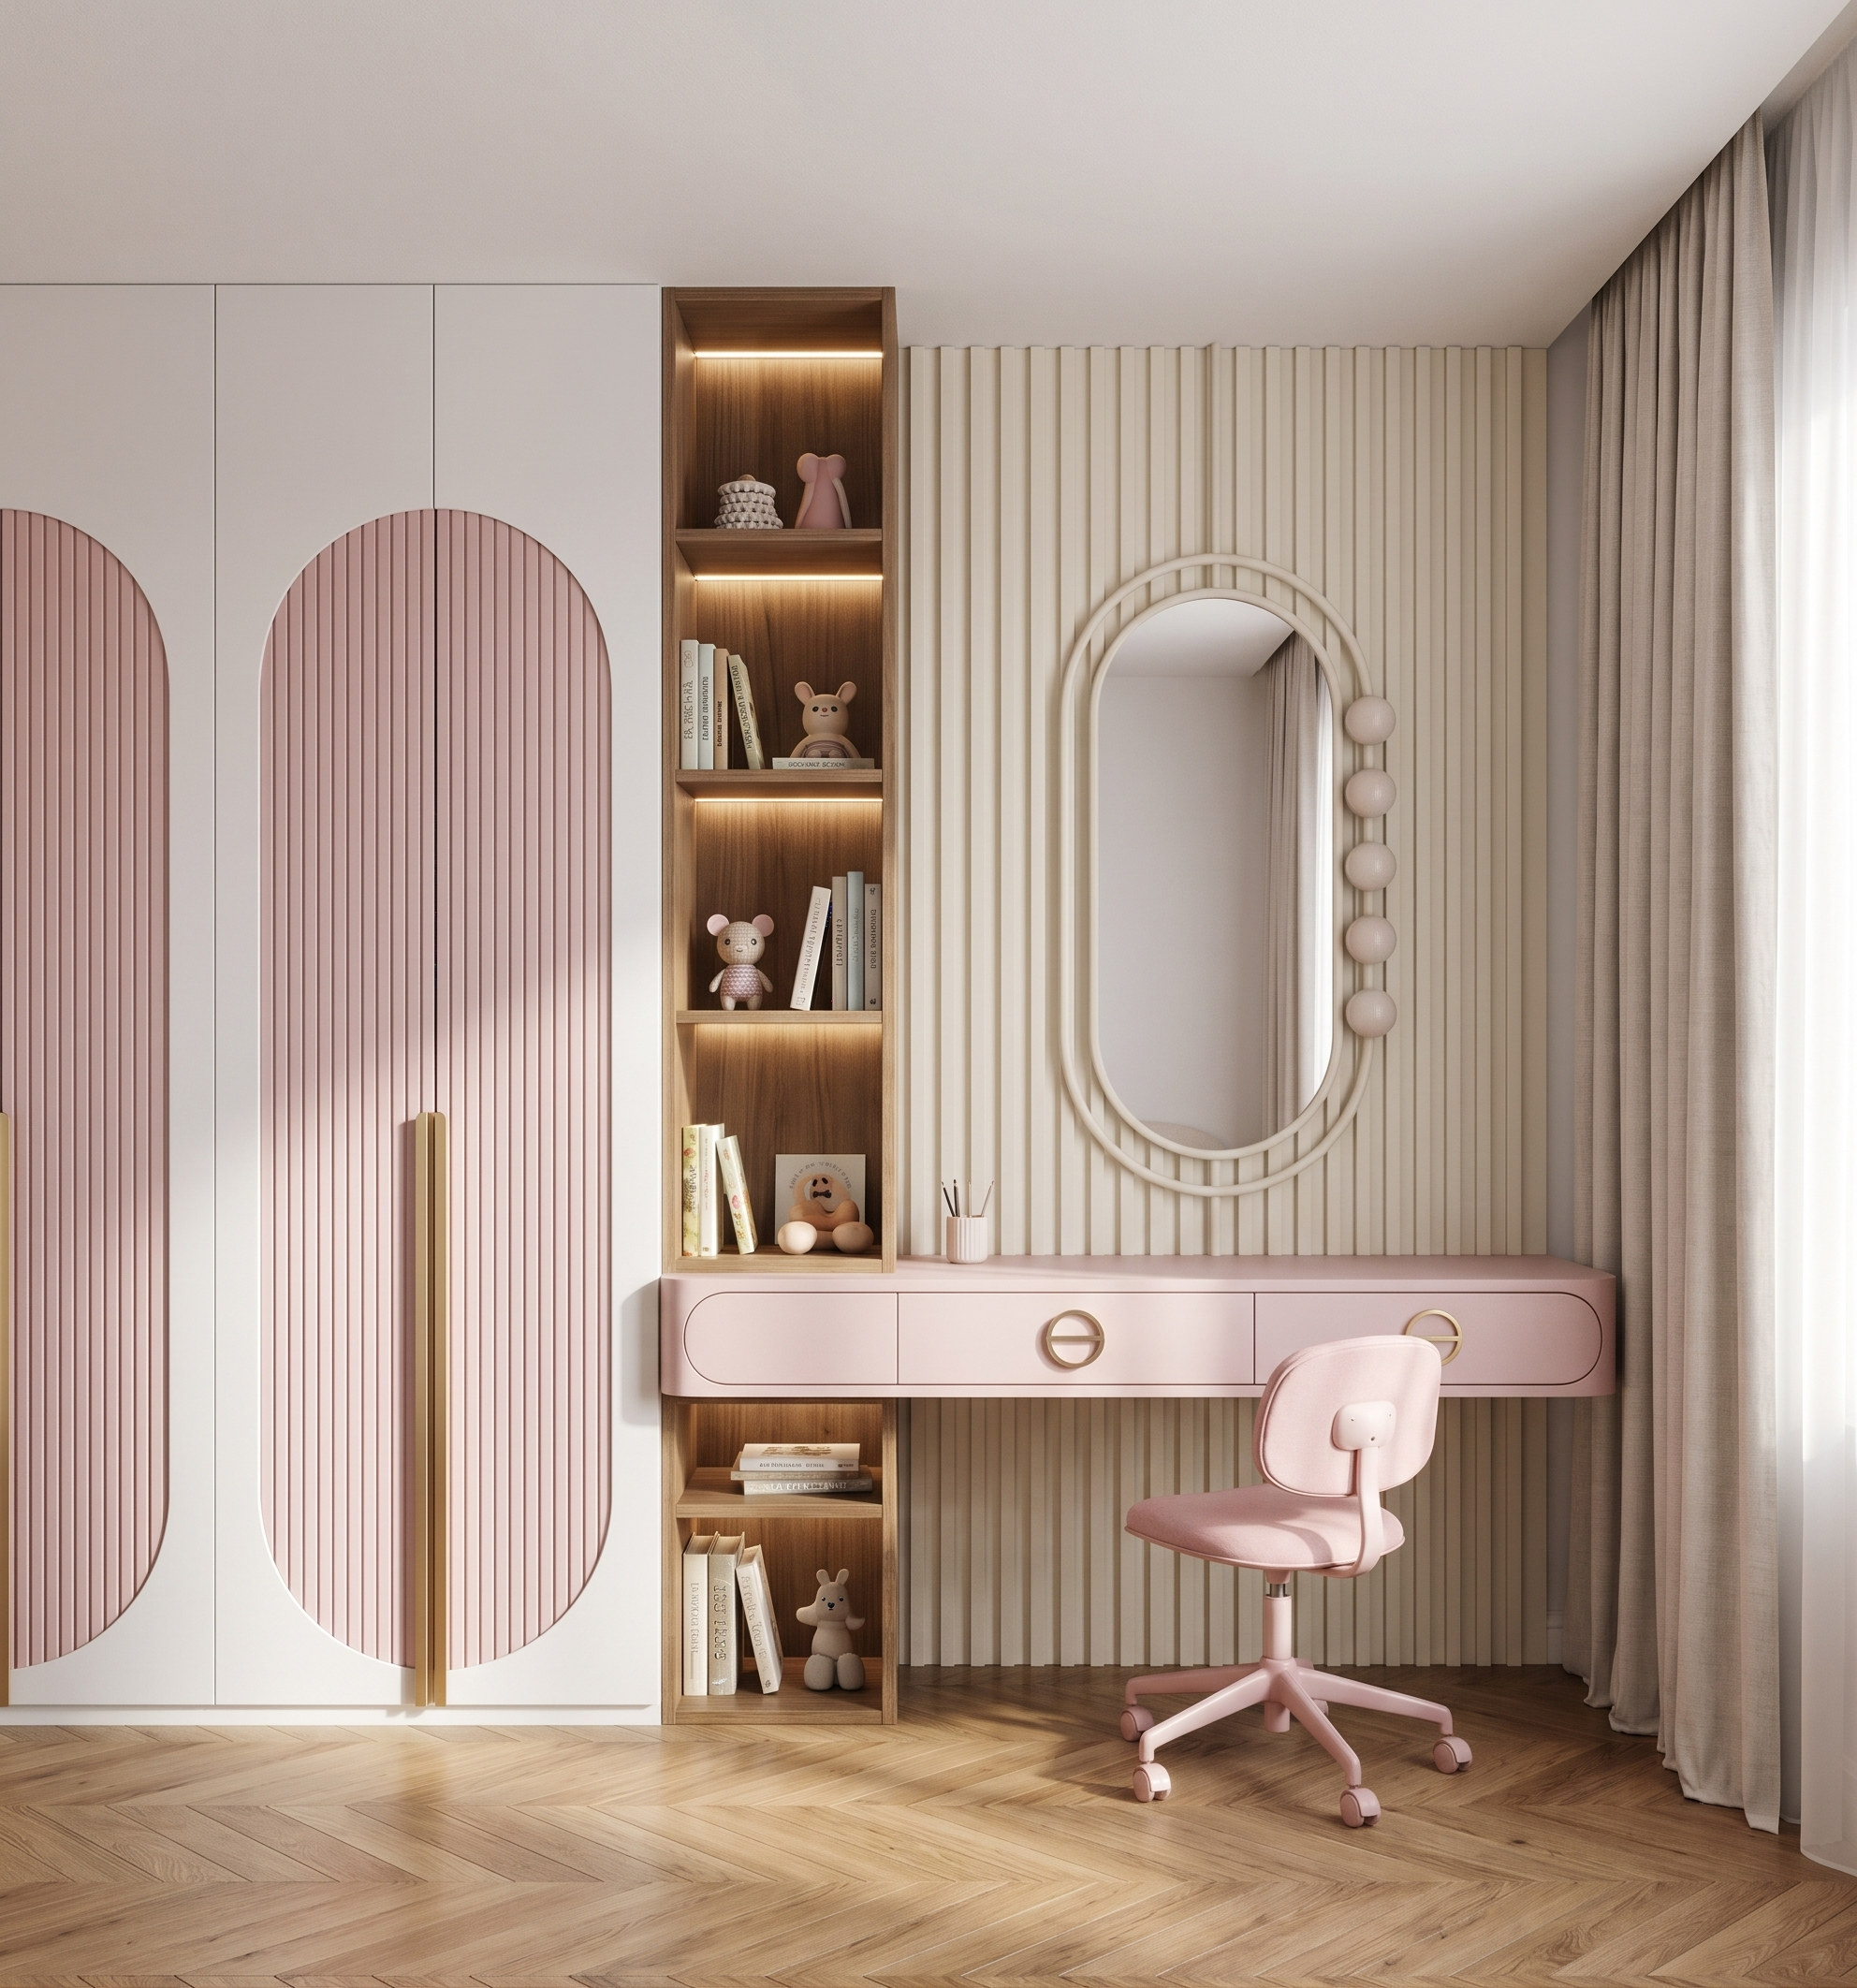
- Create a highly photorealistic, high-end interior render of a children’s bedroom based strictly on the provided 3D model and reference images.
CRITICAL – PRESERVE THE ORIGINAL MODEL:
• Do NOT change the image dimensions, resolution, aspect ratio, or crop.
• Do NOT change the camera position, camera angle, perspective, or field of view.
• Do NOT modify, add, remove, or reposition any architectural elements or furniture.
• Strictly preserve the original geometry, proportions, dimensions, layout, and overall design.
• Only apply the specified materials, colors, finishes, lighting, and decorative details.
WALLS AND FLOORING:
• All walls should be painted pure white.
• The ceiling should also be pure white.
• Use natural wooden parquet flooring in a neutral, warm, light-to-medium wood tone.
LEFT SIDE – WARDROBE AND OPEN SHELVING:
• The tall blue rectangular volume on the left represents a wardrobe. Transform it into a white wardrobe with decorative pink arched inserts, following the exact design language and appearance shown in Reference Image 2.
• Add elegant gold cabinet handles.
• The adjacent brown-colored section represents open shelving. Finish it in a sophisticated neutral brown wood tone.
• Incorporate subtle, warm integrated LED lighting inside the shelves.
• Style the shelves with tasteful children’s bedroom accessories: a few decorative objects, small toys, books, and charming details. Keep the styling elegant, curated, and uncluttered.
ADJACENT WALL – VANITY / CONSOLE AREA:
• The light green rectangular volume on the perpendicular adjacent wall represents a console dressing table. Transform it into a pink console table, following the design shown in Reference Image 1.
• Reproduce the same decorative details, proportions, and cabinet handles as in Reference Image 1.
• The yellow-marked area behind the console represents decorative wall paneling. Replace it with elegant cream-colored vertical decorative battens/slats, matching the design and finish shown in Reference Image 1.
• Above the console, install a mirror matching the exact shape, frame, and design of the mirror in Reference Image 1.
• Add a stylish pink children’s swivel chair on wheels in front of the console. Ensure it fits naturally into the existing composition without changing the furniture layout.
RIGHT SIDE – WINDOW TREATMENT:
• The remaining white wall on the right should stay white.
• Add elegant, soft fabric curtains along this wall, indicating the continuation of a window just outside the visible camera frame. The curtains should look naturally suspended, with realistic folds and a soft, refined appearance.
LIGHTING AND RENDER QUALITY:
• Create a bright, soft, natural daylight atmosphere.
• Use realistic global illumination, physically accurate materials, soft shadows, and subtle reflections.
• Ensure the white surfaces retain their natural detail and do not become overexposed.
• Render realistic wood grain, painted MDF finishes, delicate gold hardware, fabric textures, and LED illumination.
• The overall aesthetic should be elegant, warm, sophisticated, and playful, suitable for a high-end designer children’s bedroom.
FINAL REQUIREMENT: The result must look like a professional architectural interior photograph, not a stylized 3D illustration. Follow the supplied references precisely for the wardrobe, console, wall paneling, and mirror. Do not introduce alternative designs or reinterpret the existing furniture. Preserve the original 3D model and camera composition exactly
- Created
- November 16, 2026