Skip to content
Render tools
IMAGE 1 — MASTER BASE / CLAY RENDER
The first image is the original clay render of my furniture showroom. This is the primary reference and must be treated as the exact base scene.
Do NOT redesign the architecture. Do NOT change the camera angle. Do NOT move walls, columns, openings, ceiling elements, or furniture locations.
The objective is to transform the clay render into a highly realistic completed furniture showroom while maintaining the exact geometry and composition of Image 1.
IMAGE 2 — NEAREST BEDROOM / BED TO CAMERA

Image 2 identifies the bedroom scene closest to the camera in the clay render.
IMAGE 3 — SECOND BEDROOM

Image 3 identifies the bedroom immediately next to the nearest bedroom.
IMAGE 4 — DINING ROOM

Image 4 identifies the dining room located in front of the camera within the showroom.

Locate the dining area in Image 1 and recreate the design language of Image 4.

IMAGE 5 — BEDROOM AT THE BACK OF THE SHOWROOM

Image 5 identifies the bedroom located furthest toward the back of the showroom.
IMAGE 6 — MASTER PLAN / CIRCULATION + FLOOR MATERIAL MAP

Image 6 is the master plan of the furniture showroom.

This image is extremely important for understanding the intended store circulation, zoning, pathways, and floor-material differentiation.

The circulation shown in Image 6 must be translated into the final 3D showroom.

CIRCULATION

Reproduce the organic circulation pattern shown in the master plan.
The circulation must guide visitors naturally through the showroom while connecting the different furniture scenes.
FLOOR MATERIAL DIFFERENTIATION

The master plan uses different floor textures/materials to visually define the circulation.

Translate these material zones from Image 6 into the 3D scene.

The final render should clearly show a distinction between:

1. MAIN SHOWROOM FLOOR

Use a sophisticated dark warm wood flooring for the main furniture display zones.

The wood should have:

* Natural grain
* Premium finish
* Subtle variation
* Realistic scale
* Matte/satin appearance
* Warm dark walnut/brown character

2. ORGANIC CIRCULATION PATH

The circulation path shown in the master plan must be represented with a distinctive lighter material, following the exact organic path geometry.
FURNITURE POSITIONING RULE

This is extremely important:

Image 1 controls WHERE everything is located.

Images 2–5 control WHAT each furniture composition looks like.

Image 6 controls HOW THE FLOOR/CIRCULATION IS ORGANIZED.
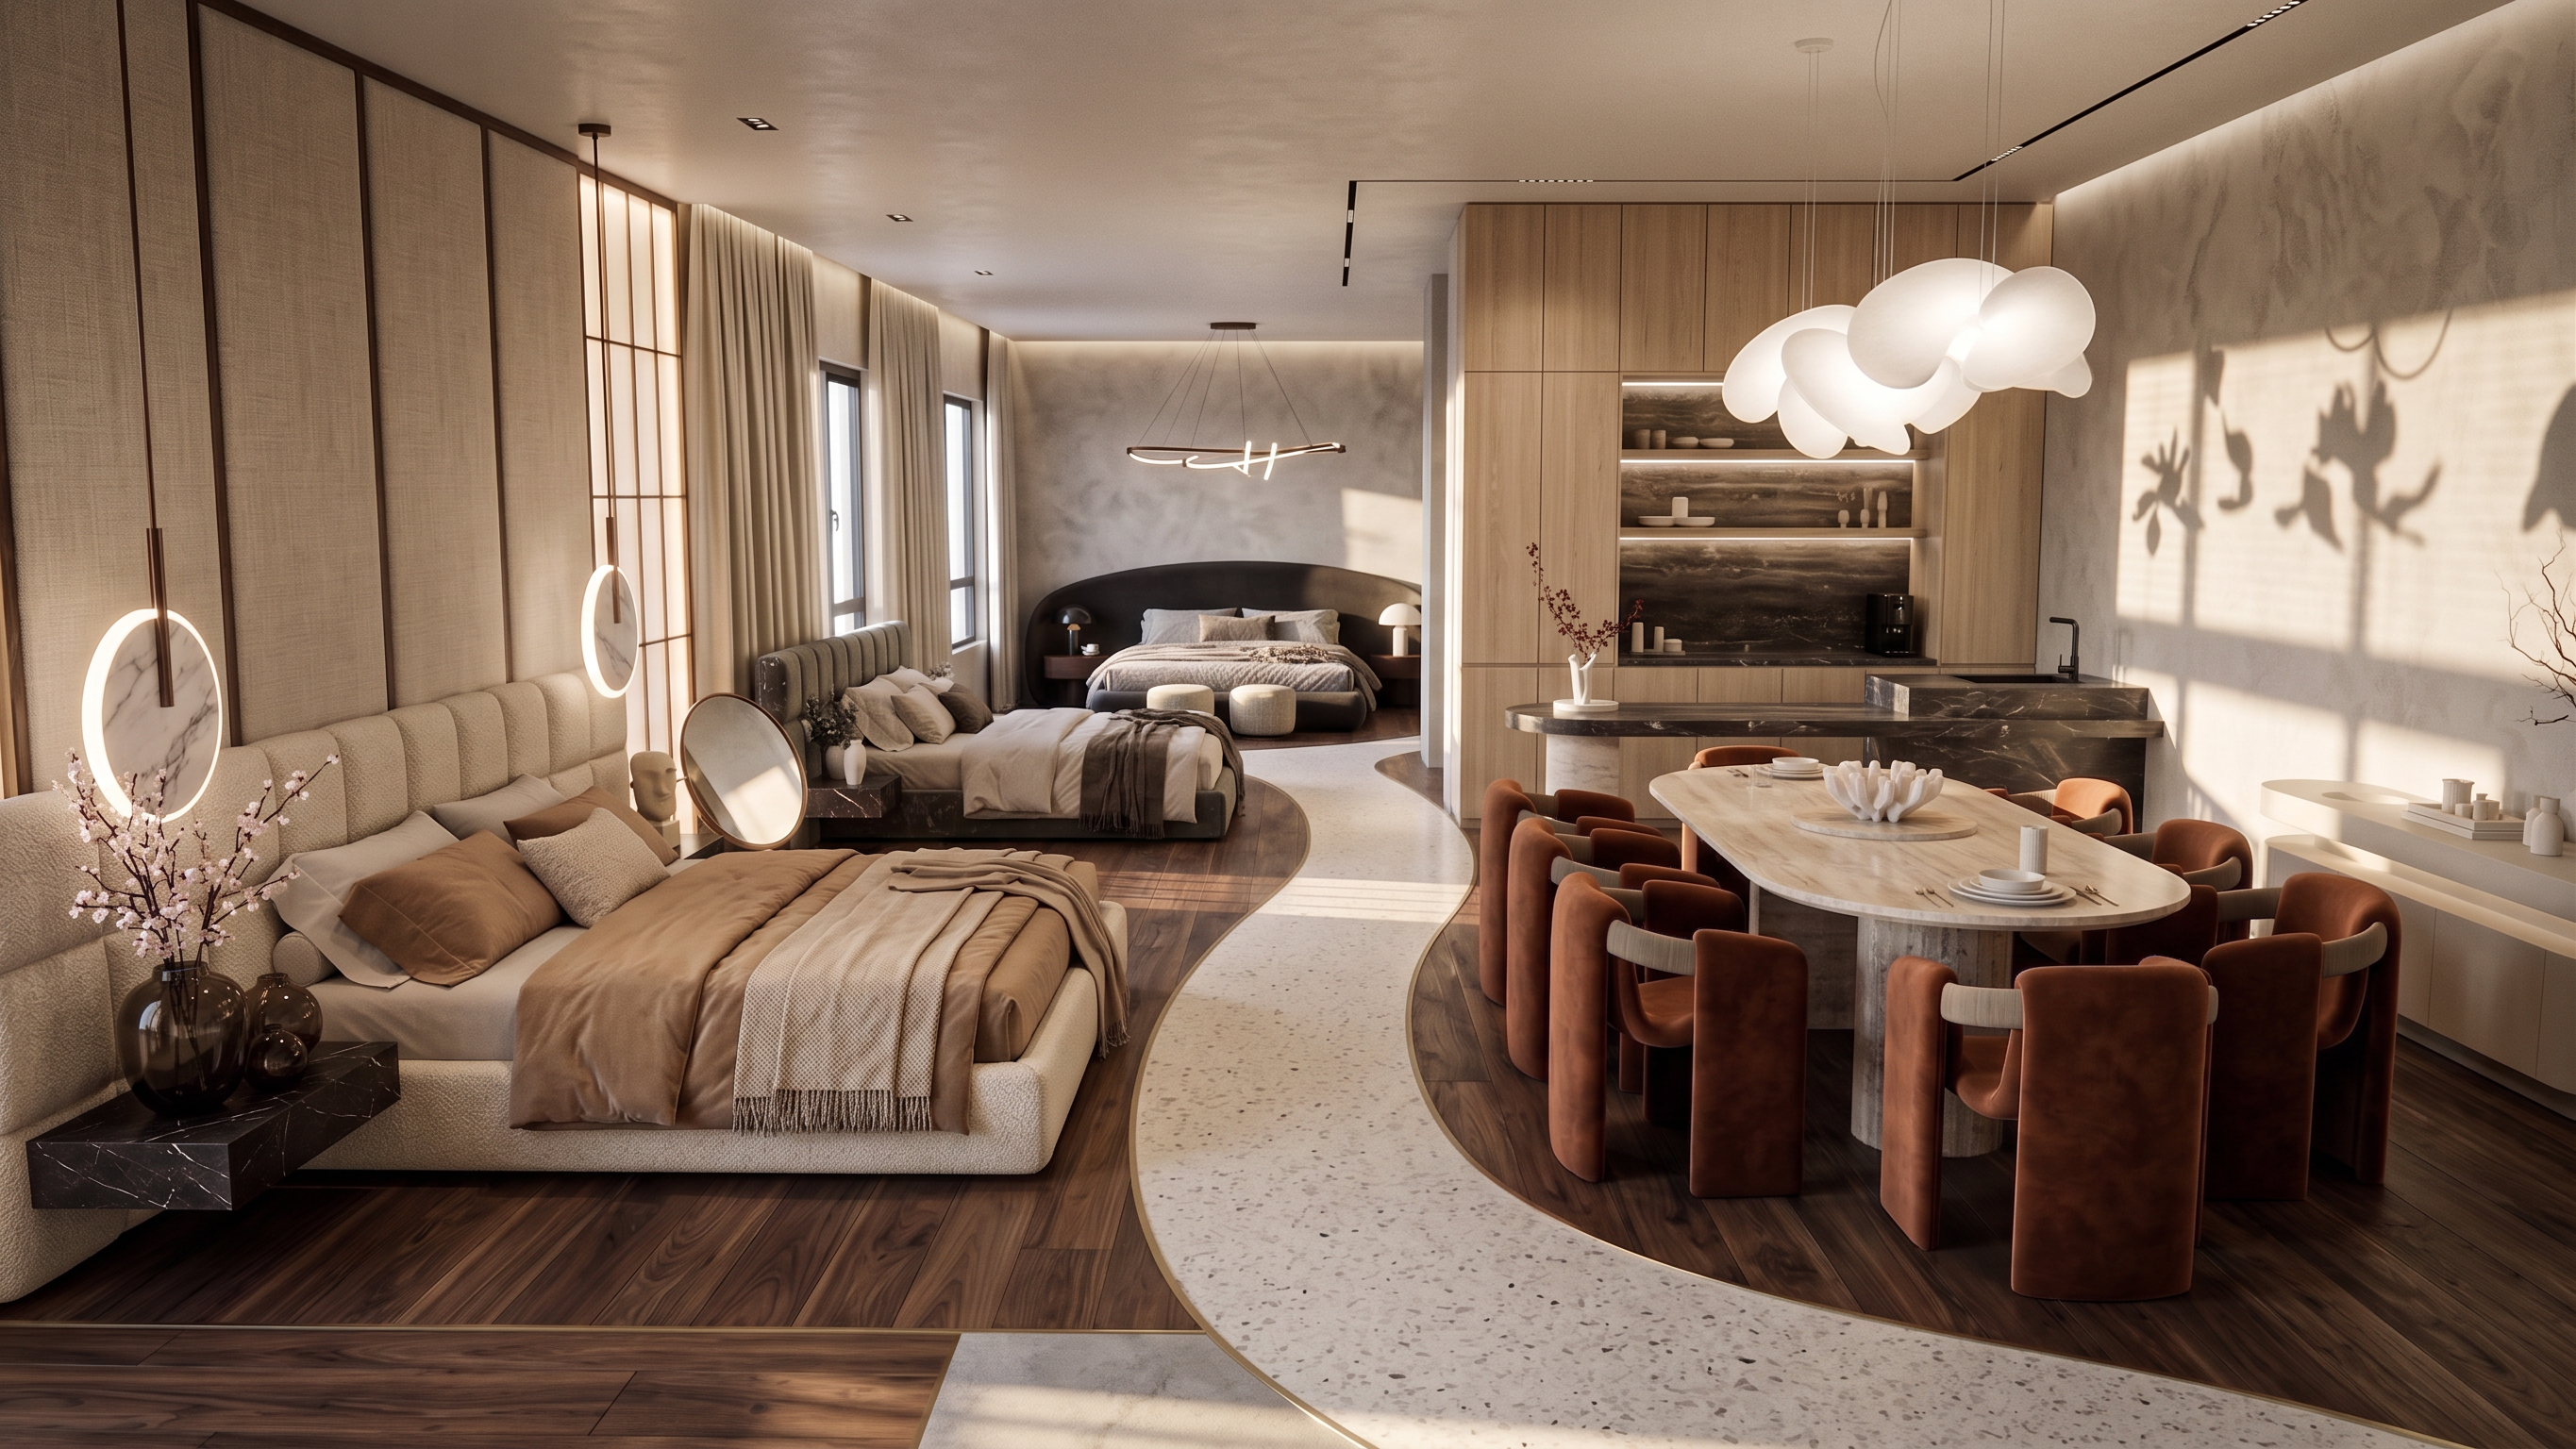
Create a single photorealistic final interior render of the furniture showroom based primarily on Image 1.

The viewer should immediately recognize the original clay render and its exact architecture, but now see it as a completely finished luxury furniture showroom.

The four furniture scenes should be individually recognizable from their respective reference images, while being correctly integrated into the original showroom.

Create renders like this

Turn any photo, sketch, or floor plan into a photoreal render in seconds.