- Prompt
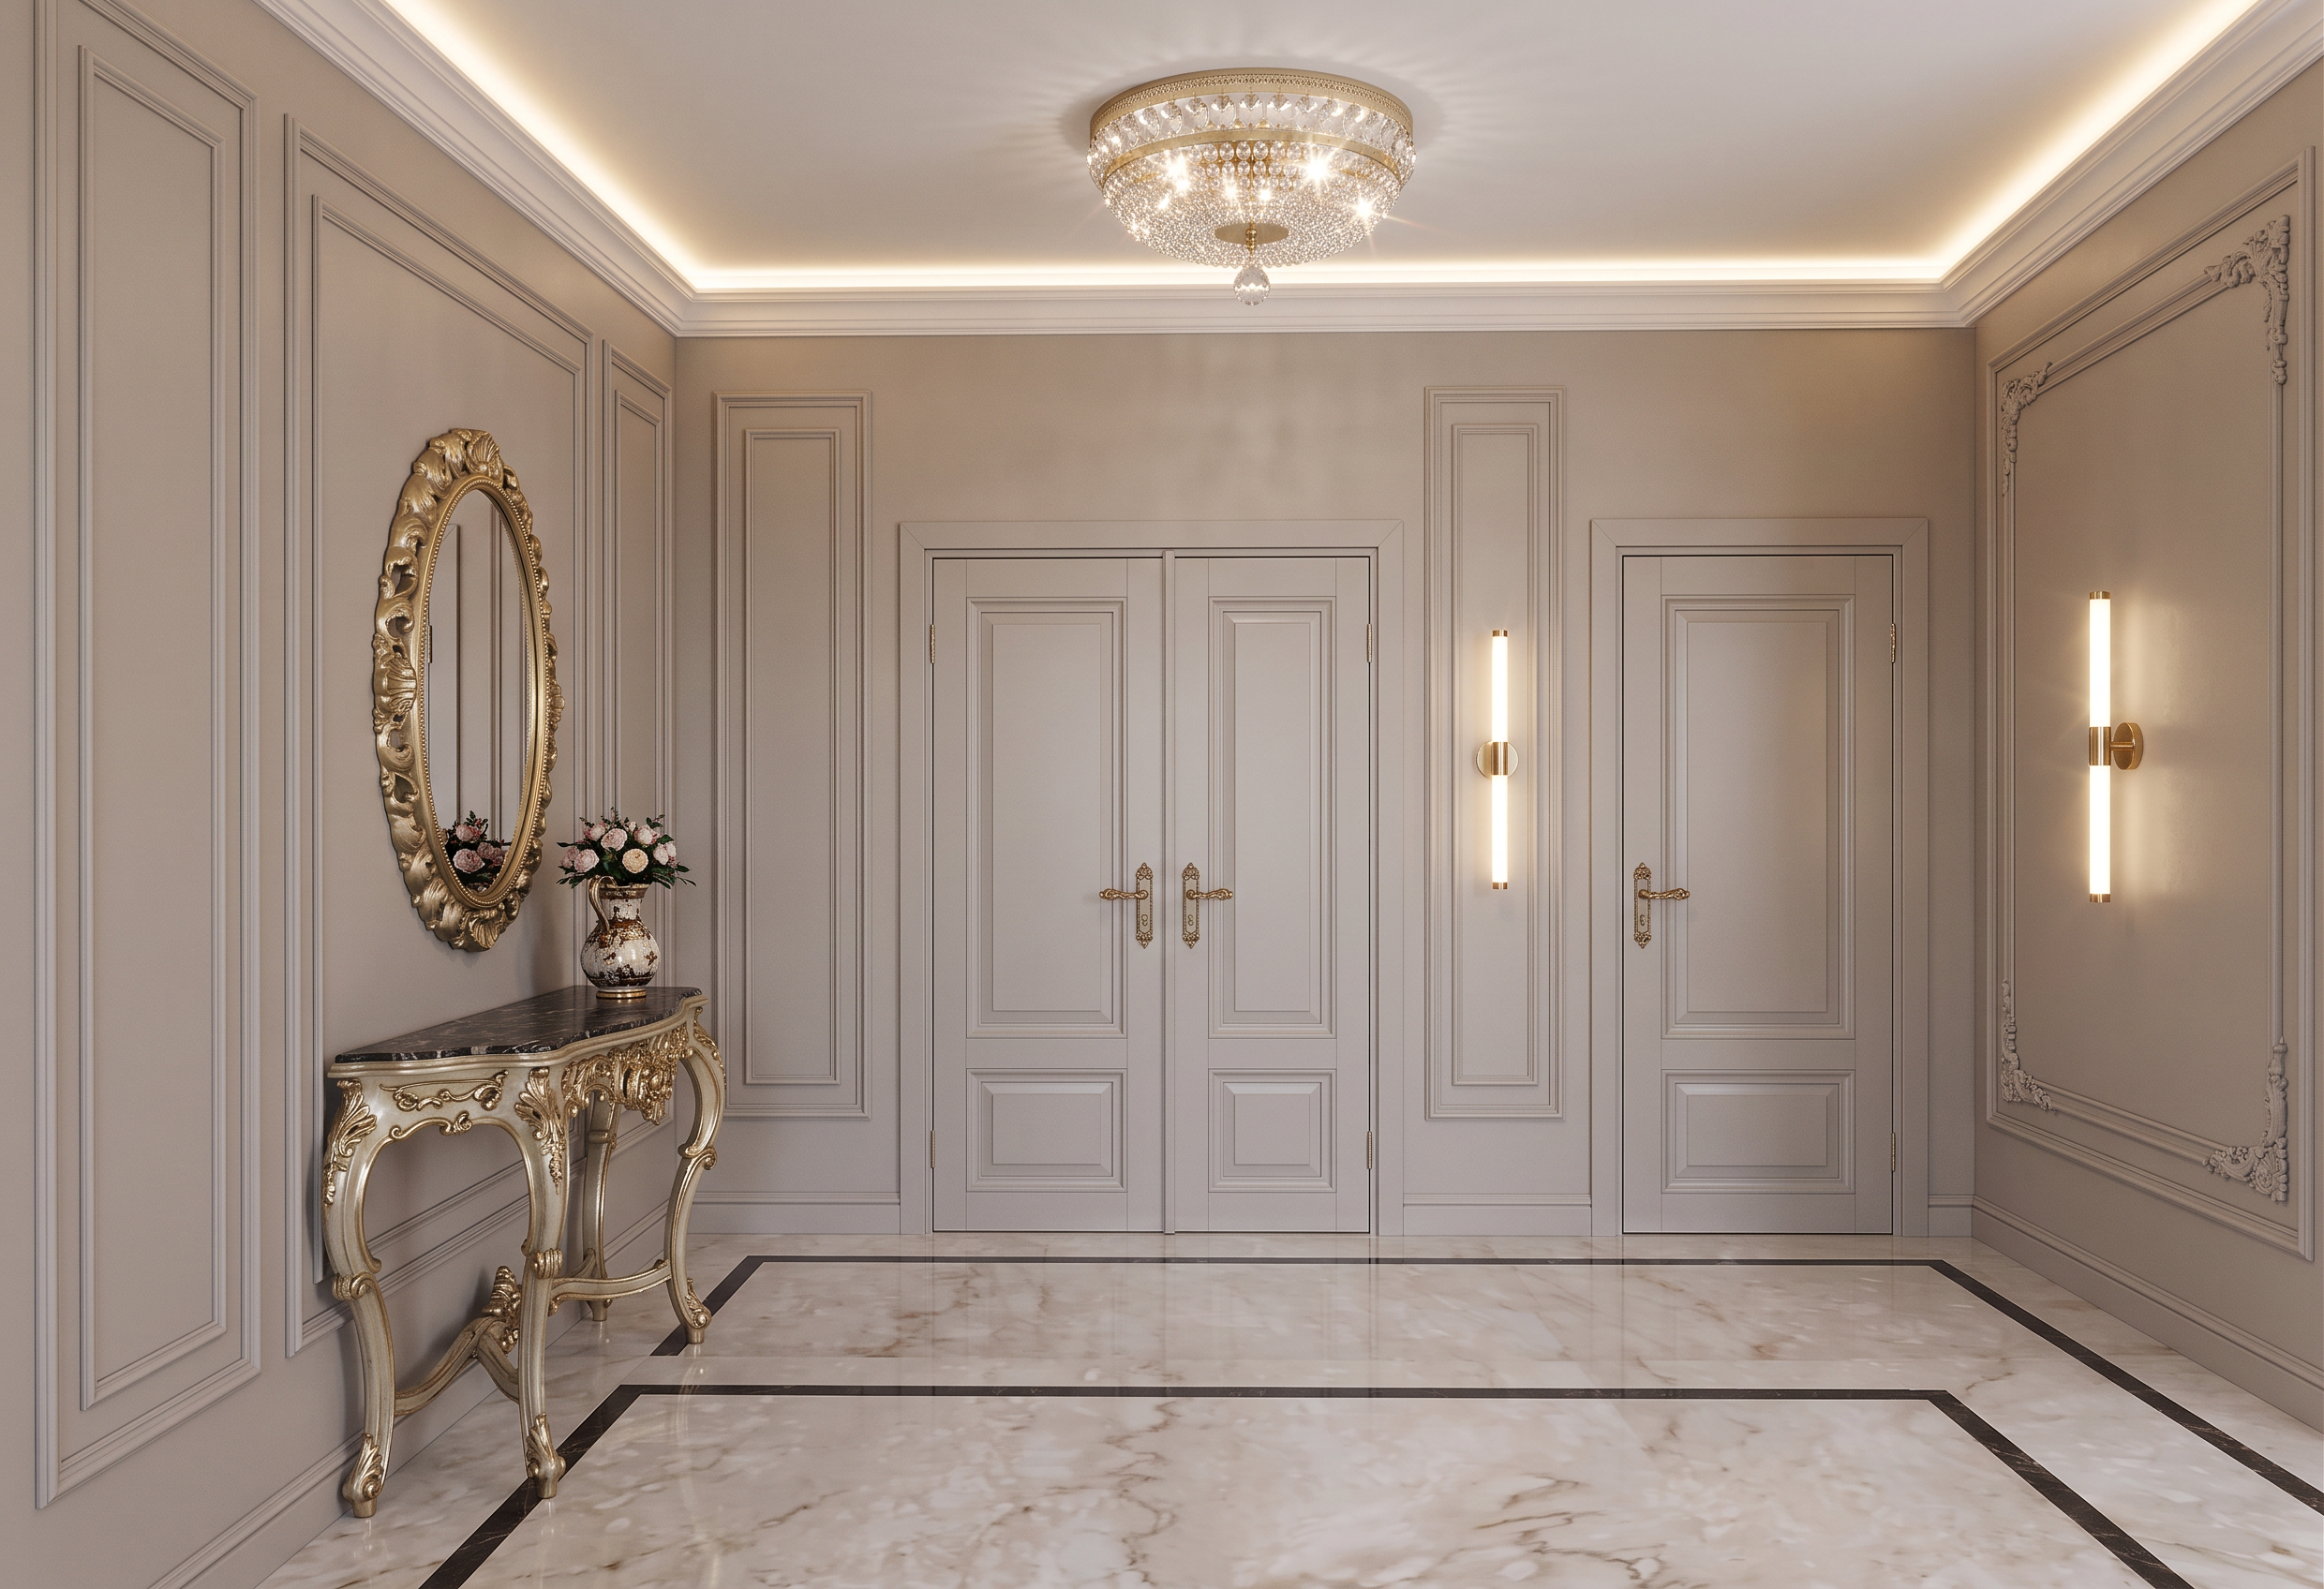
- Create an ultra-photorealistic architectural render of the corridor shown in the main image.
STRICTLY PRESERVE THE EXISTING IMAGE AND DESIGN
Do NOT change the image aspect ratio, resolution, dimensions, or composition.
Do NOT change the camera position, camera angle, perspective, focal length, or field of view.
Do NOT change the geometry, proportions, layout, walls, openings, ceiling height, doors, or architectural elements.
Do NOT redesign or reinterpret the space.
Do NOT add or remove architectural elements except for the specifically requested furniture and lighting indicated in the image.
The main image is the exact space that must be rendered. Reference 1 shows the SAME ROOM from a different camera angle and must be used as the primary reference for materials, colors, doors, lighting, and architectural details.
MATERIALS AND ARCHITECTURAL DETAILS
Match Reference 1 as closely as possible:
Floor: use the same marble as in Reference 1, matching its color, veining, finish, scale, and overall appearance.
Walls: match the exact wall color from Reference 1.
Decorative moldings: match the color, proportions, profile, and finish shown in Reference 1.
Ceiling: white, matching Reference 1.
Ceiling cornice: reproduce the same cornice design and proportions as in Reference 1, including the concealed LED strip lighting.
The concealed LED lighting must create a soft, elegant indirect glow along the ceiling perimeter, exactly as shown in Reference 1.
Doors: reproduce the same doors visible in Reference 1, including their color, proportions, panels, frames, handles, and overall design.
LIGHTING
The RED OVAL in the main image indicates the position of the ceiling light fixture.
Place a ceiling fixture matching the fixture shown in Reference 1 and Reference 3.
The BLUE CYLINDER on the wall indicates the position of a wall sconce.
Place a wall sconce matching the one shown in Reference 1, preserving its exact style, proportions, shape, and material.
Do not treat the colored markers as part of the final design — they are only placement indicators and must be completely removed from the final render.
CONSOLE AND MIRROR
The LILAC RECTANGLE on the left side indicates the location of a console table with a mirror above it.
Replace this marker with a console table and mirror matching Reference 2 in style, proportions, materials, and overall appearance.
Position the console and mirror exactly within the area indicated by the lilac rectangle.
The furniture must look naturally integrated into the corridor without changing the surrounding architecture.
NATURAL DAYLIGHT
Create the impression that there is a large window BEHIND THE CAMERA, outside the visible frame.
- Created
- September 8, 2026