
How to Render in Revit
AI Render Studio Team · June 2, 2026
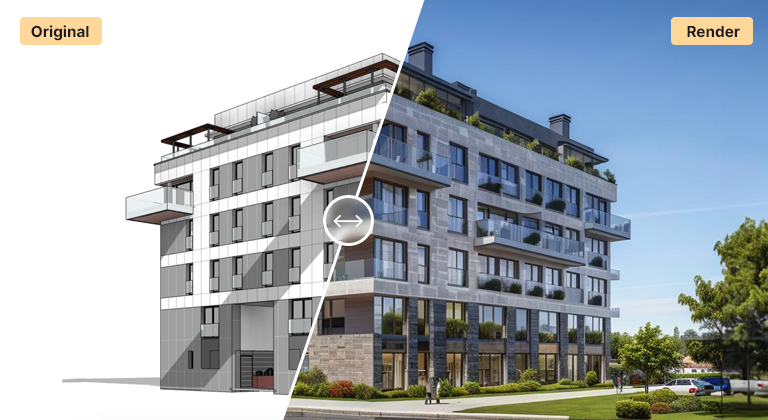
Revit can render natively, but for concept and presentation work there are faster routes. Here are the three main options and when to use each.
Option 1 — Revit's built-in renderer
Revit includes a cloud and local renderer. It is fine for occasional images but slow to set up and limited in style control.
Option 2 — A render plugin
Enscape and V-Ray plug into Revit for higher quality and real-time or final output, at the cost of a licence and a learning curve.
Option 3 — AI rendering (fastest)
Export or screenshot your Revit 3D view, upload it to the exterior or interior tool, pick a style, and get a photoreal render in about 12 seconds — no plugin, no GPU.
Step by step (AI route)
- Frame a clean 3D view in Revit.
- Export the view as an image (or screenshot it).
- Upload it to AI Render Studio and choose a style.
- Render, then iterate on style and lighting.
Which to use
Use AI for fast concepts and client images; keep a plugin for final art-directed shots. See the SketchUp version of this workflow, or the AI rendering guide.
FAQ
Can I render a Revit model without a plugin?
Yes. Export or screenshot a 3D view and upload it to a browser-based AI renderer — no plugin or GPU required.
Is AI faster than Revit's built-in renderer?
For concept and presentation images, yes — AI returns a photoreal result in about 12 seconds with no scene setup.
Keep reading
Try it yourself
Render your design in seconds.
Turn a sketch, model or photo into a photoreal render. Start free — 3 credits, no credit card.